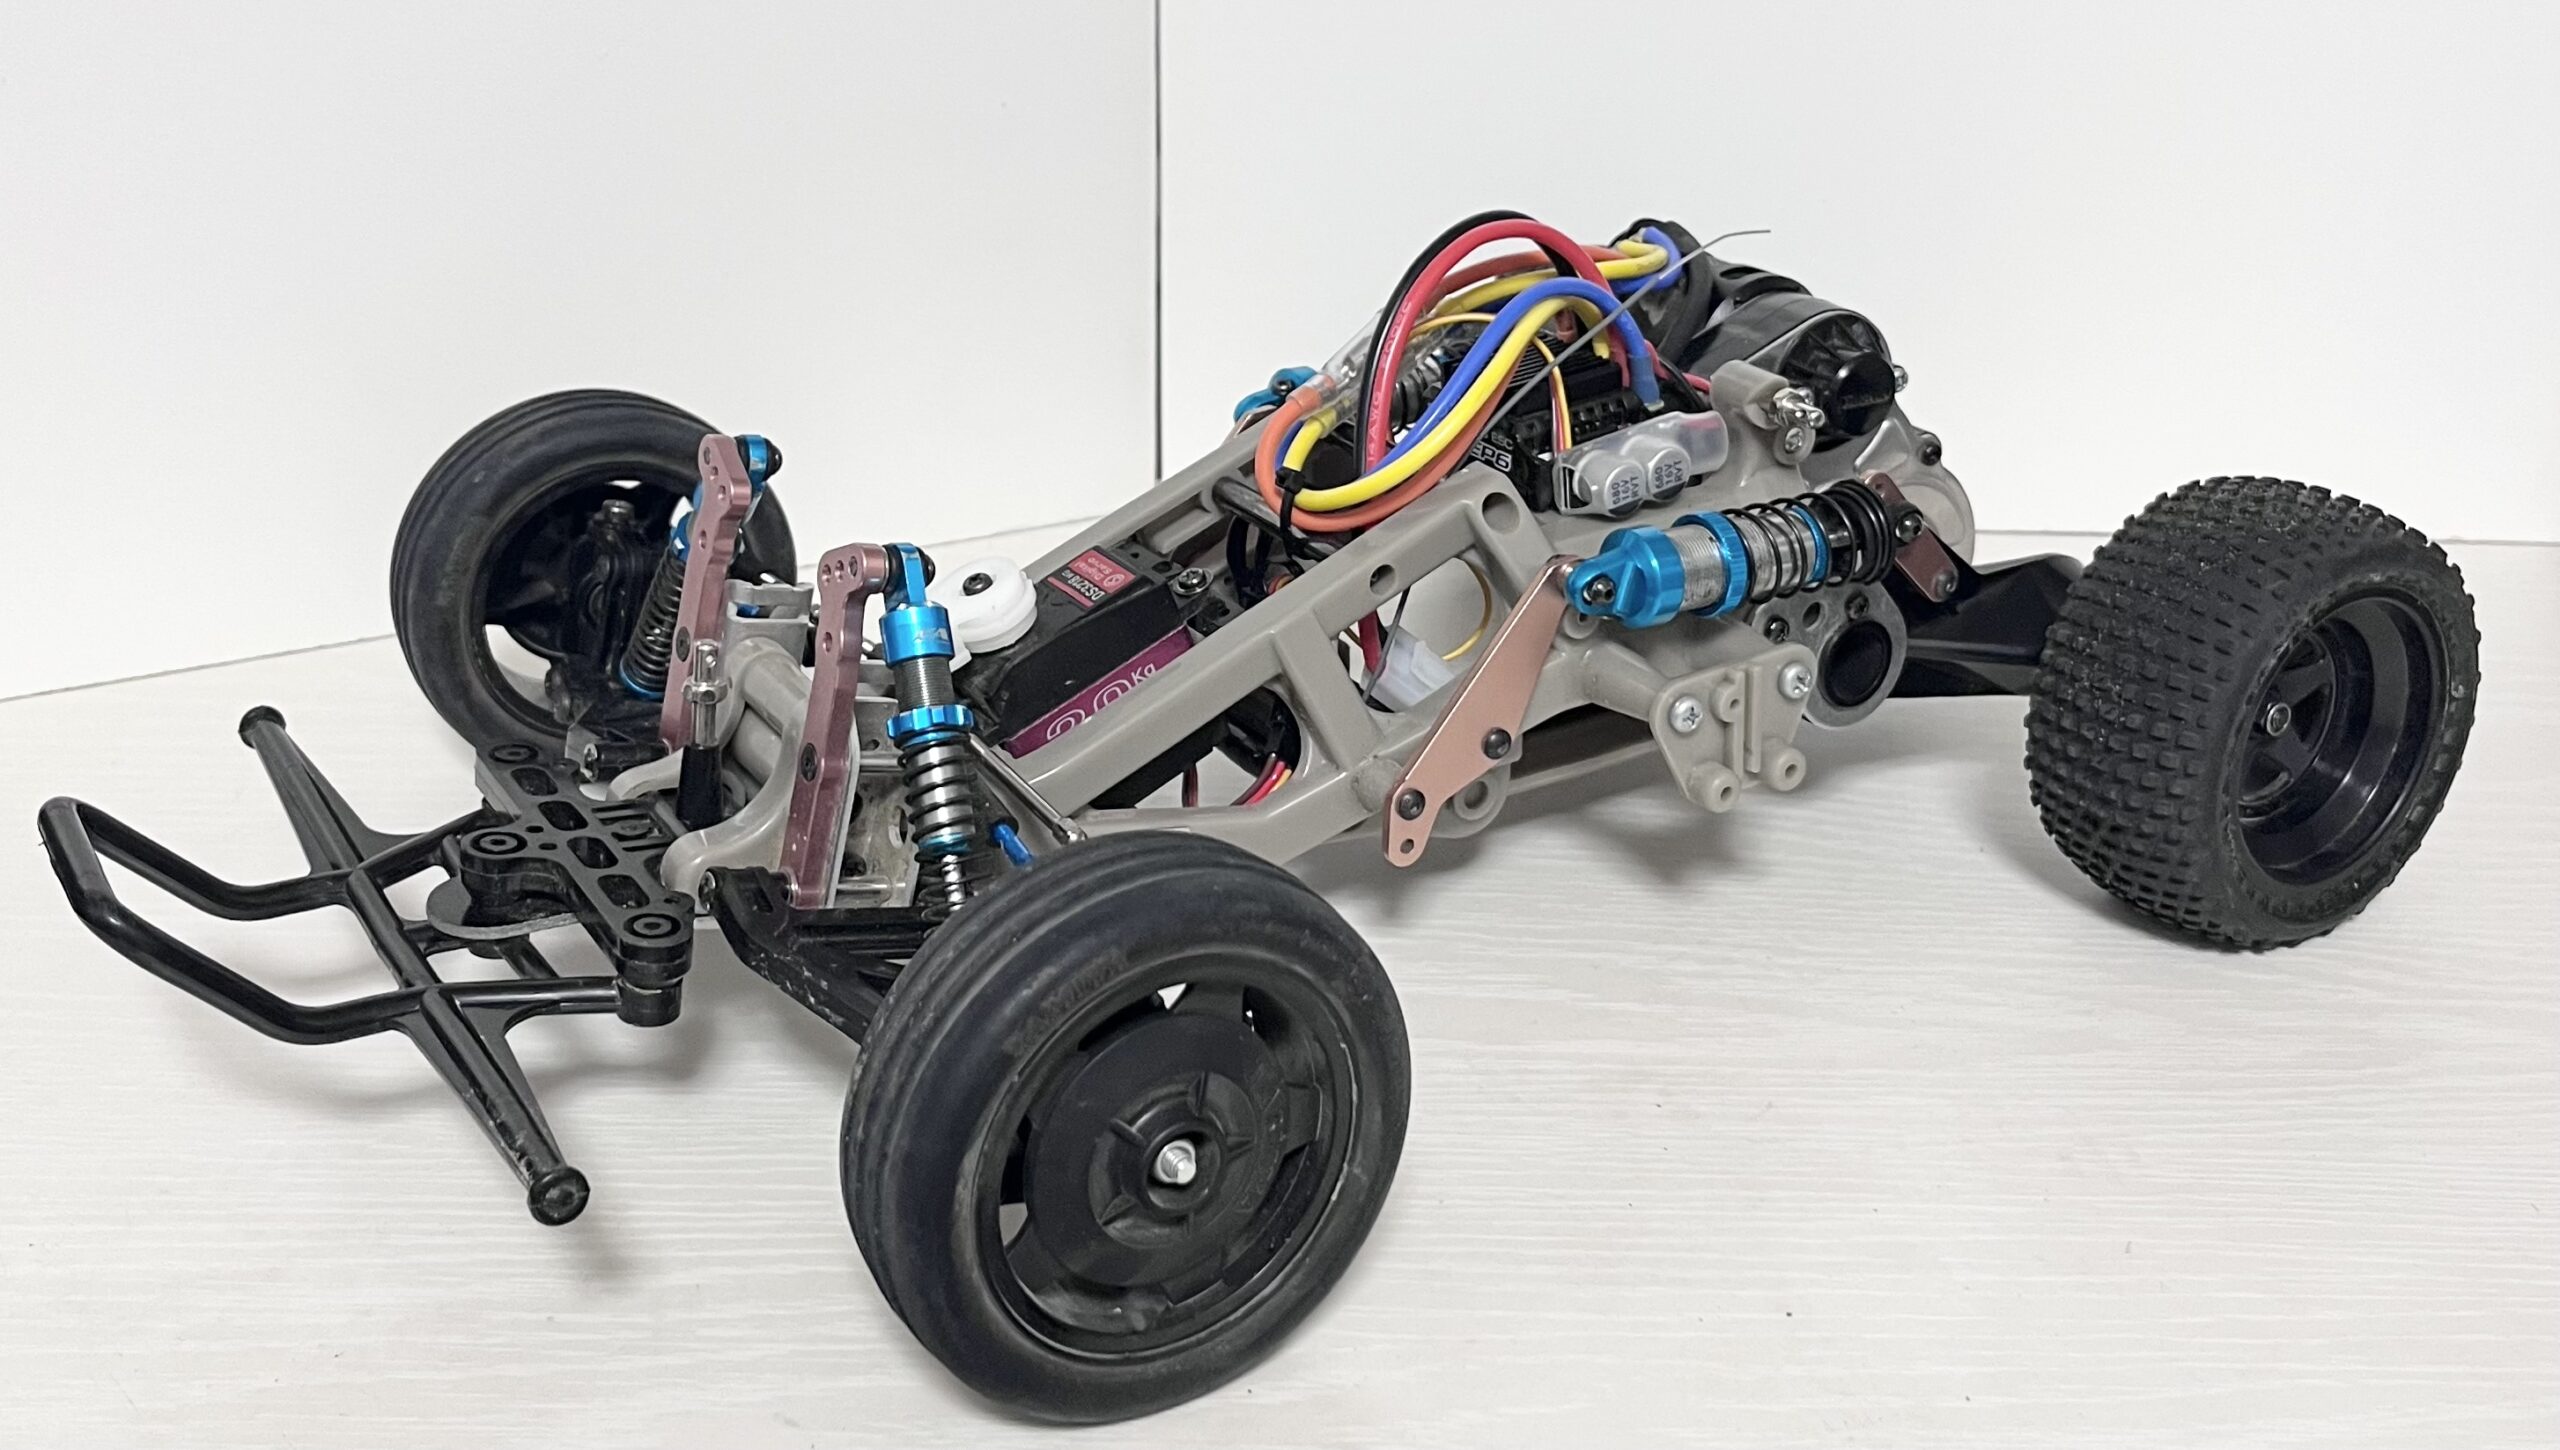
I’ve upgraded my Tamiya “The Frog” to improve its handling at high speeds.
In this post, I’ll show you the installation of the ultra-compact gyro introduced previously.
The goal is to achieve ultimate straight-line stability on rough terrain.
Parts Re-check and Wiring Method
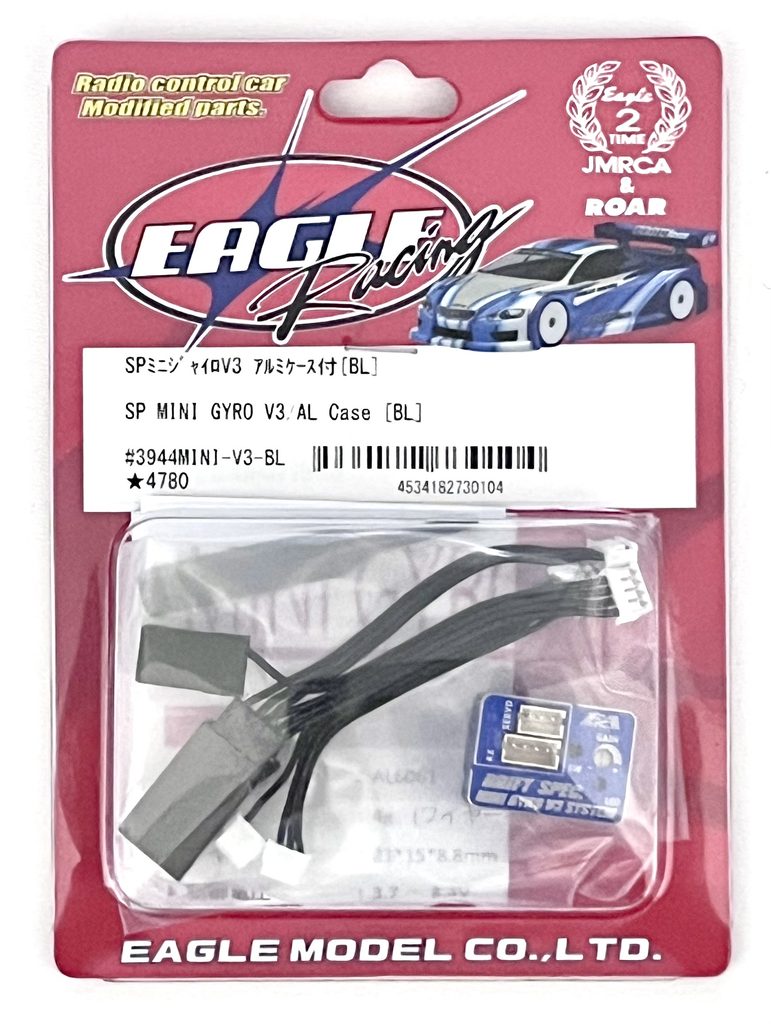
For technical details on this gyro, please check my previous review post.
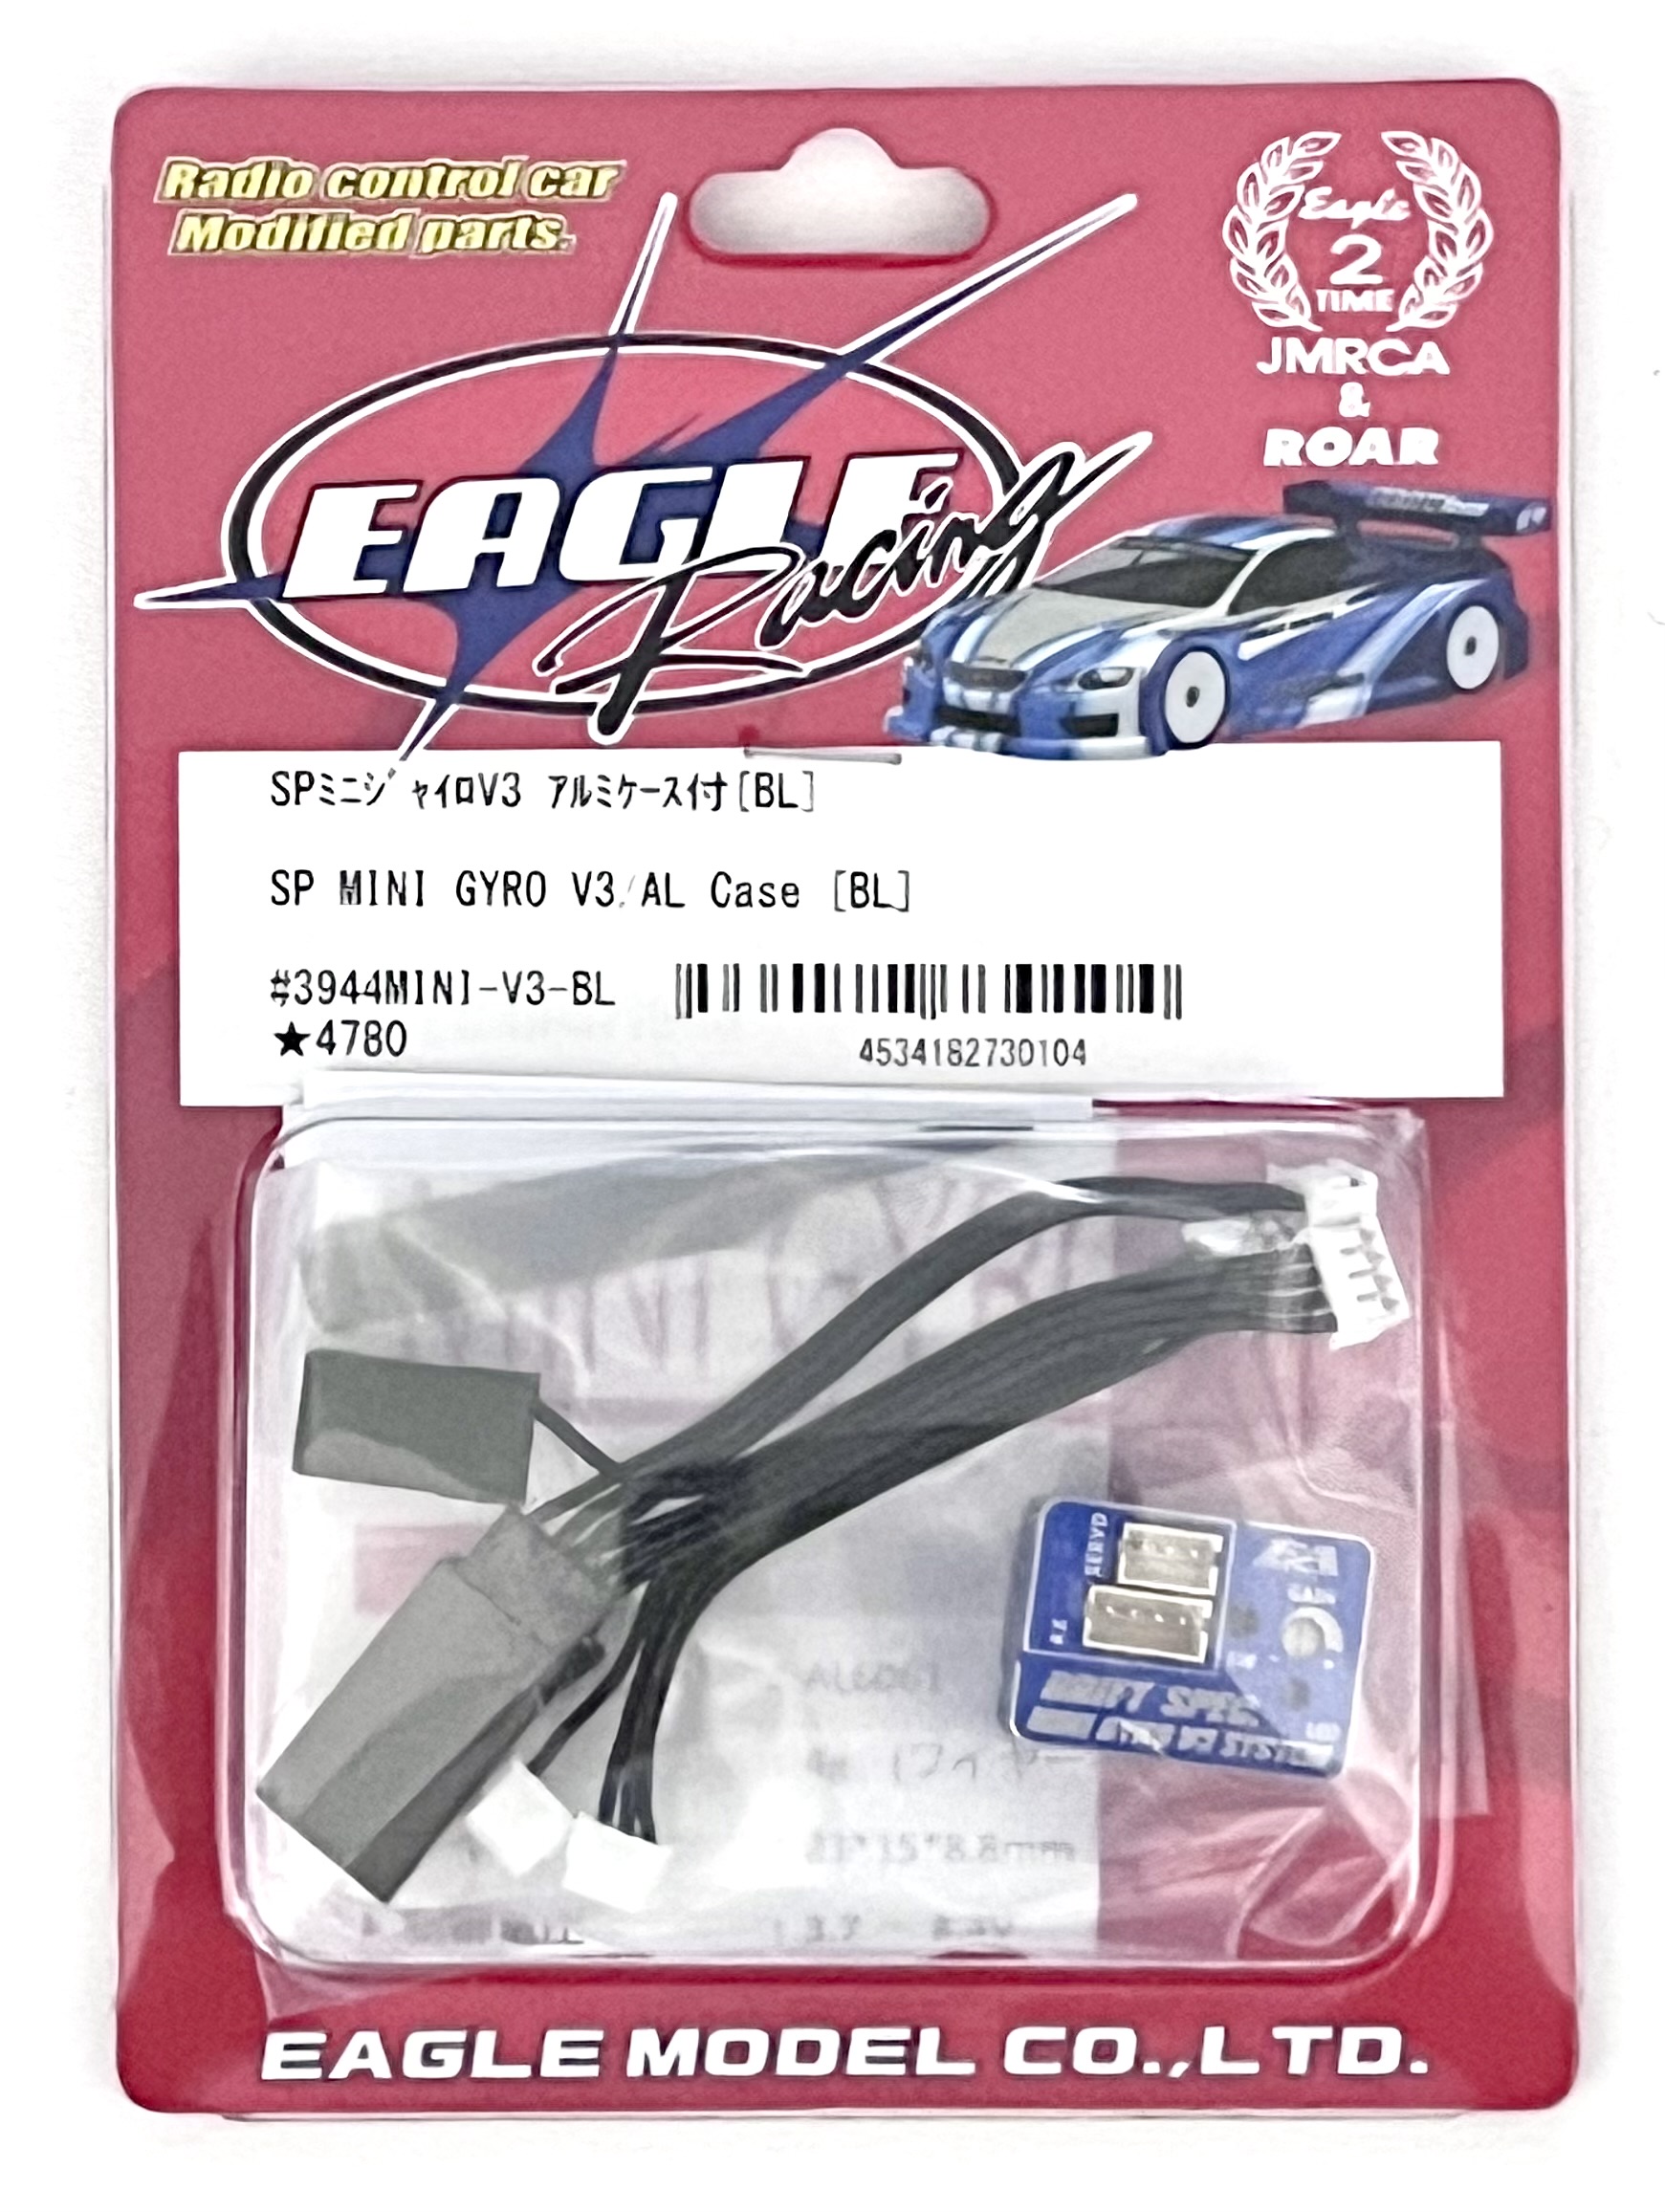
It features a durable aluminum case and a tiny footprint, perfect for vintage builds.
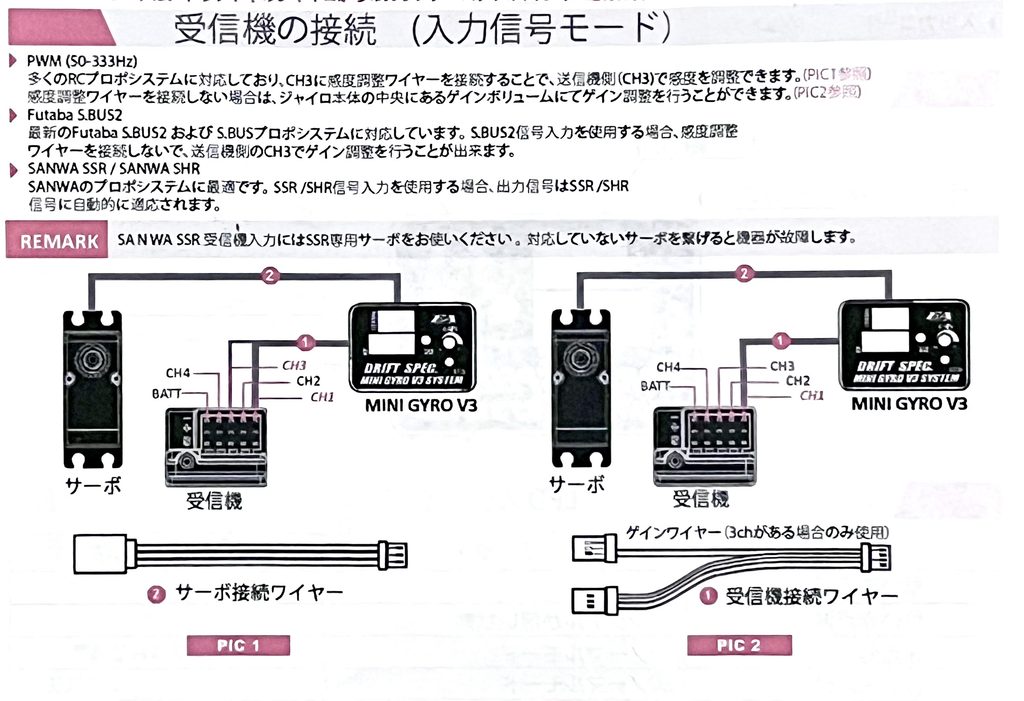
I followed the “PIC1” wiring diagram for the installation.
This method connects the gyro directly between the receiver and the steering servo.
It’s a straightforward setup that keeps the wiring tidy within the chassis.
Mounting in The Frog: Utilizing the Compact Size
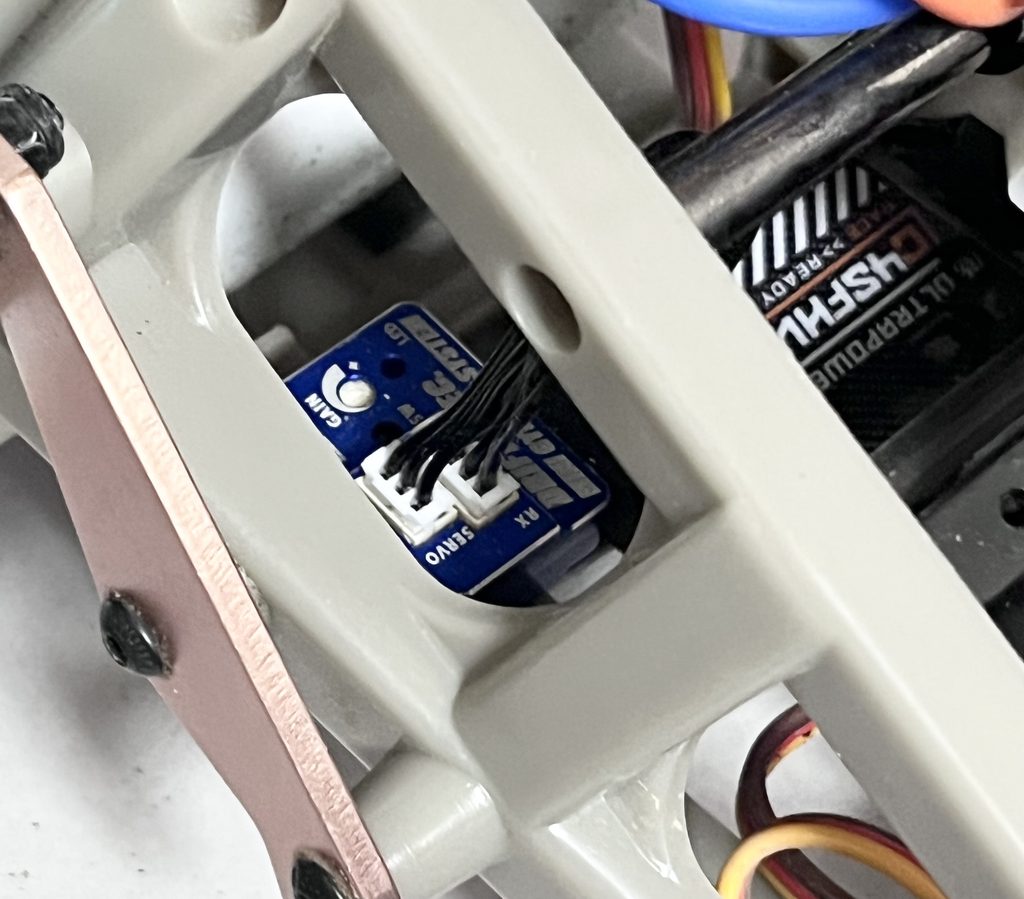
The Frog has a notorious reputation for having very limited space for electronics.
Thanks to the gyro’s compact size, it fits inside the frame with room to spare.
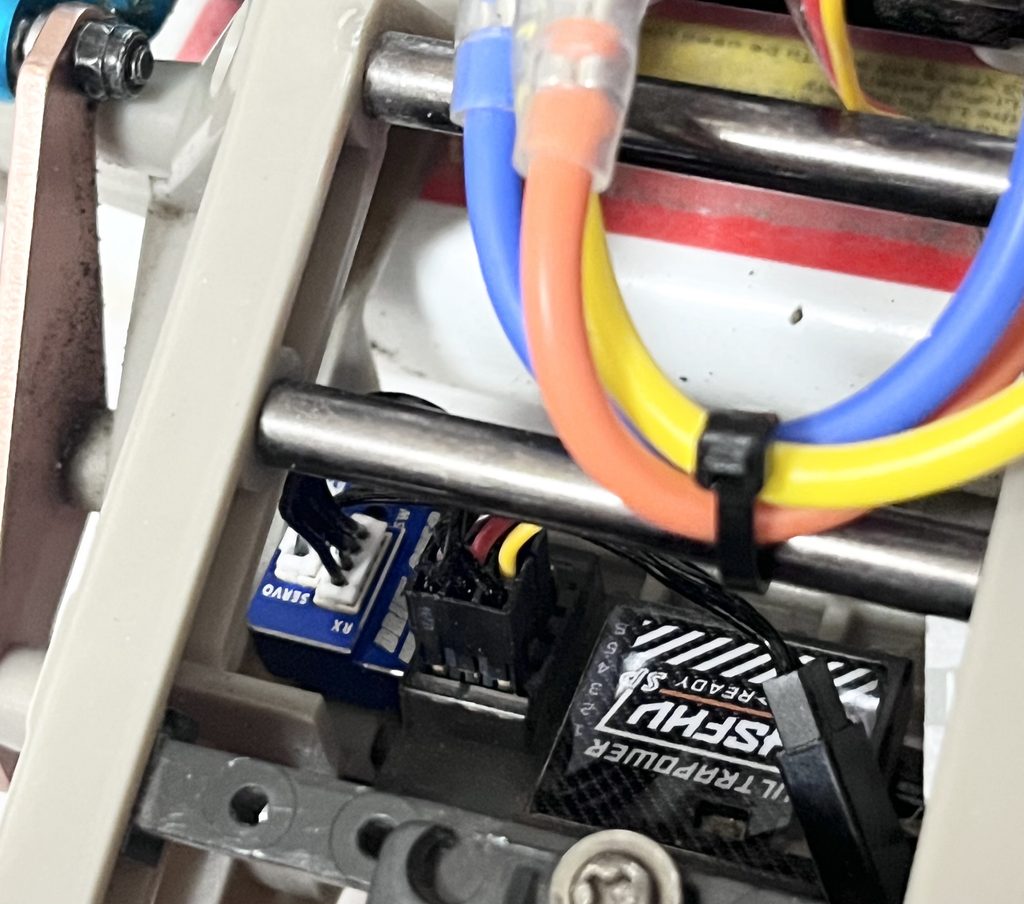
I secured the unit firmly to the chassis using high-quality double-sided tape.
Even with the body shell on, there is plenty of clearance.
Verification: Checking the Gyro Effect
Let’s verify that the gyro is compensating correctly.
Below is a video showing the auto-steering correction in action.
[Insert Video: Steering correction by shaking the front end]
The servo instantly applies counter-steer in response to the chassis movement.
This will provide much-needed stability during full-throttle runs on loose dirt.
Conclusion
By adding this modern gyro, I’ve tamed the inherent instability of this vintage buggy.
Mixing a classic chassis with modern electronics is the best part of the RC hobby.
I can’t wait to hit the track for a proper test drive!
コメント