Today, I’m working on improving the look of my Grasshopper.
I used a genuine Tamiya option part for this visual upgrade.
Part Used: Buggy Light Pod Set (LED Compatible)
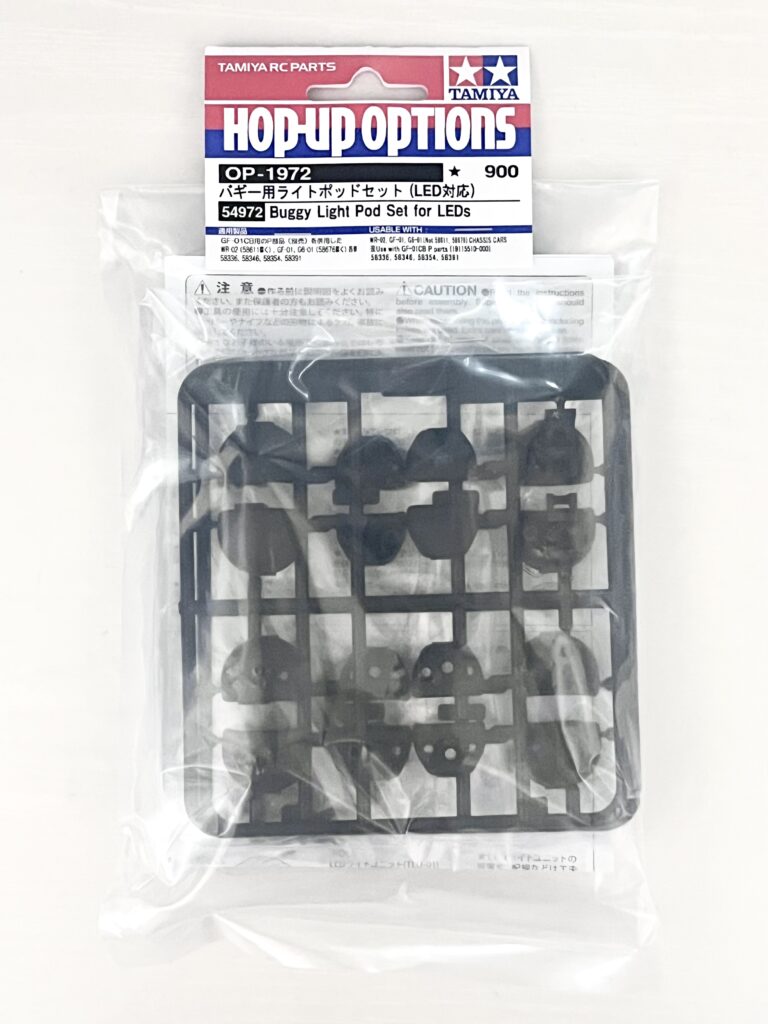
This is a great, affordable part for adding scale detail to your buggy.
It’s a perfect first step for customizing your RC machine.
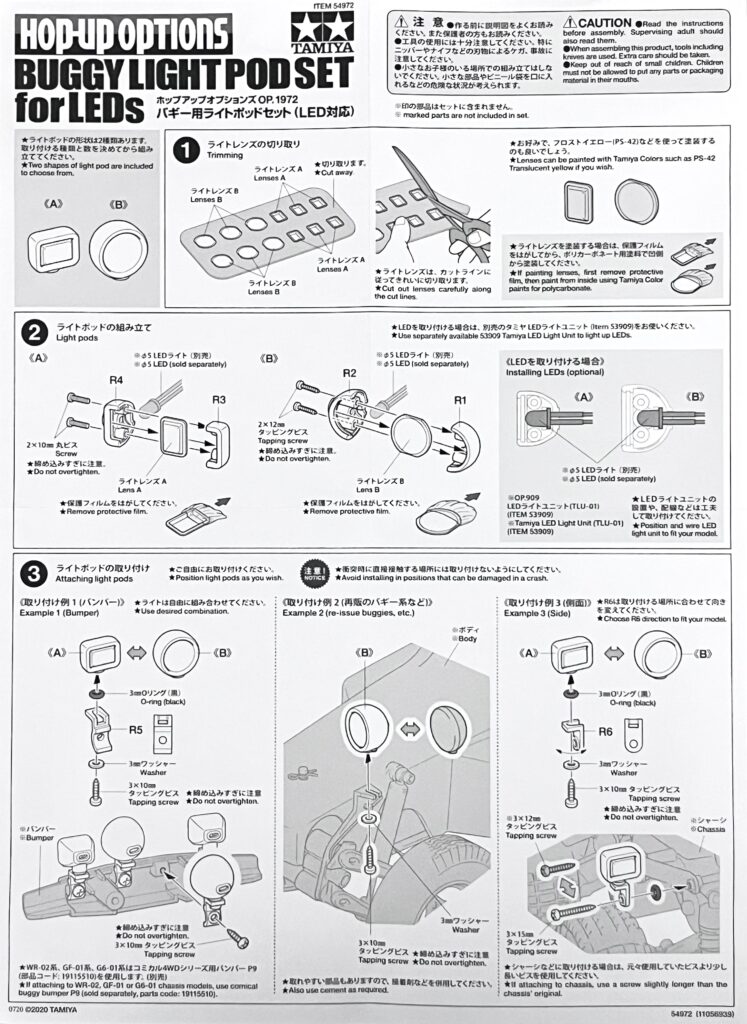
The kit comes with two shapes: round and square.
While it’s compatible with 5mm LEDs, I chose to install just the pods this time for a static scale look.
Installation on the Grasshopper
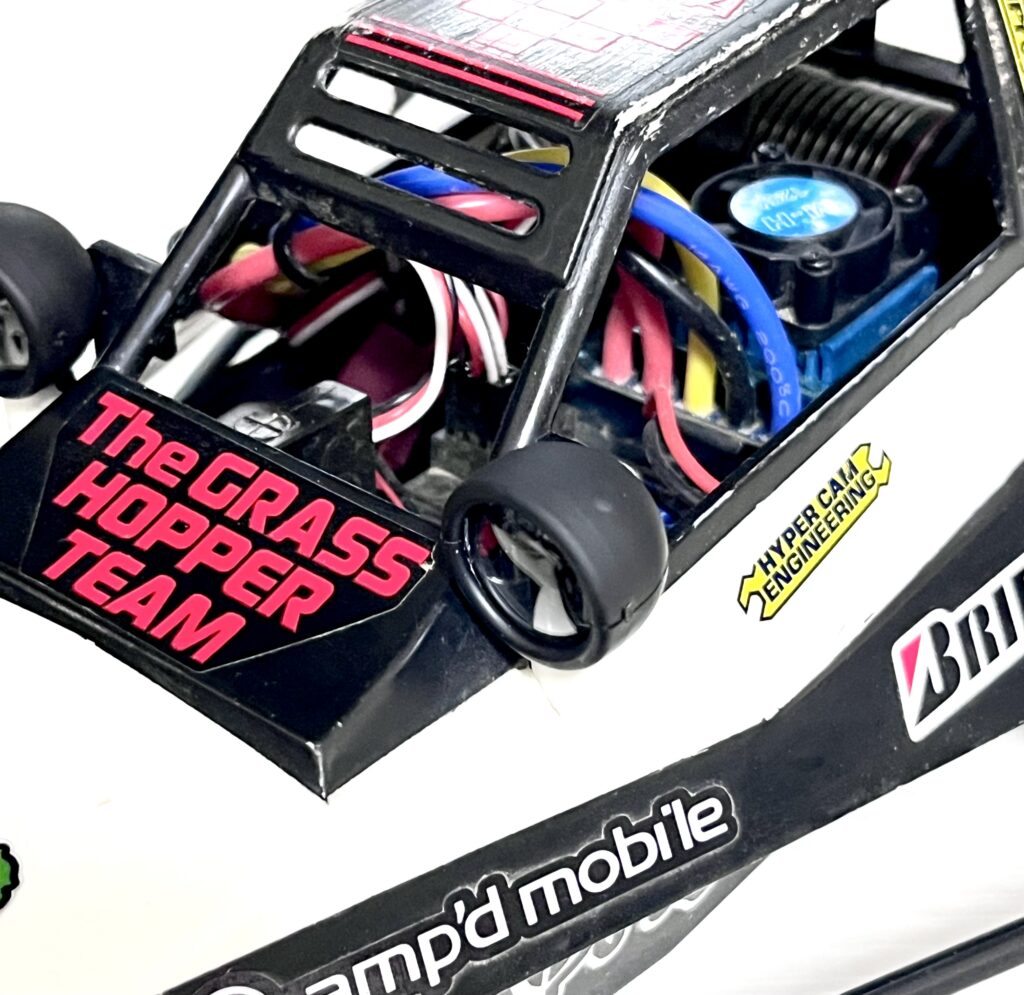
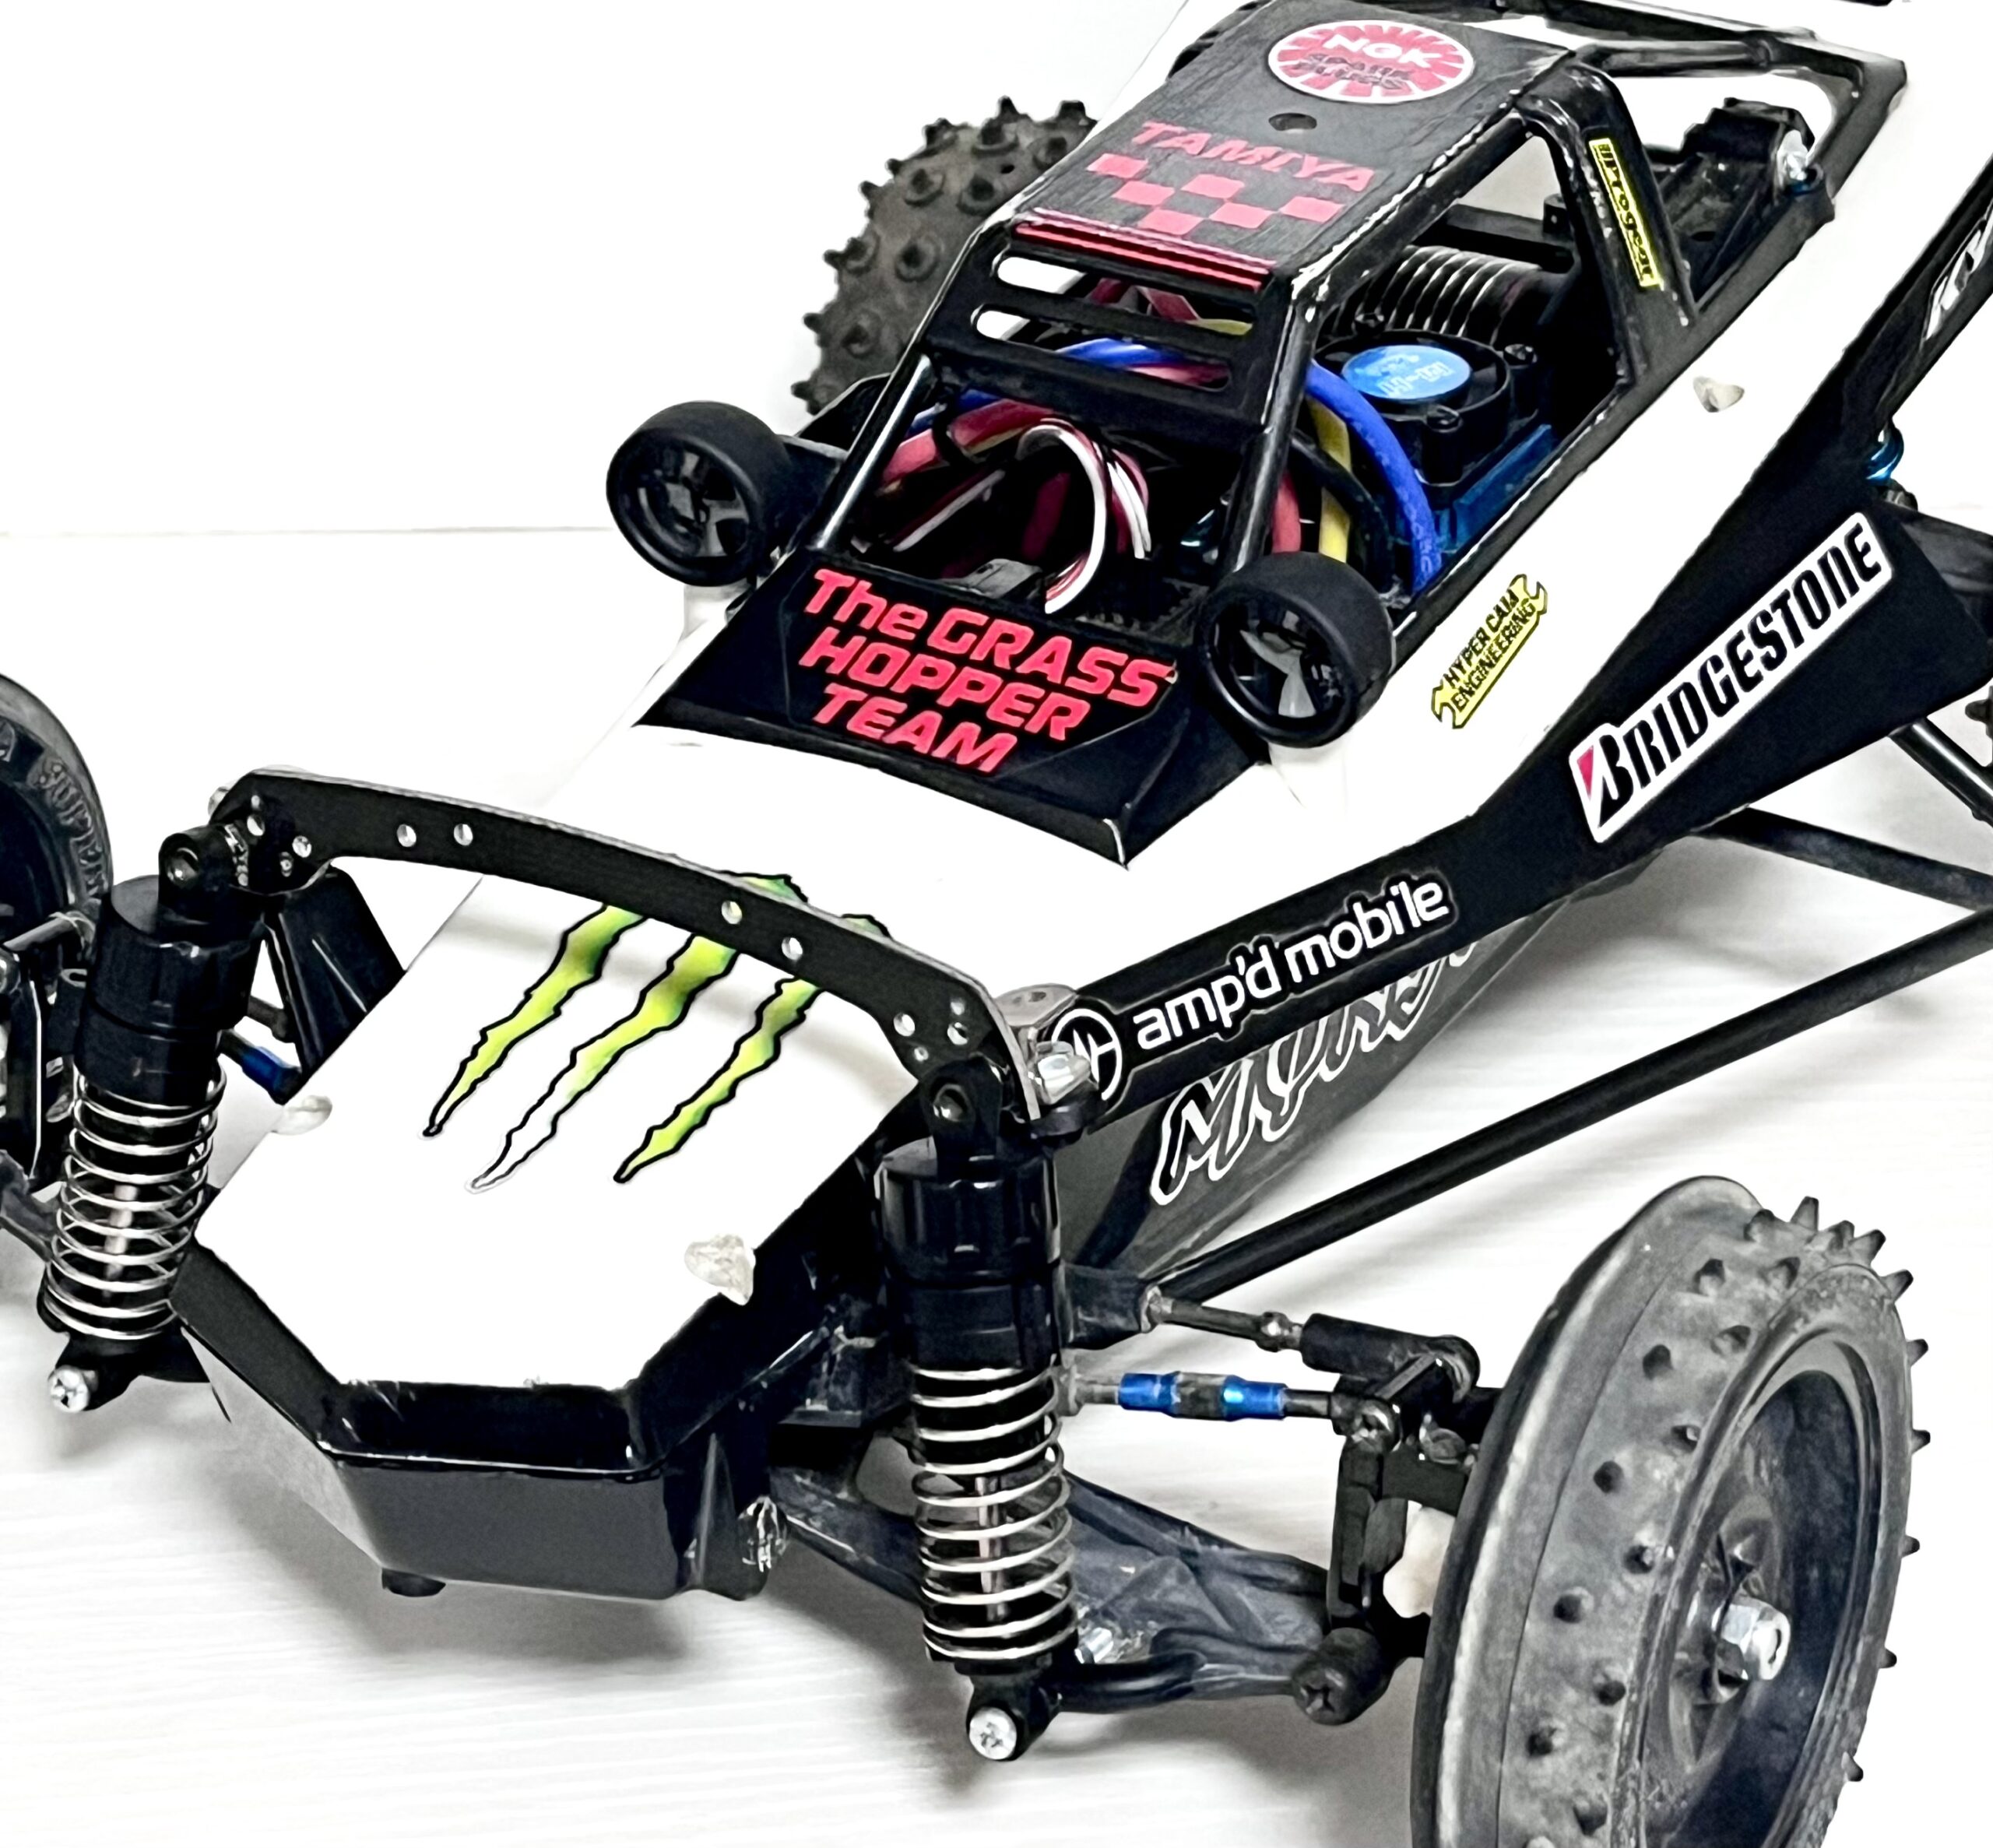
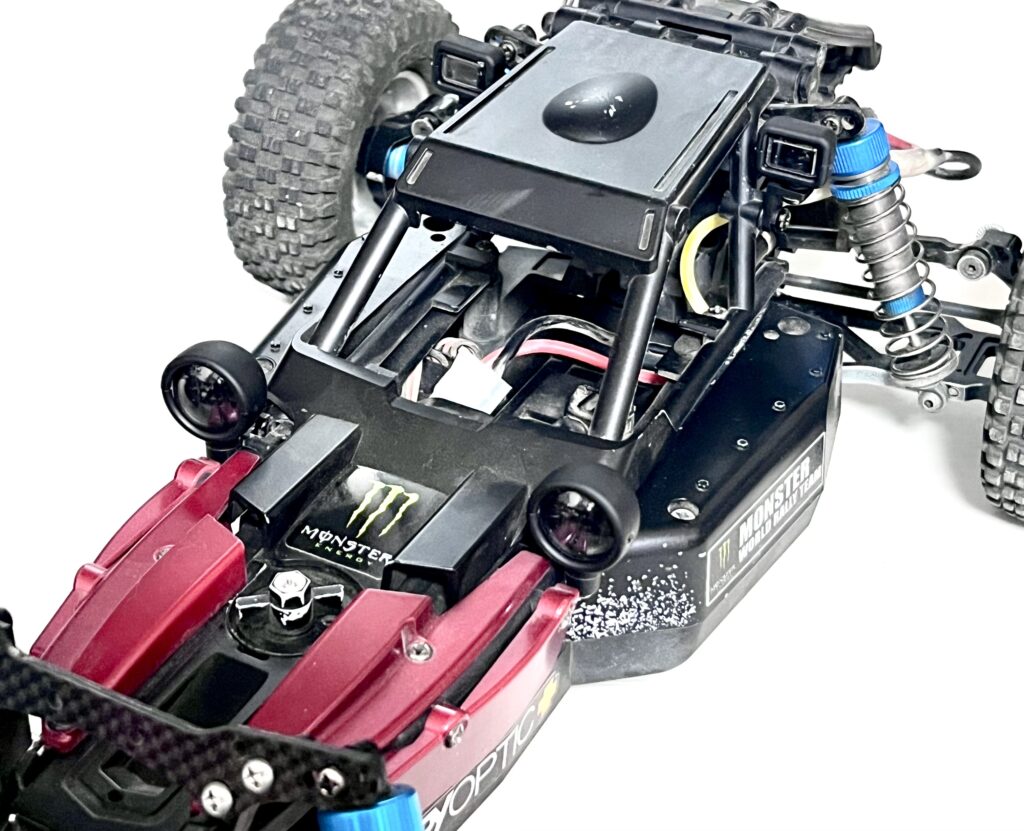
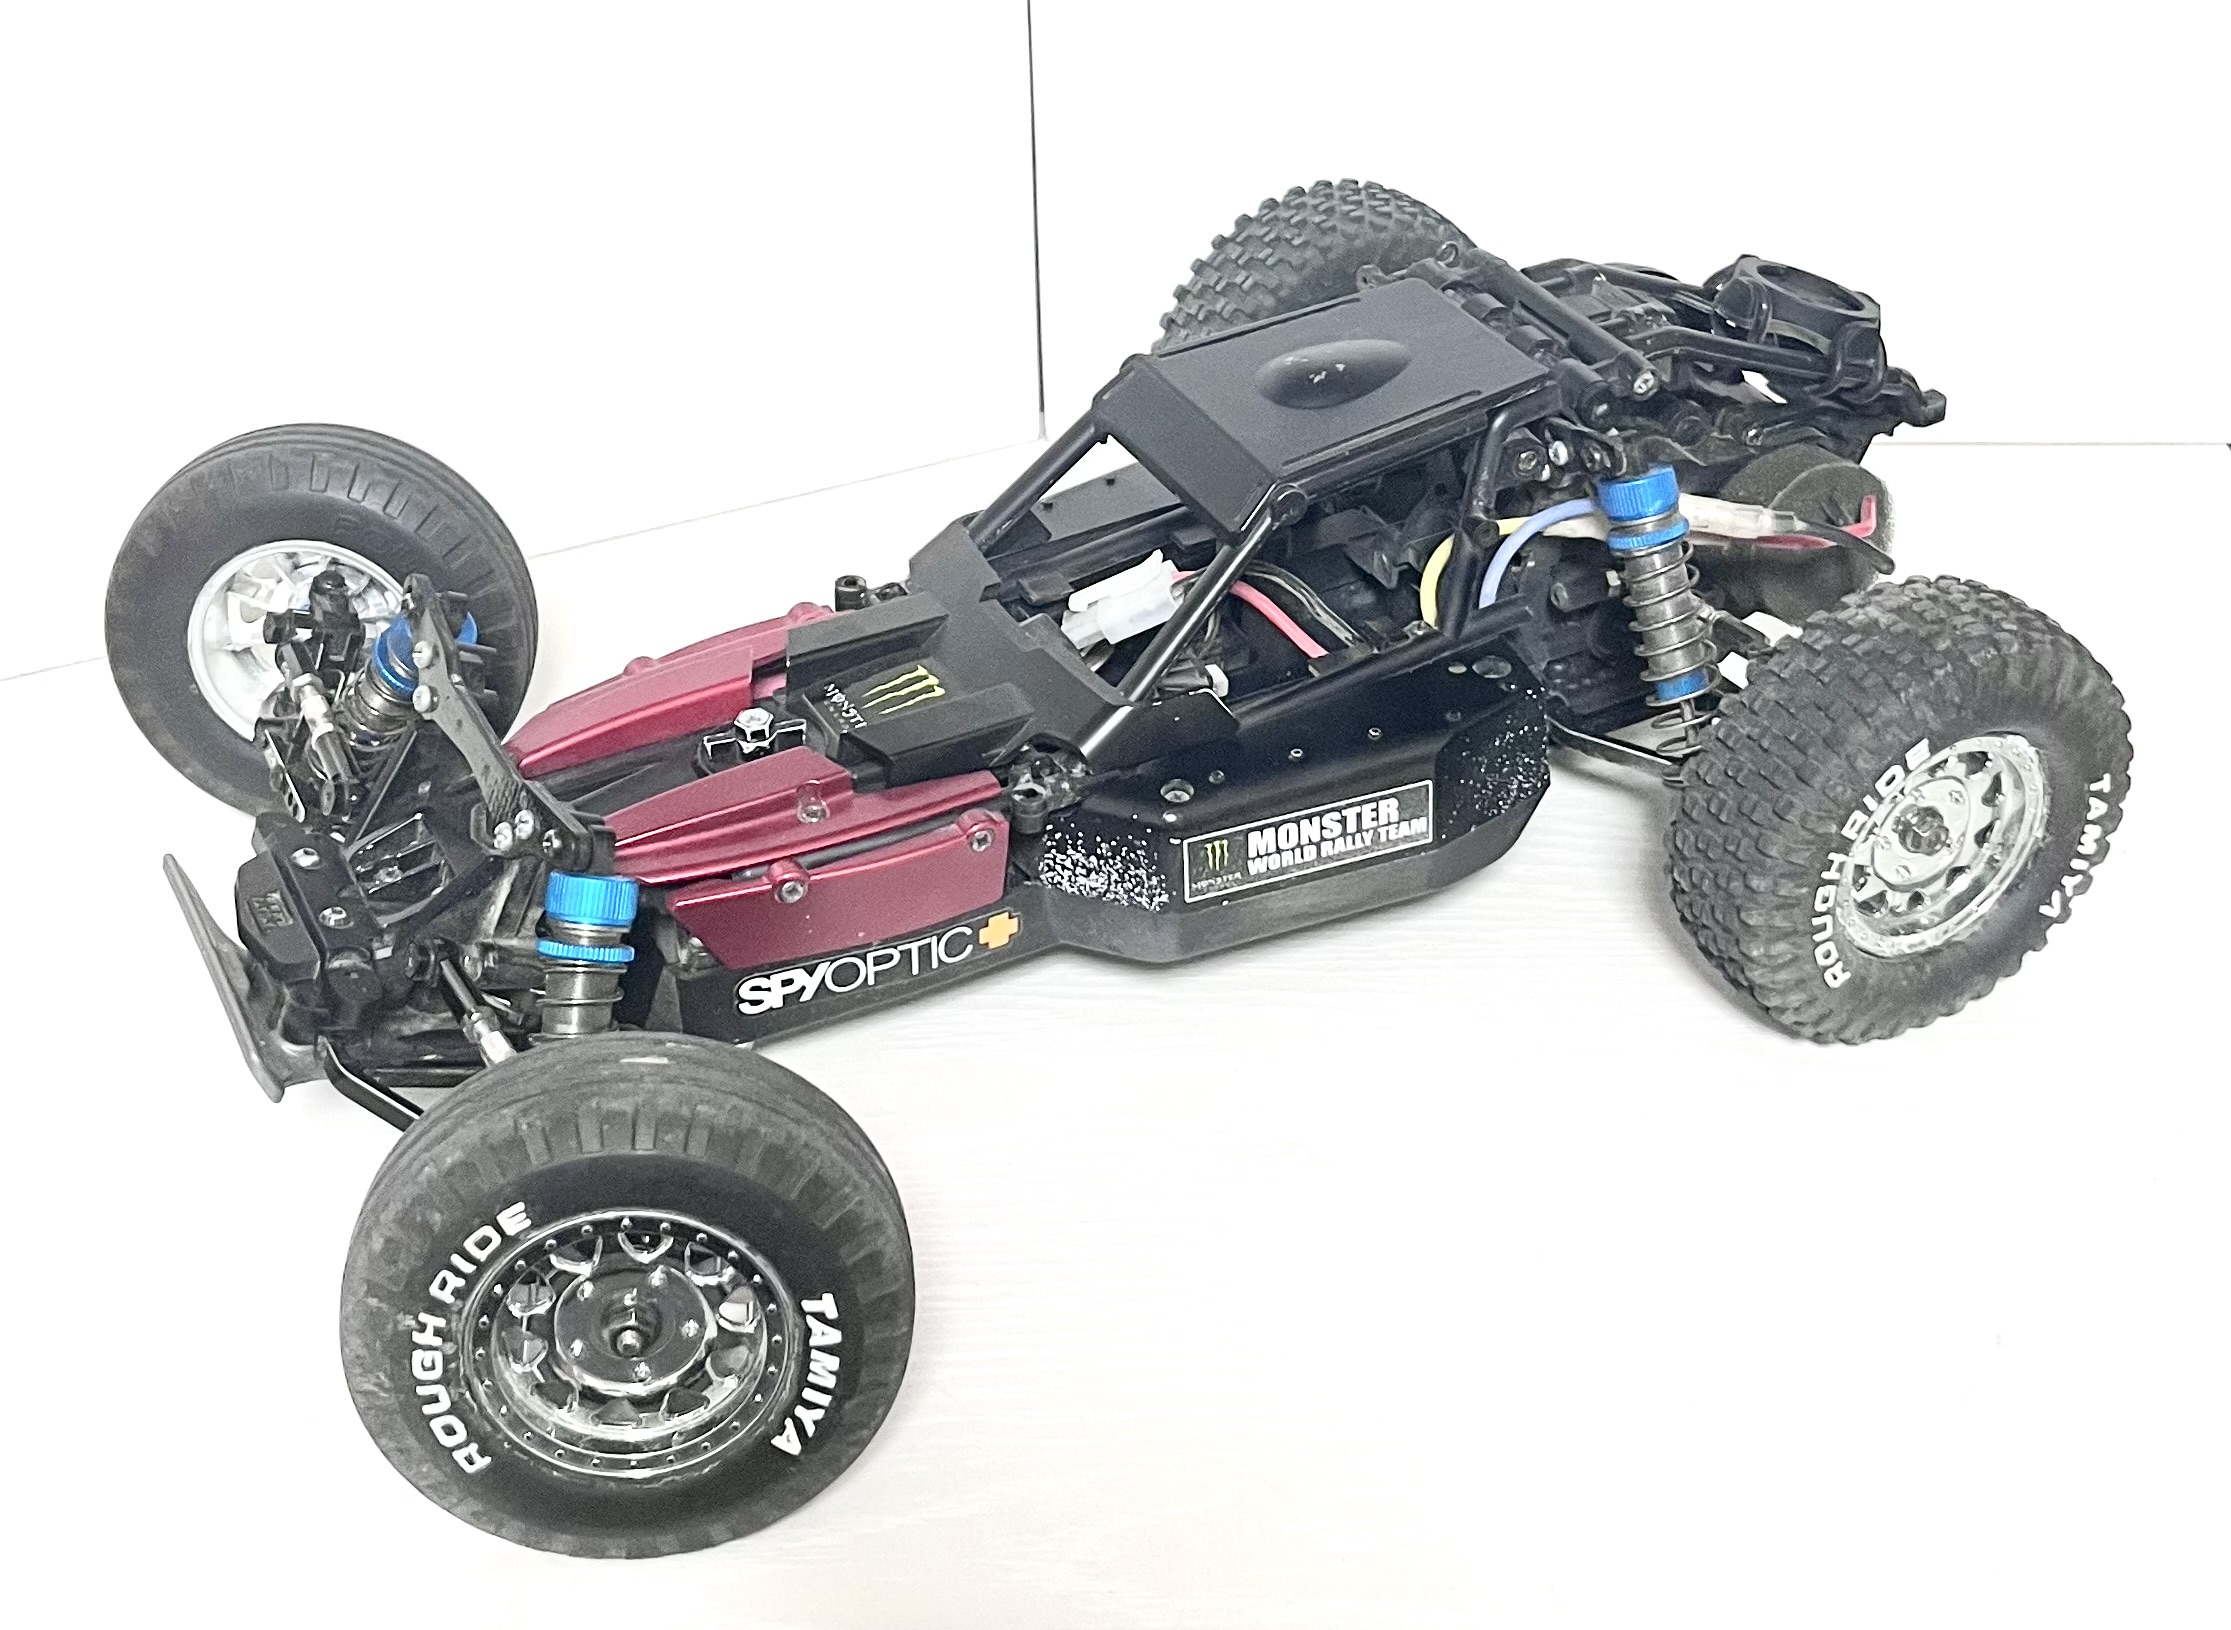
I decided to go with the round pods for the Grasshopper.
It instantly toughens up the front end and adds a layer of realism to the chassis.

Viewing it from a distance, the vintage buggy silhouette looks fantastic.
The pods pop against the black body, giving it a much stronger presence.
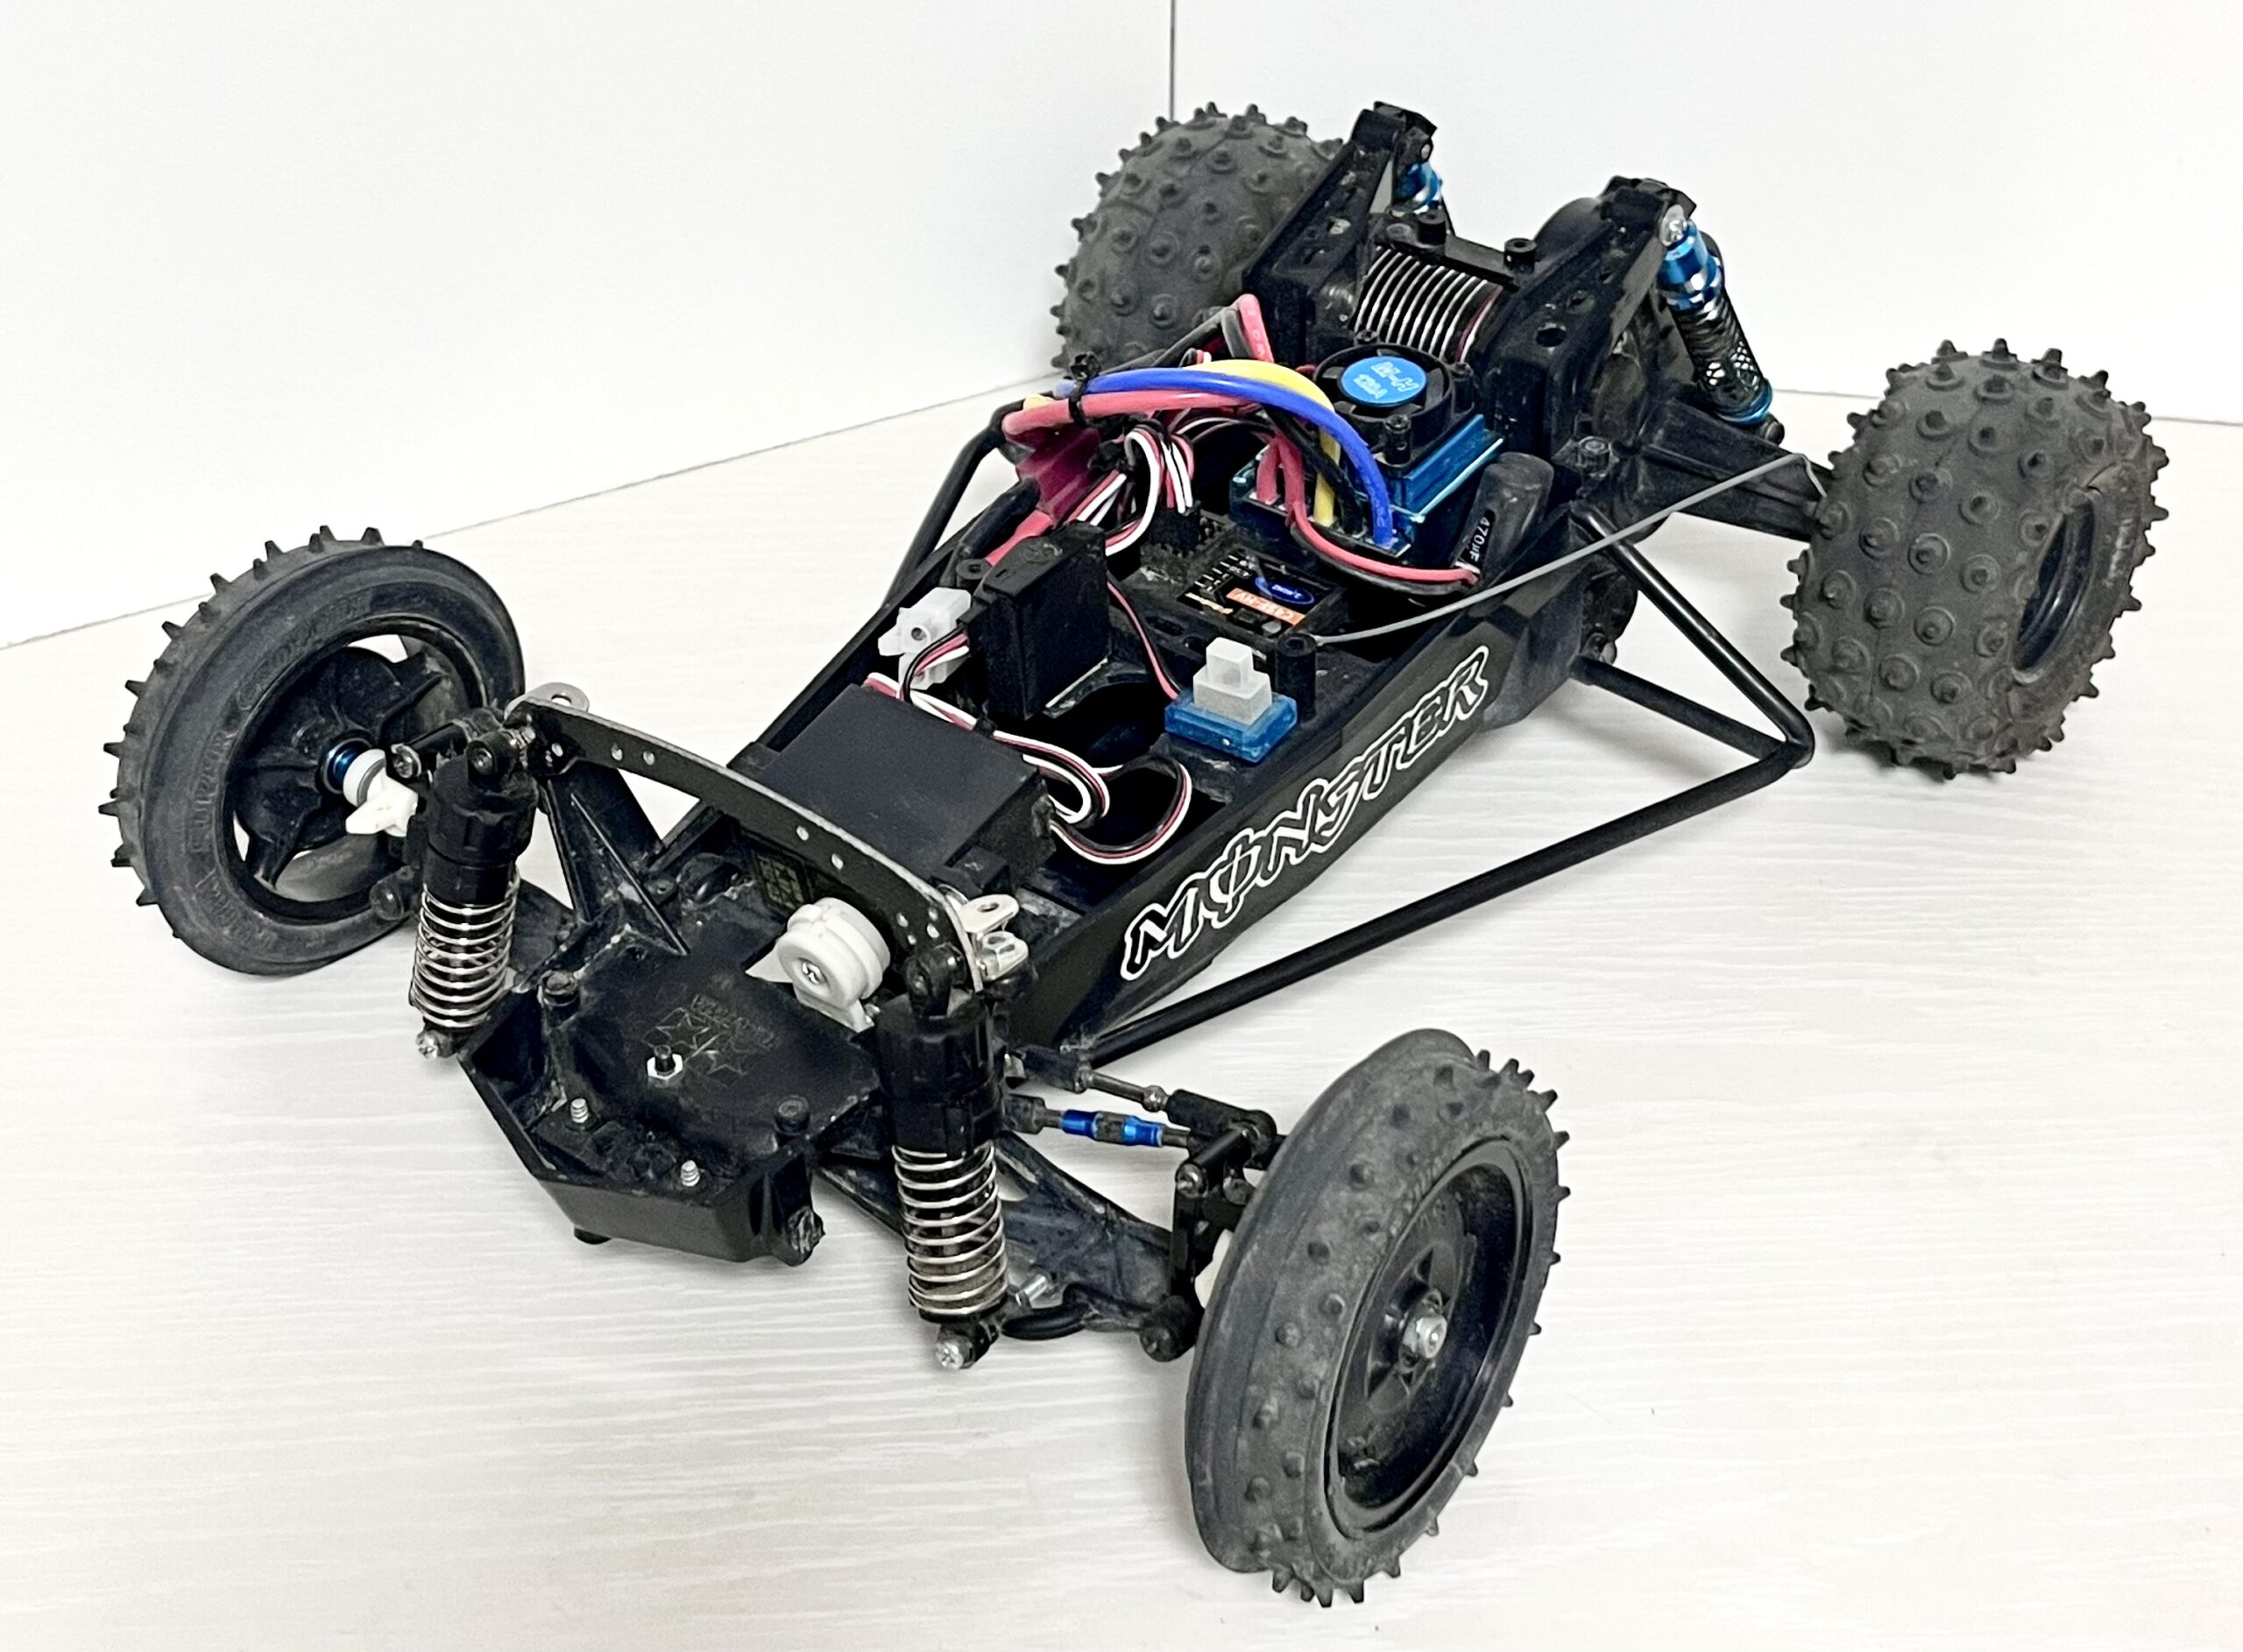
Bonus: Customizing the DT-04
I also experimented with mounting these pods on my DT-04.
On this car, I used a combination of both round and square types for a more modern look.
This part is incredibly versatile for any buggy in your collection.
Conclusion
Adding light pods makes a huge difference in the machine’s overall vibe.
I highly recommend this as an easy and effective dress-up modification.
Give it a try and enjoy your own unique RC build!
Custom Parts Used
The parts used for this customization are listed below.
Want this awesome RC gear for yourself? Here’s how you can easily get it shipped from Japan!
Get Your Favorite Japanese RC Gear Shipped to You!
コメント