Hello everyone!
Welcome back to the RC car building blog.
Last time, we installed the tires, and the chassis is now almost complete.
Tamiya Grasshopper Build Diary Vol.8 : Attaching the Tires and Taking Shape!
This time, we will be working on the body.
We’ll be doing the painting and applying the decals to finally complete the Grasshopper!
Body Painting: A Challenge with an Original Color Scheme
First, let’s start with painting the body.
Here is the pure white body before painting.
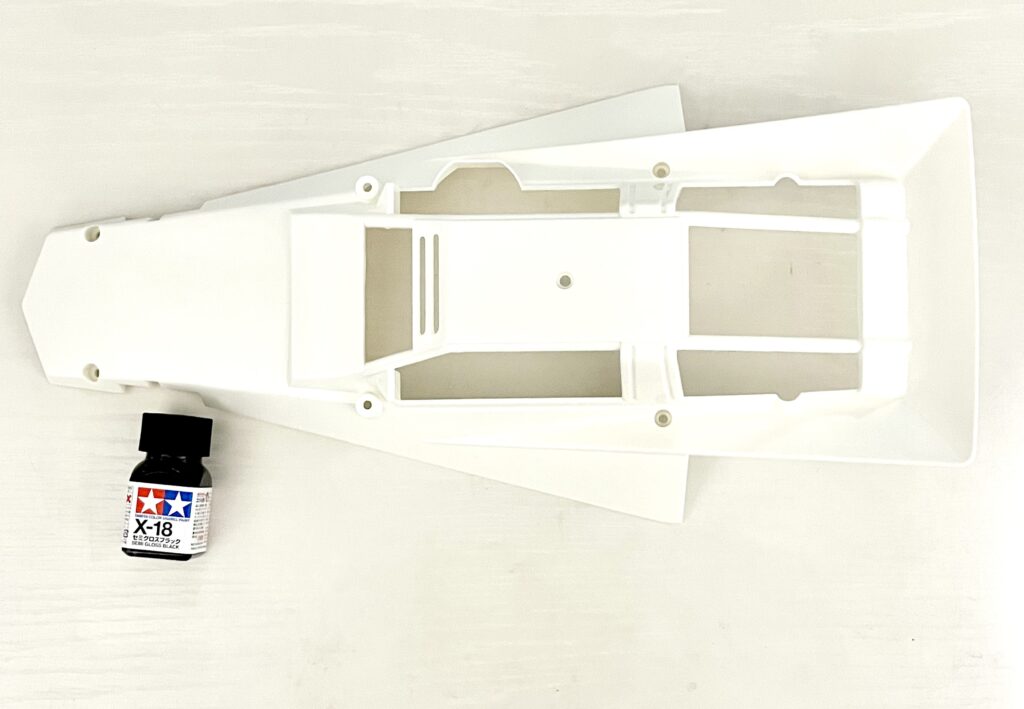
The paint I’ll be using this time is Tamiya’s enamel paint, “X-18 Semi-Gloss Black.”
I decided to deviate a bit from the instruction manual and go for a black and white two-tone color scheme.
I used a brush for the painting.
Here is the photo after painting.
Adding black gives it a much sharper and more defined look, don’t you think?
Finishing the Machine with Decals
Next, I will apply the decals.
I also changed the placement of the decals slightly from the instructions.
Creating your own original machine is one of the greatest pleasures of building RC cars.
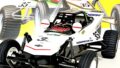
Here is the body after applying the decals.
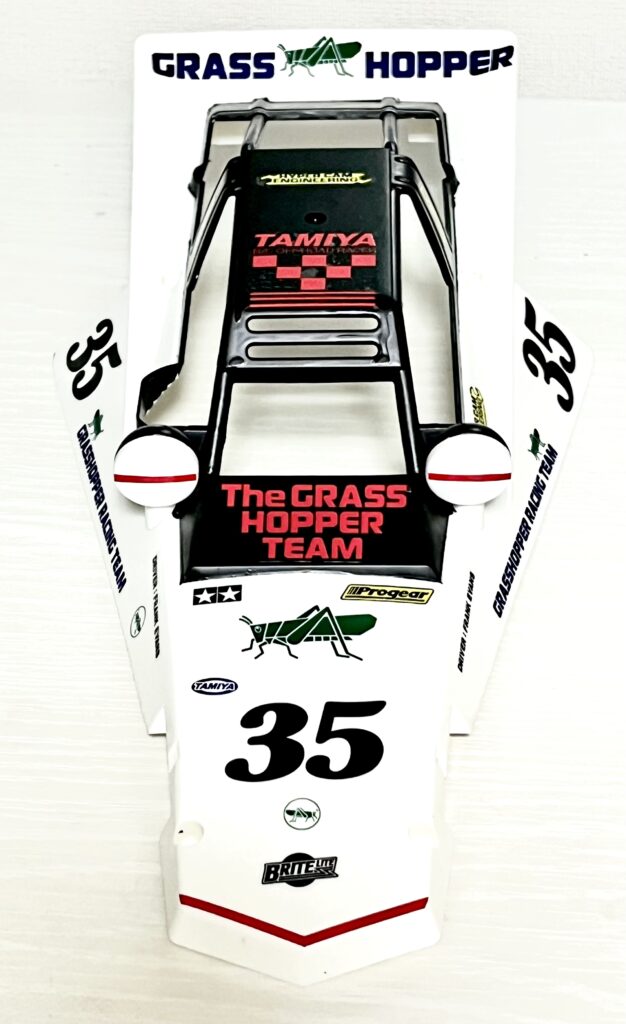
It instantly has that racing car vibe.
The painting was the most difficult part, and there’s some unevenness in the color, but I think it turned out alright in the end.
The Grasshopper is Finally Complete!
Now, it’s time to mount the painted and decaled body onto the chassis.
With this, the Tamiya Grasshopper is complete!
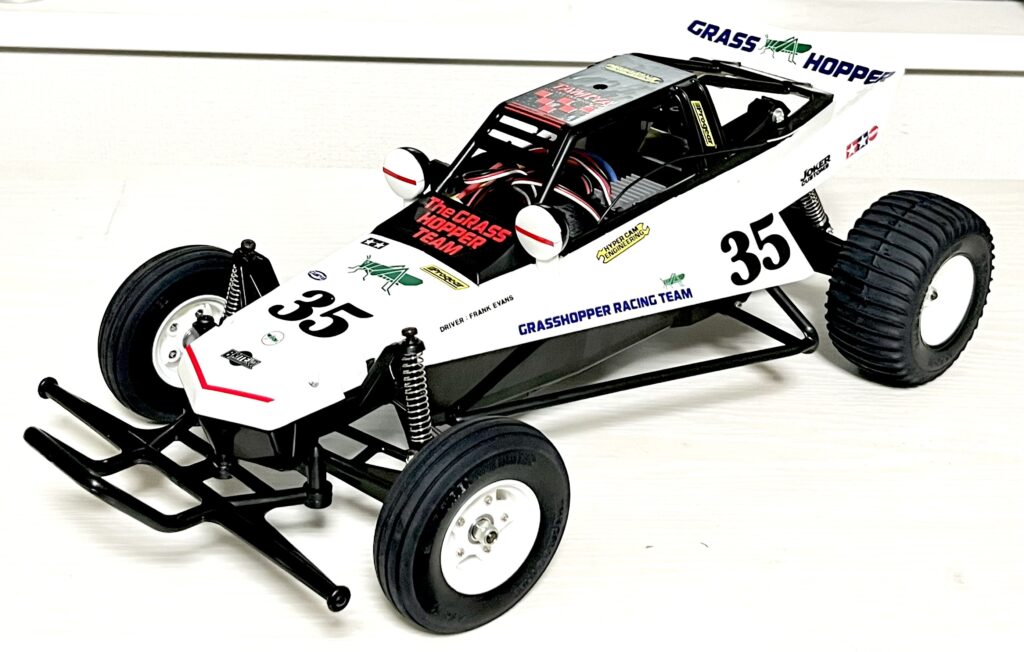

A machine you build yourself is something special.
I’ve grown quite attached to it.
From now on, I plan to enjoy driving it and also have fun with customizations.
Please look forward to the next driving review!

コメント