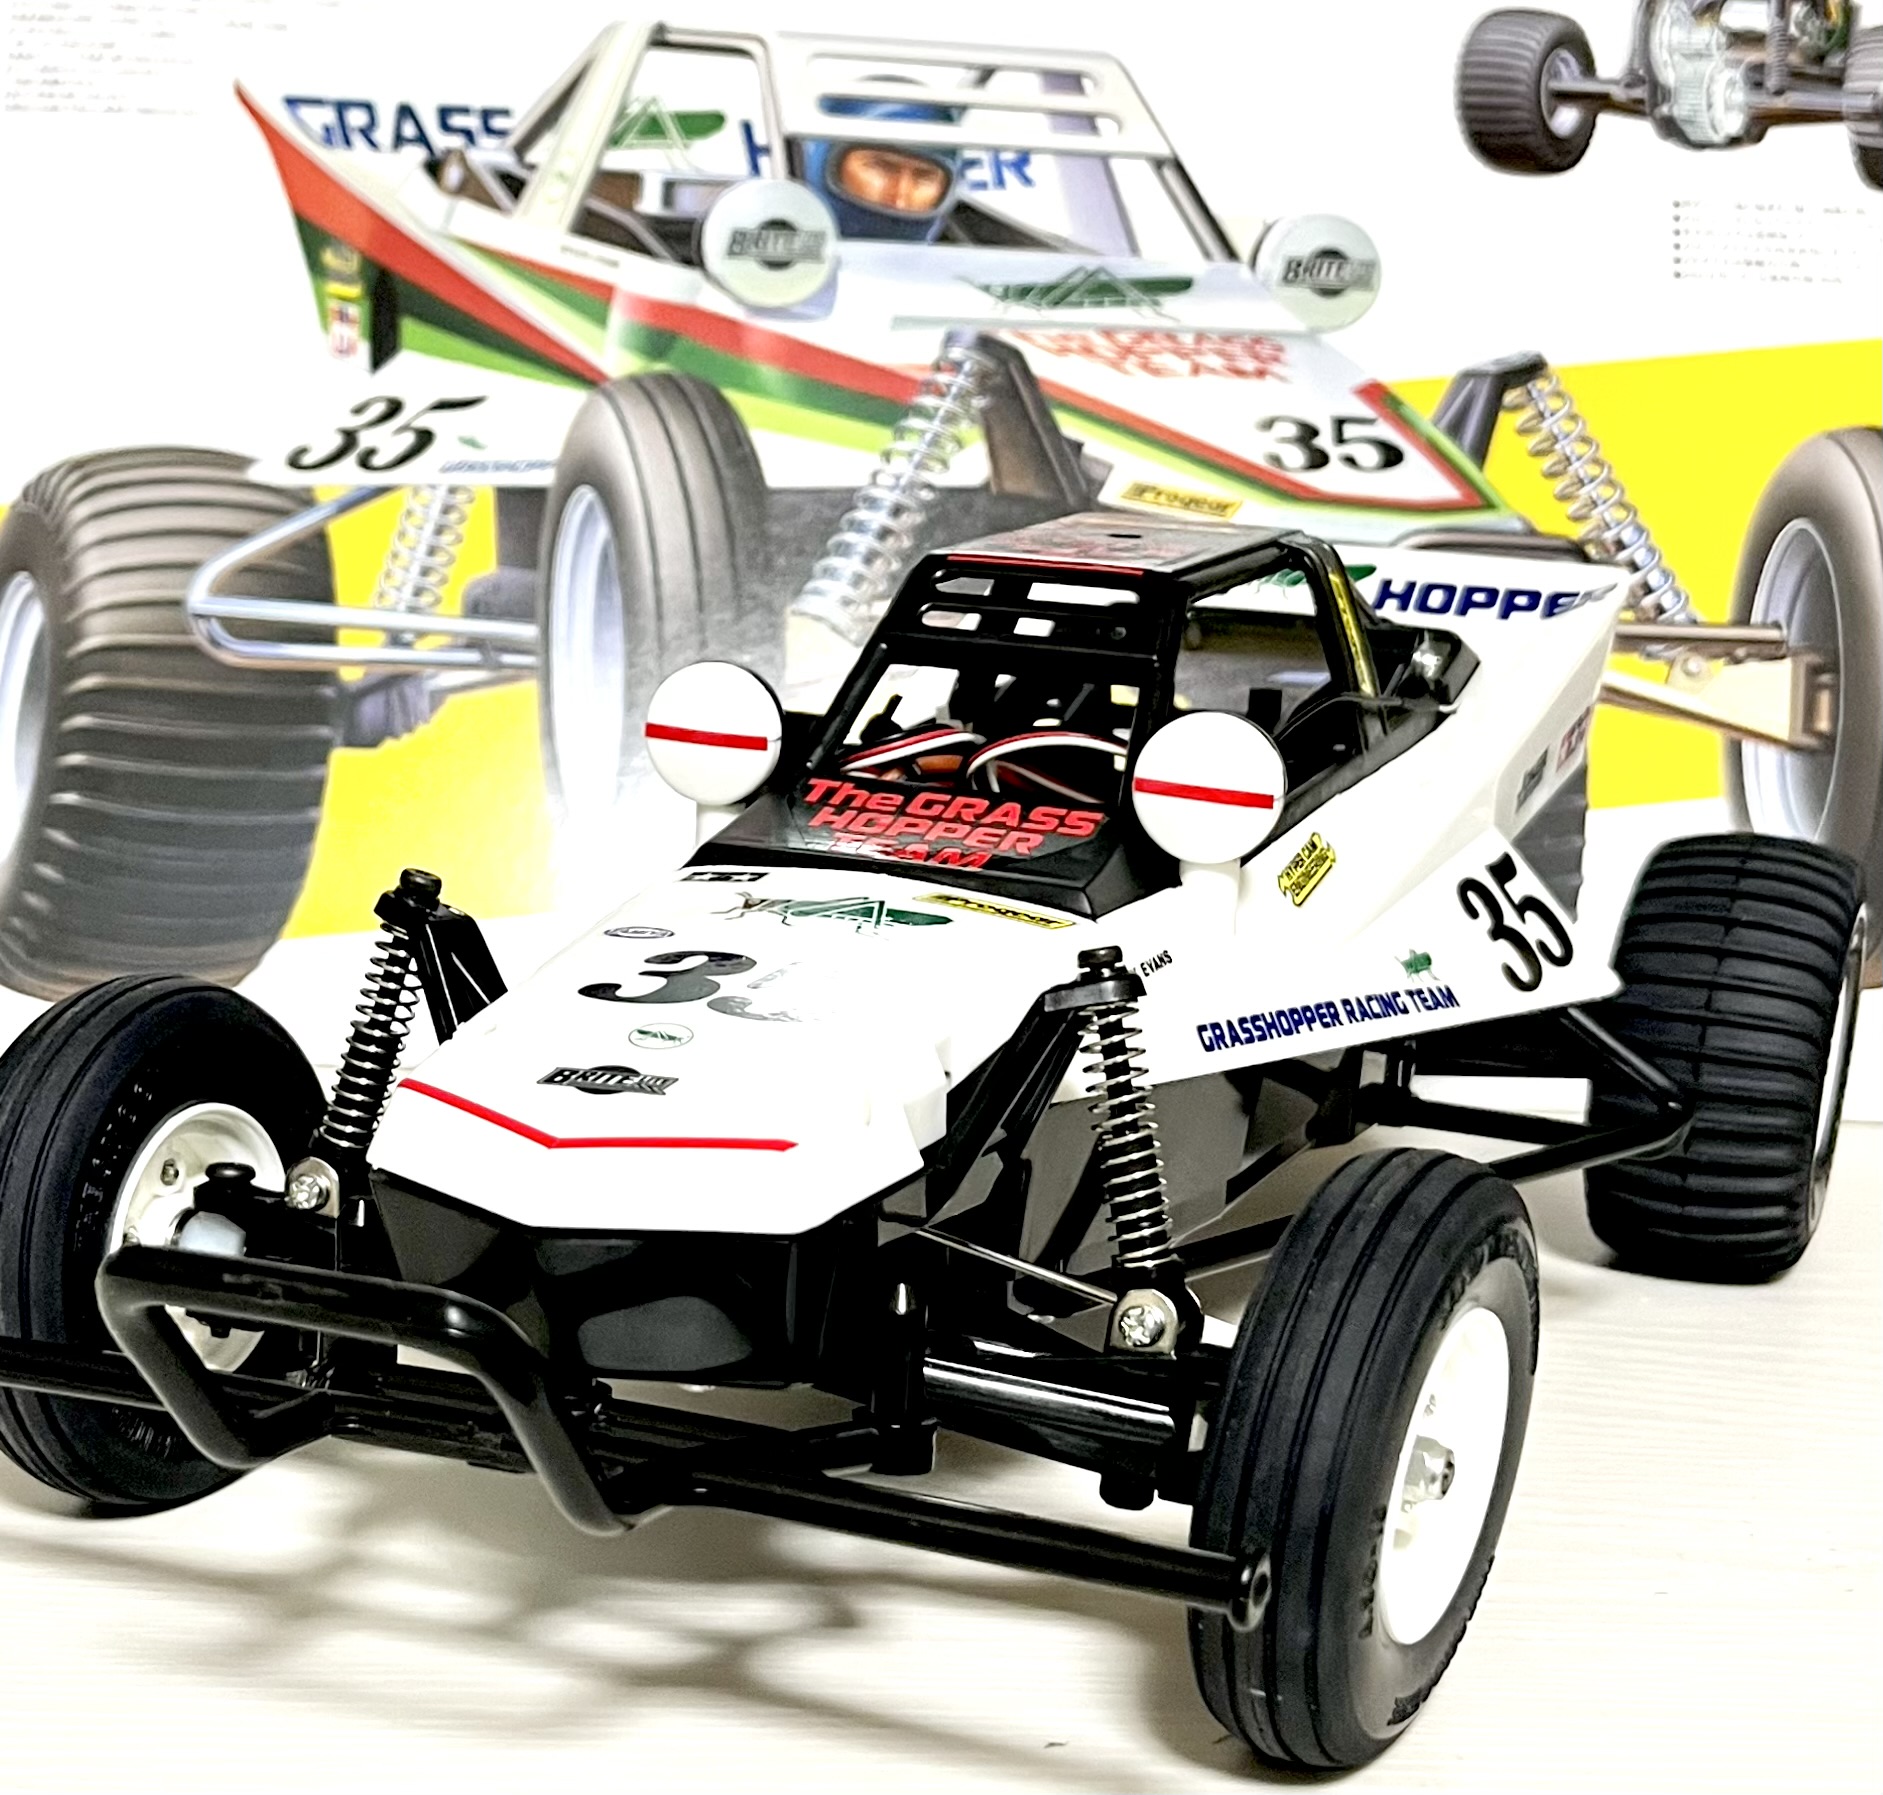
Our Grasshopper customization project is entering its final stages. This time, we’re focusing on a significant upgrade for the rear suspension. We’ll be swapping to genuine Tamiya CVA oil dampers and reinforcing the mounting points with an aluminum brace plate. Our goal is to enhance both performance and aesthetics.
The Parts We’re Using
Here are the components for our rear suspension reinforcement:
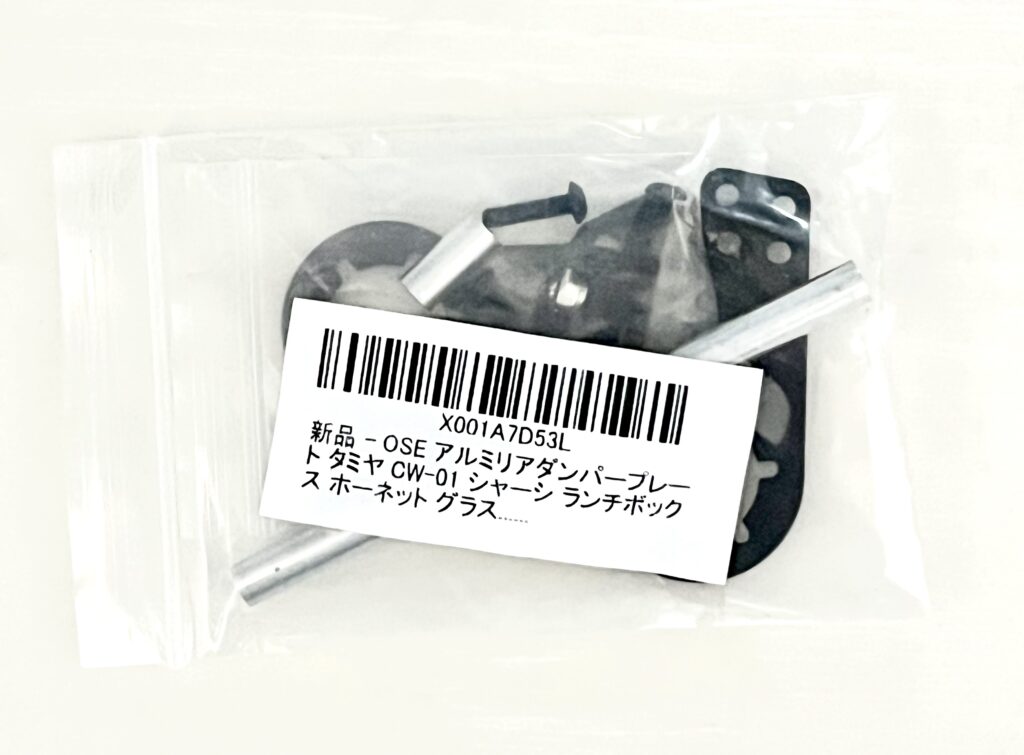
- Aluminum Rear Damper Plate: This will increase the rigidity of the shock mounts.
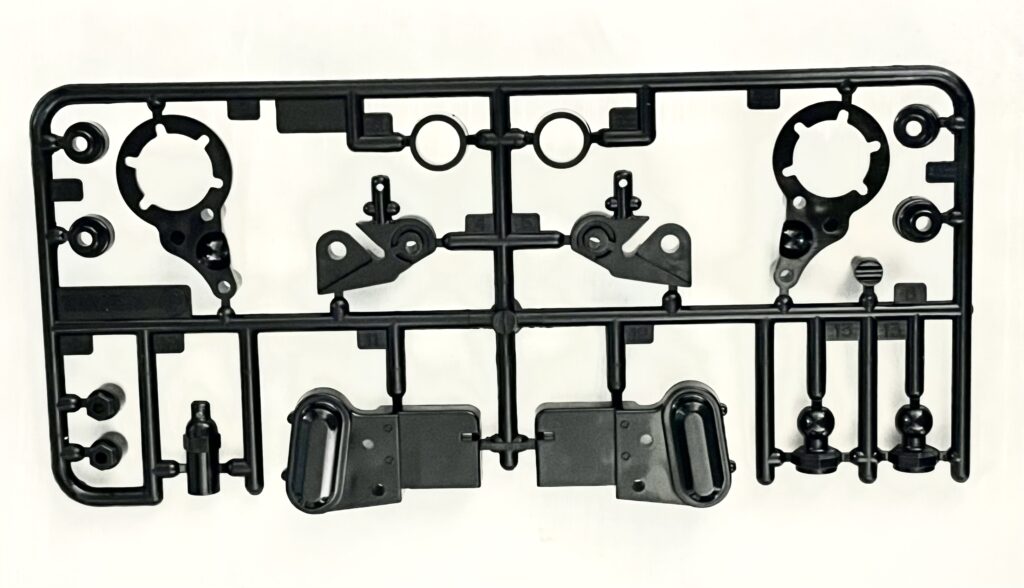
- Hornet D-Parts: We need the damper mounts from this tree to properly fit the CVA dampers.
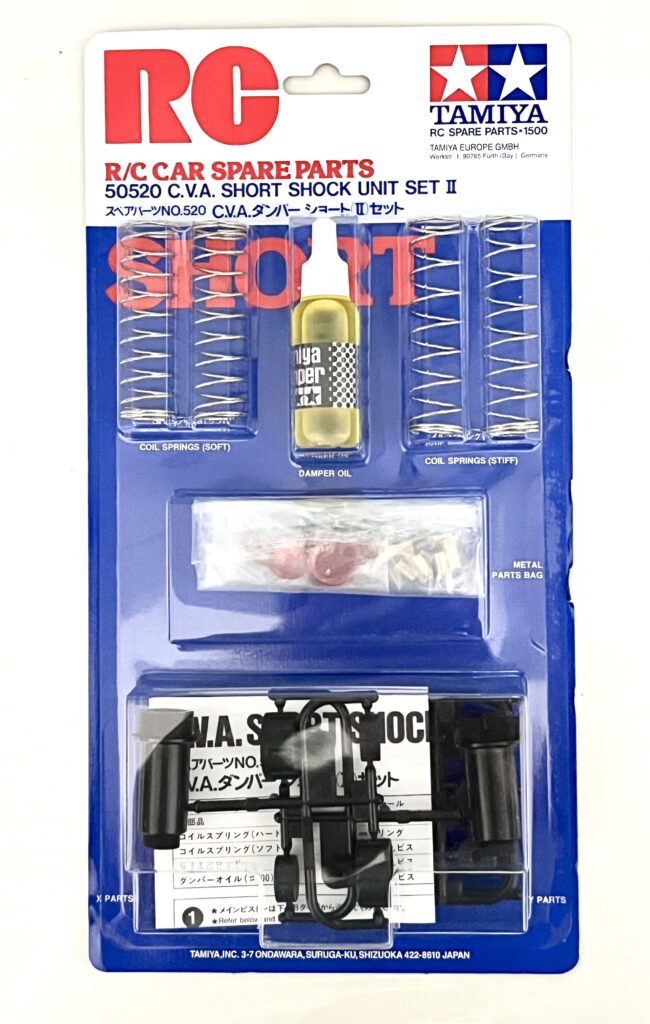
- CVA Short Shock Unit Set II: The classic, reliable Tamiya oil dampers.
▼ OSE Aluminum Rear Damper Plate
▼ Tamiya Hornet D-Parts
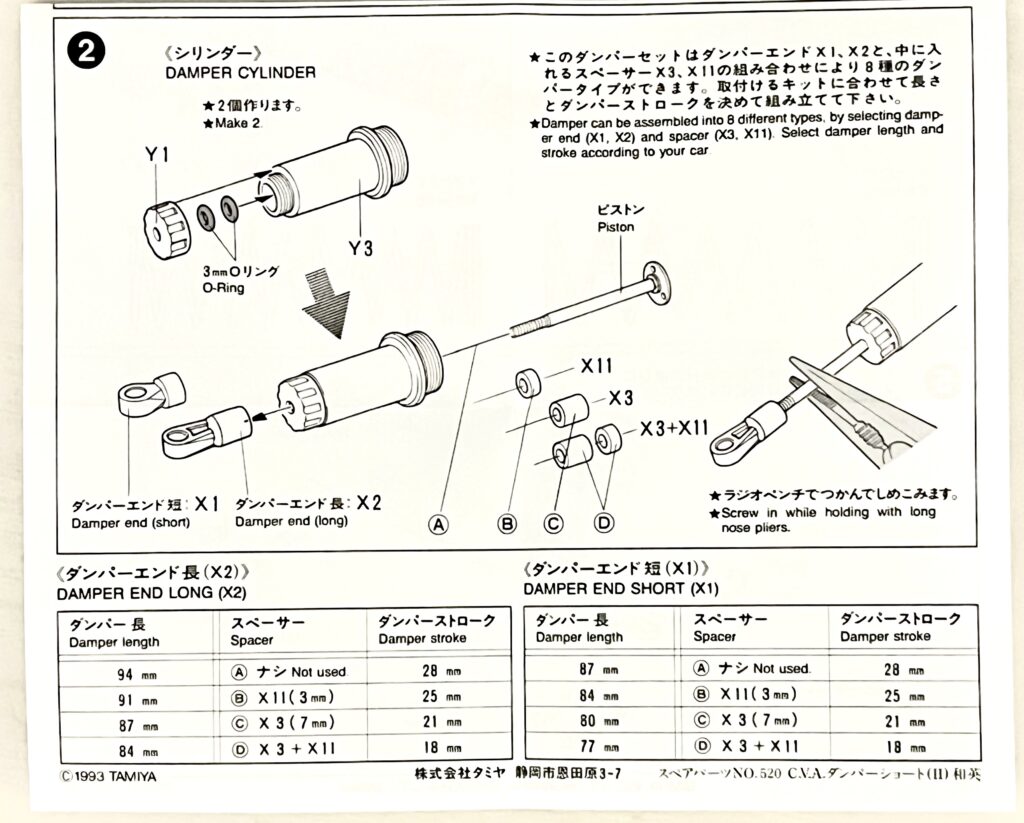
▼ CVA Short Shock Unit Set II
Assembling the CVA Dampers
The CVA damper set can be built to various lengths. After checking the manual, we decided to assemble them to a total length of 77mm, which is optimal for our Hornet-style rear end.
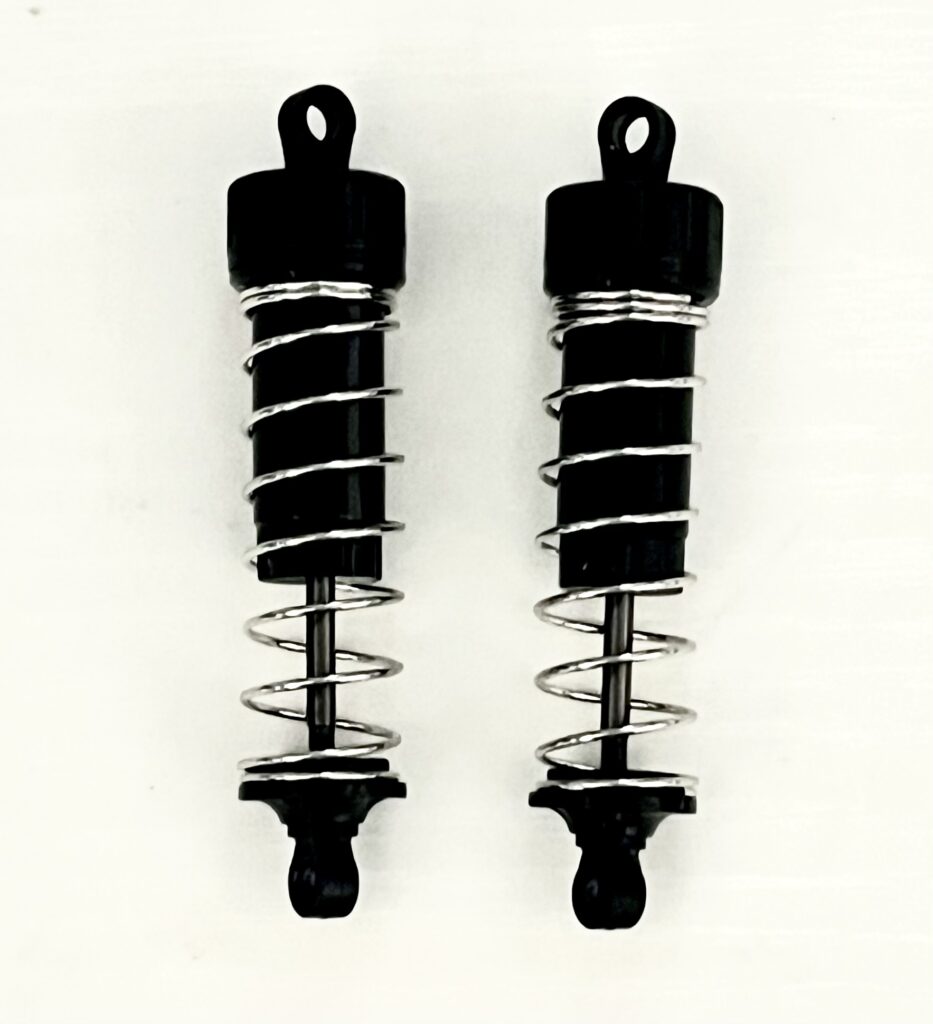
Here are the completed CVA dampers. The simple, all-black look is clean and purposeful.
Rear Suspension Installation
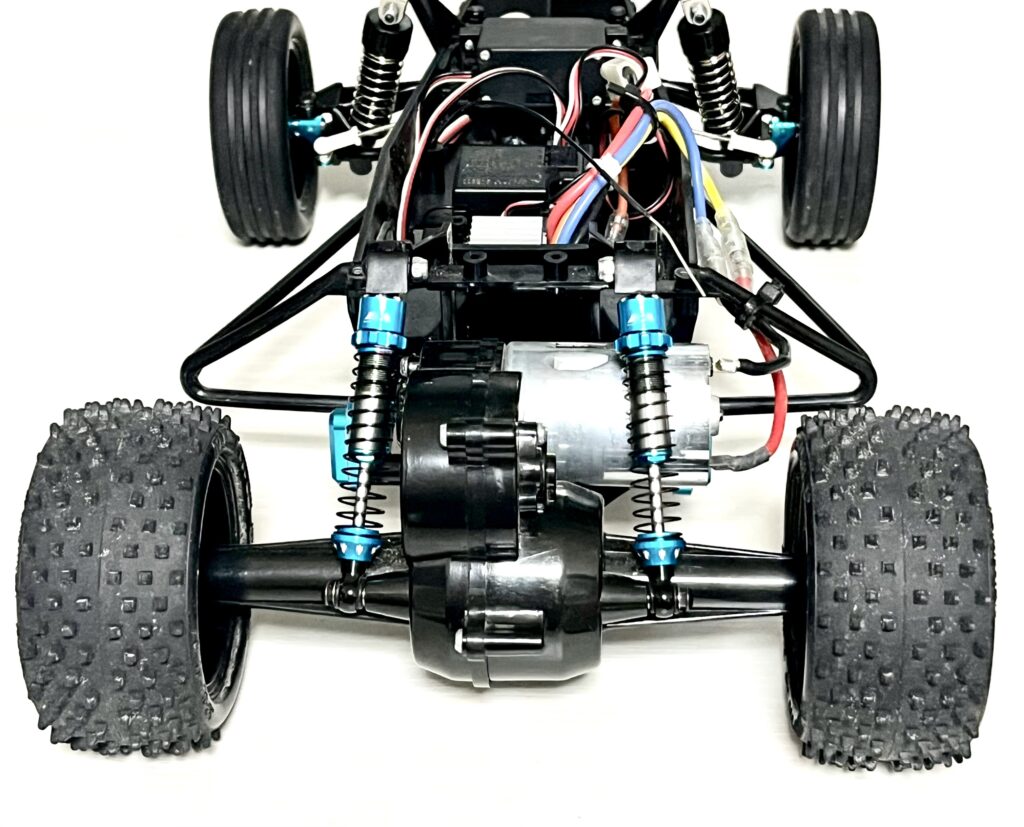
This is the rear end before the swap, equipped with the blue Eagle Racing shocks. We’ll be replacing this setup with our new CVA shocks and brace plate.
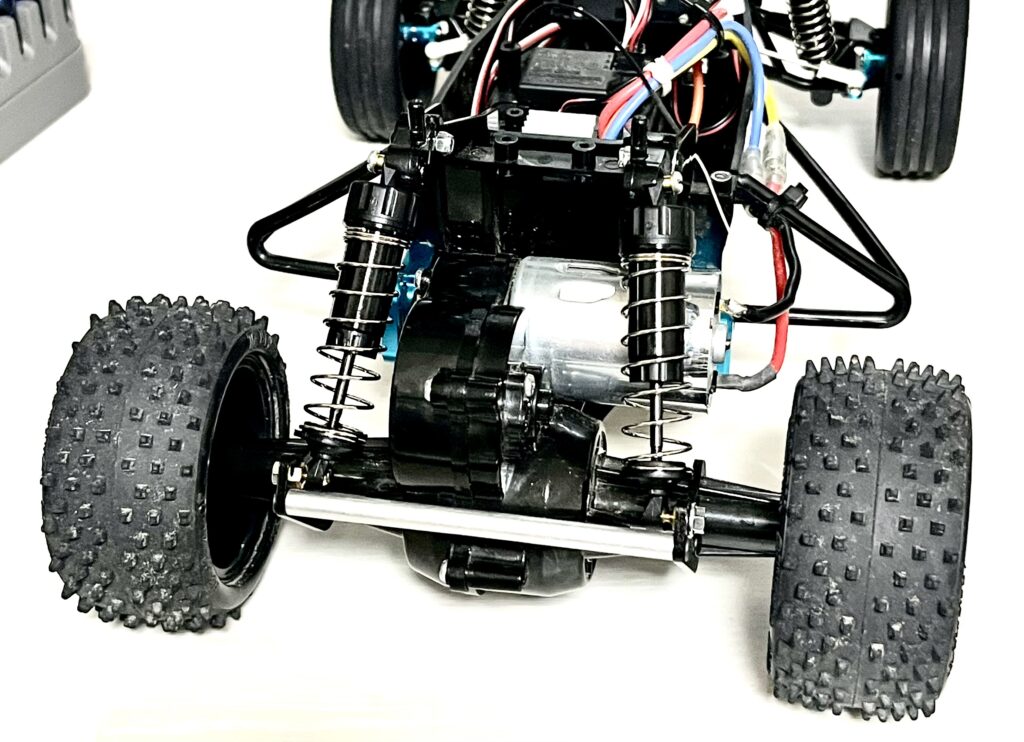
And here is the rear end after the upgrade. The aluminum brace plate and CVA dampers are now installed. The all-black setup gives it a stealthy, factory-racer look. The increased rigidity should translate to better handling on the track.
Conclusion
That wraps up our rear suspension reinforcement. The buggy now has a look that matches its upgraded performance. With this, our current series of Grasshopper customizations is complete! Thanks for following along.
Custom Parts Used
The parts used for this customization are listed below.
Want this awesome RC gear for yourself? Here’s how you can easily get it shipped from Japan!
Get Your Favorite Japanese RC Gear Shipped to You!
コメント