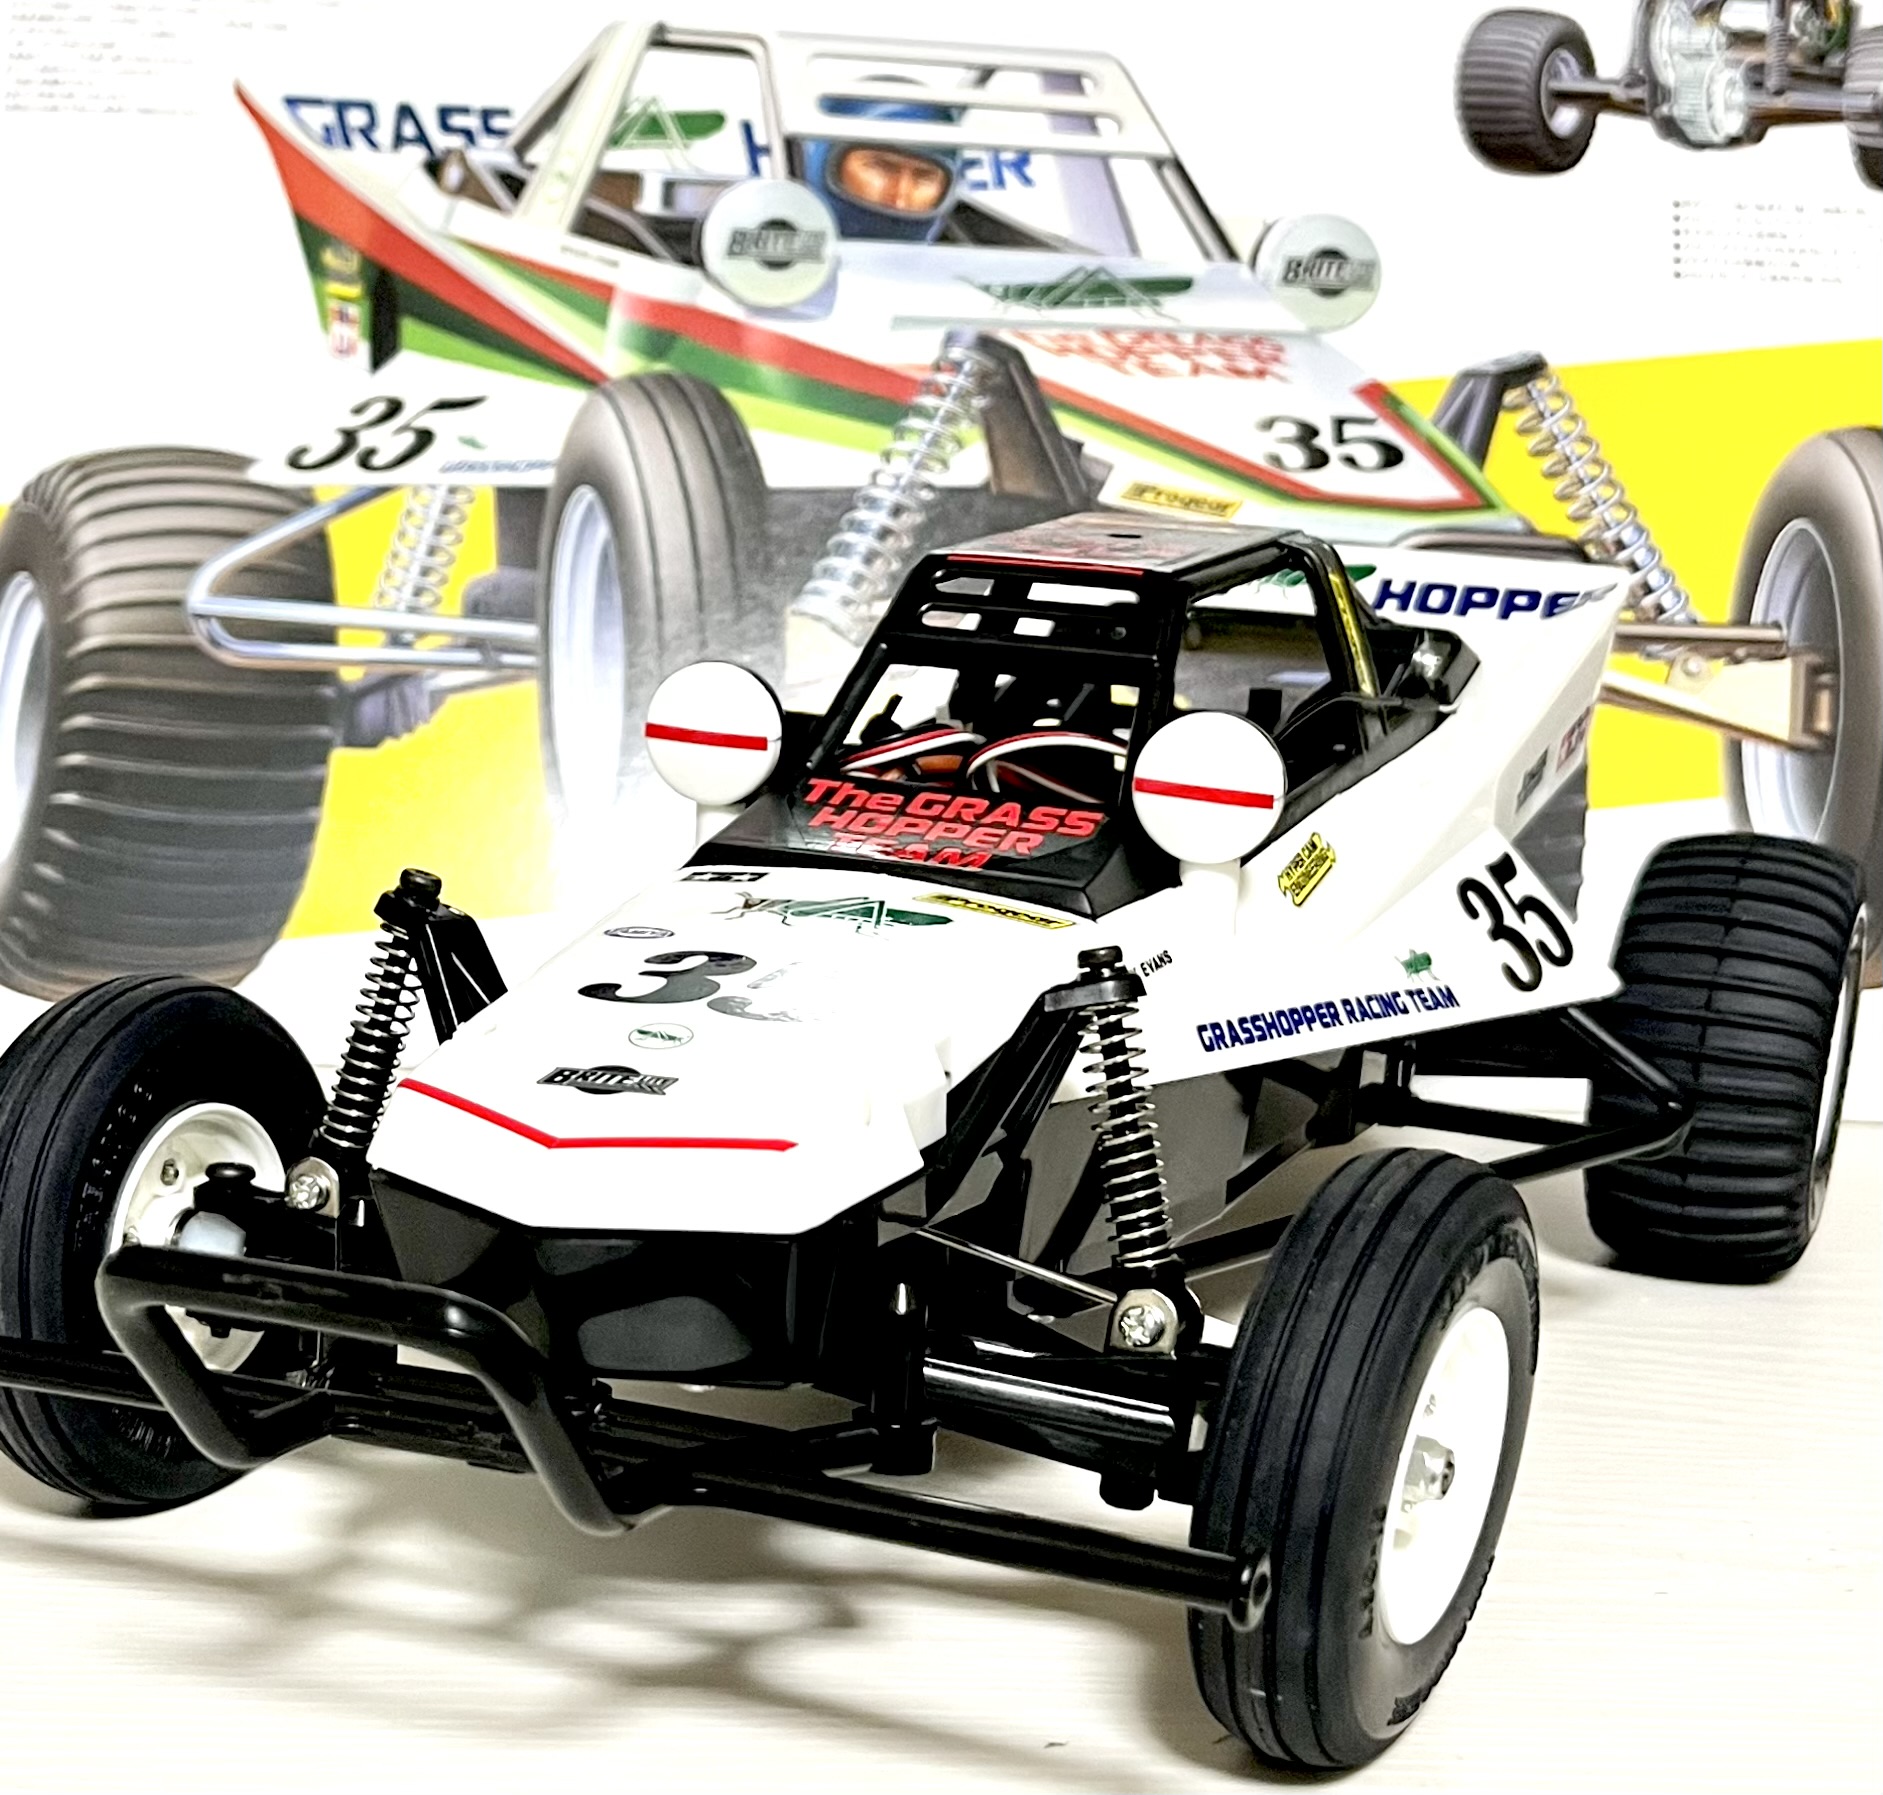
Following our last tire upgrade, it’s time to focus on the heart of the suspension. Welcome to the second installment of our Tamiya Grasshopper customization series! We are finally upgrading to oil-filled dampers, which should dramatically improve the buggy’s handling and stability.
This time, we’ll start with the front suspension.
The Parts We’ll Be Using
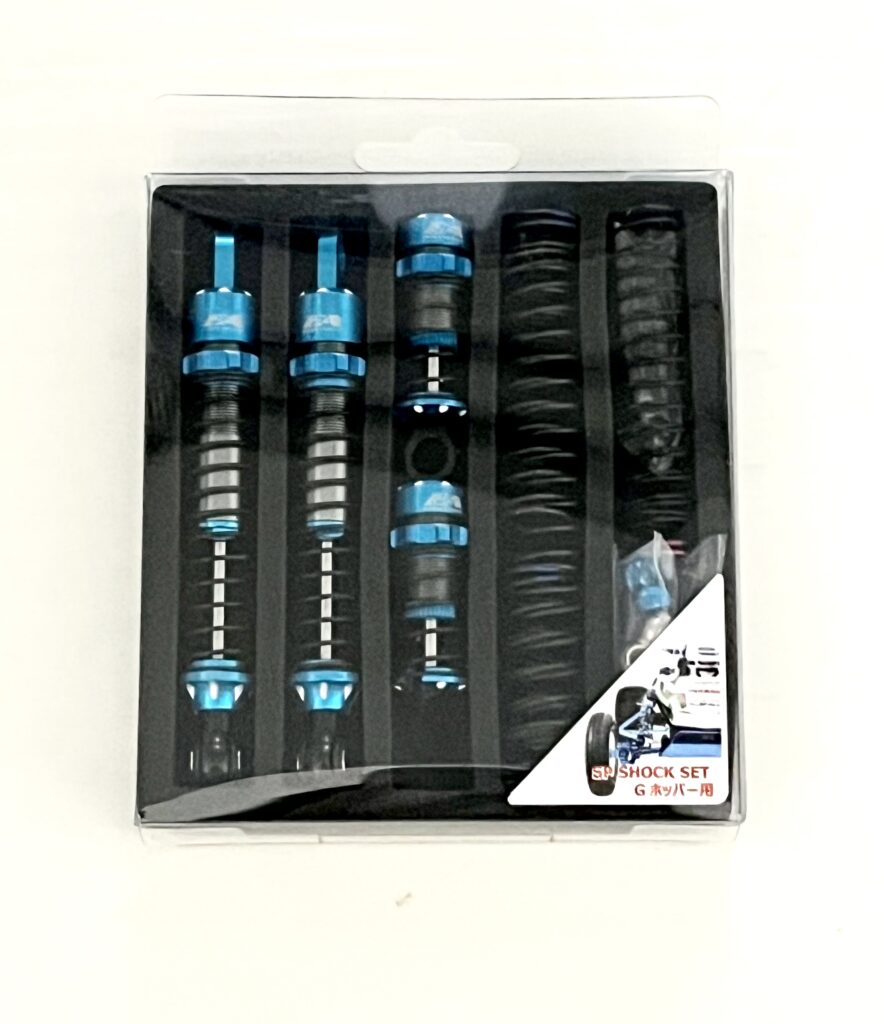
Here is the main component for this upgrade. We’ve chosen the oil damper set for the Grasshopper from Eagle Racing. The blue anodized aluminum is absolutely beautiful.
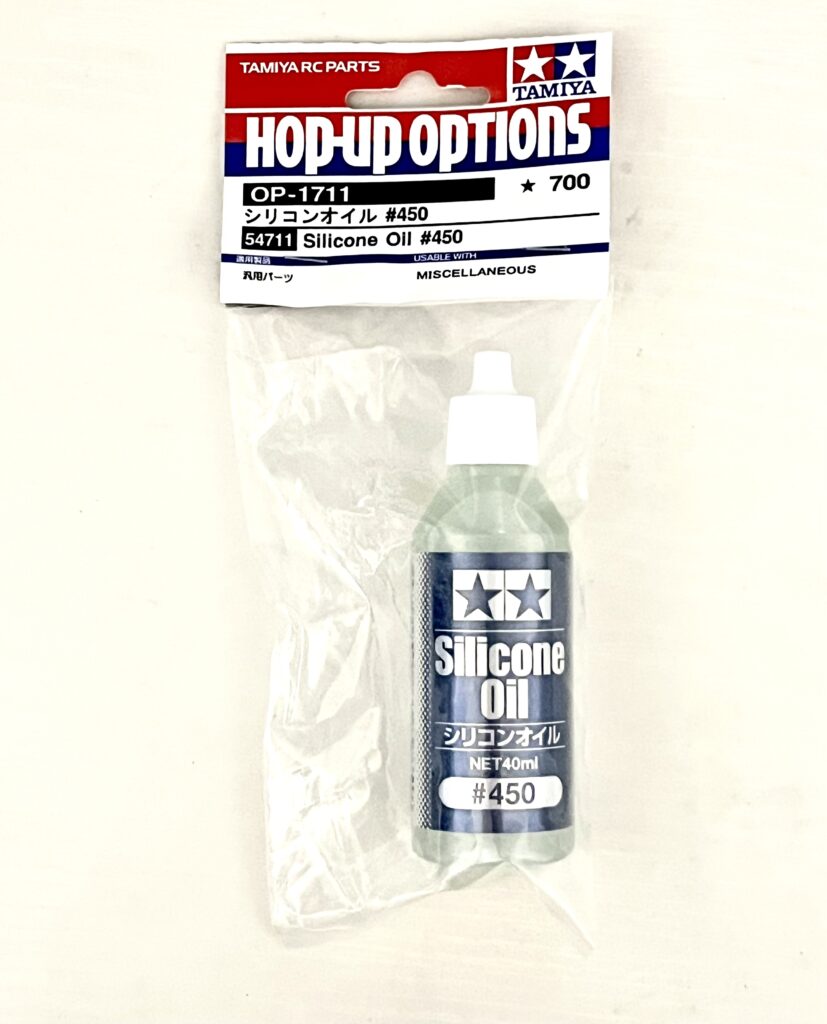
Damper oil is sold separately. We chose Tamiya’s Silicone Damper Oil #450, a standard viscosity that is easy to work with.
Unboxing and Preparation
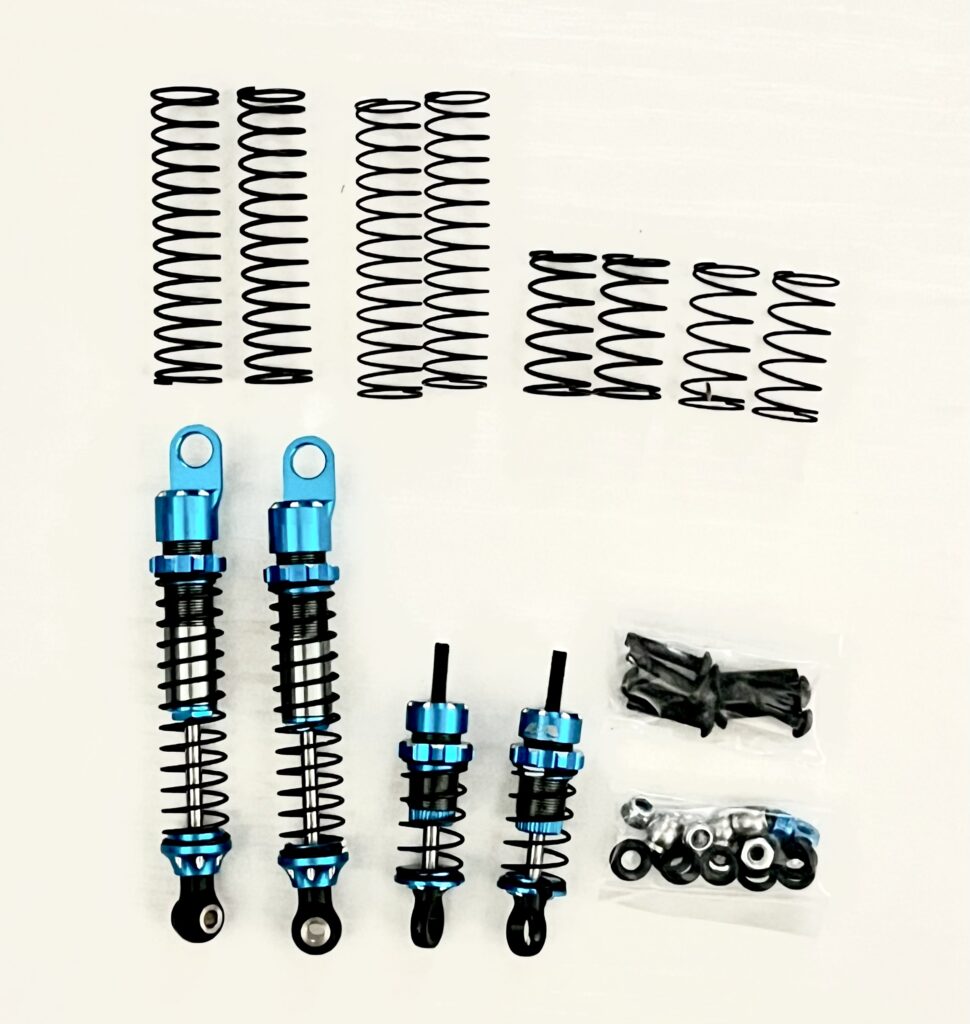
Here’s what you get inside the box. The dampers come pre-assembled, so all we need to do is fill them with oil. The set also includes two types of springs (soft and hard), allowing you to tune the suspension to match different track conditions.
Since they are already built, we can get straight to filling them with oil. Following the instructions, we’ll begin with the front end. Let’s review the mounting procedure.
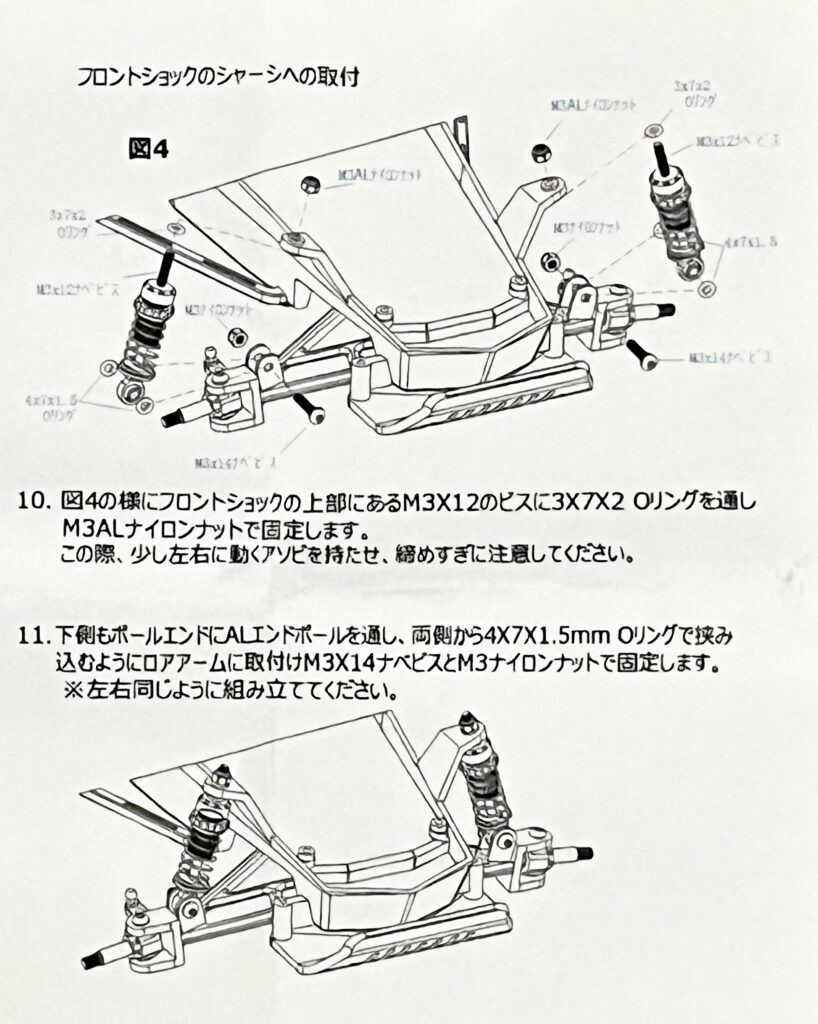
Front Damper Installation Process
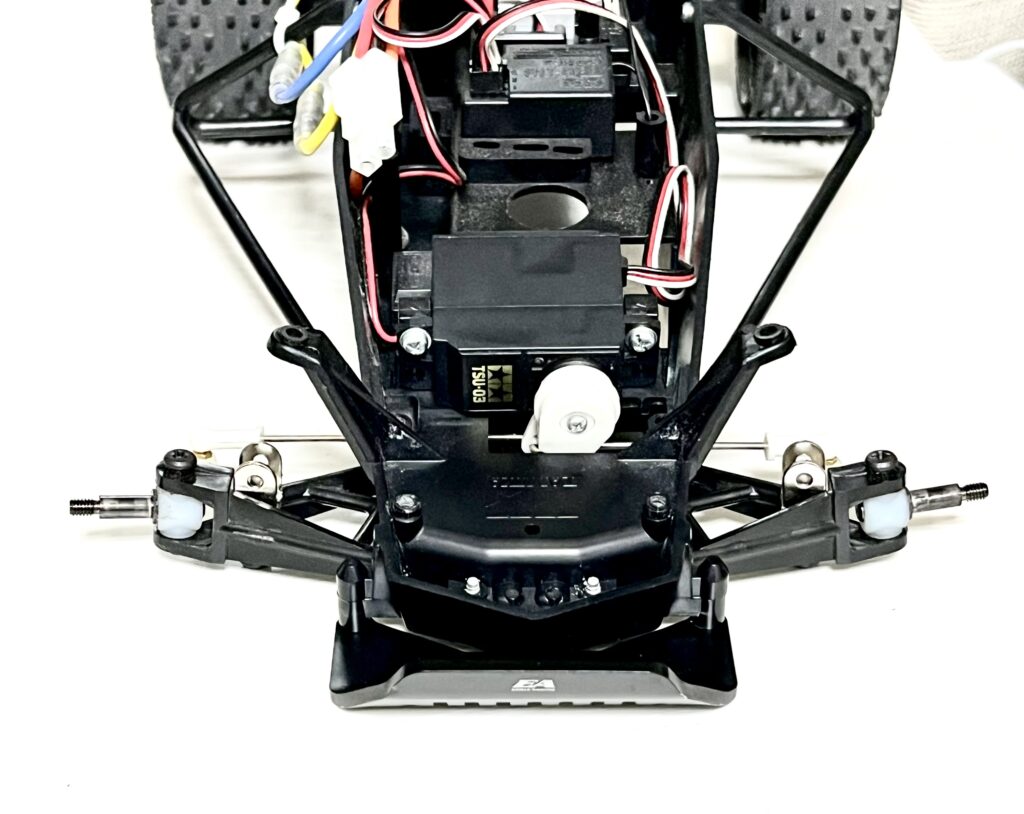
First, here is a look at the stock front suspension. The standard friction dampers are simple and true to the original design.

Next, we’ll remove the wheels and the stock dampers. This clears the area and makes the installation much easier. You get a good view of the lower arm structure here.
And now, it’s time to install the new oil dampers. The blue shocks look incredibly cool! It instantly gives the buggy a serious, race-ready appearance. It feels faster just by looking at it.
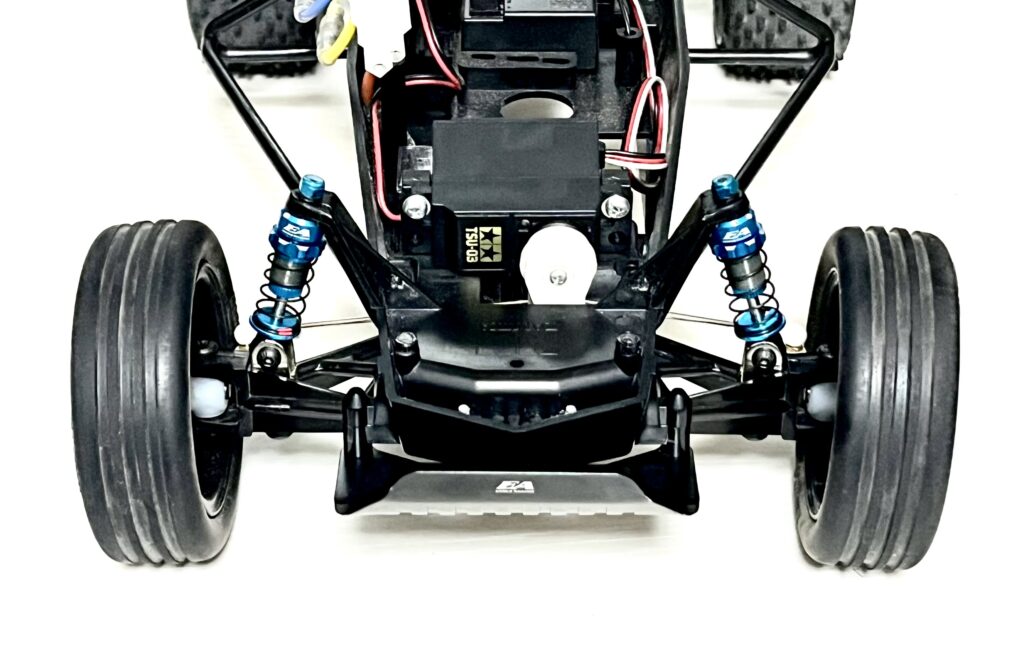
With that, the front suspension upgrade is complete. The movement is now incredibly smooth. These dampers should do an excellent job of absorbing impacts from the road surface.
Conclusion and Next Steps
In this post, we successfully upgraded the front suspension to oil-filled dampers. This is a major improvement in both looks and performance potential. We can’t wait to see how much more stable it is on the track.
Next time, we will tackle the rear damper installation. Stay tuned!
Custom Parts Used
The parts used for this customization are listed below.
Want this awesome RC gear for yourself? Here’s how you can easily get it shipped from Japan!
Get Your Favorite Japanese RC Gear Shipped to You!
コメント