Following our front oil damper upgrade, it’s time to complete the suspension overhaul.
>> Read the previous article: Tamiya Grasshopper Ultimate Customization : Oil Damper Upgrade (Front Suspension)
Welcome to the third installment of our Grasshopper customization series! For the rear, we’re not only installing oil dampers but also performing a “Hornet conversion” to improve stability. This completes the suspension phase of our project.
The Parts We’re Using
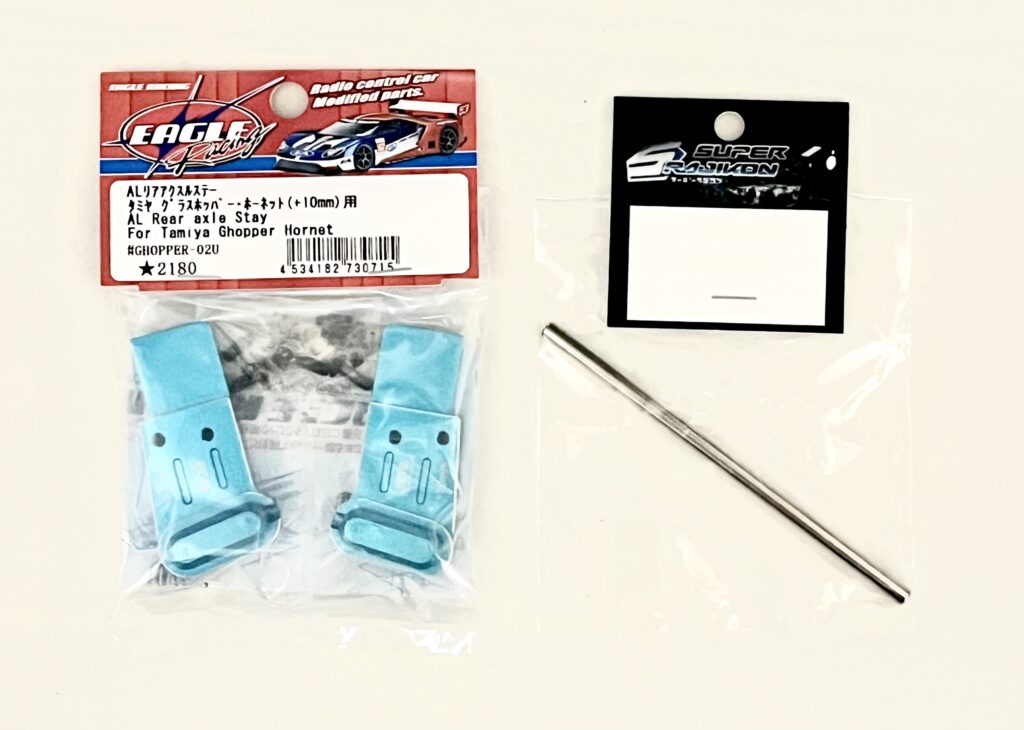
Here are the key parts for the rear-end conversion.
We’re using a rear axle stay from Eagle Racing and a 4x95mm shaft.
This stay is the magic part that will extend the wheelbase for better stability.
Reviewing the Instructions
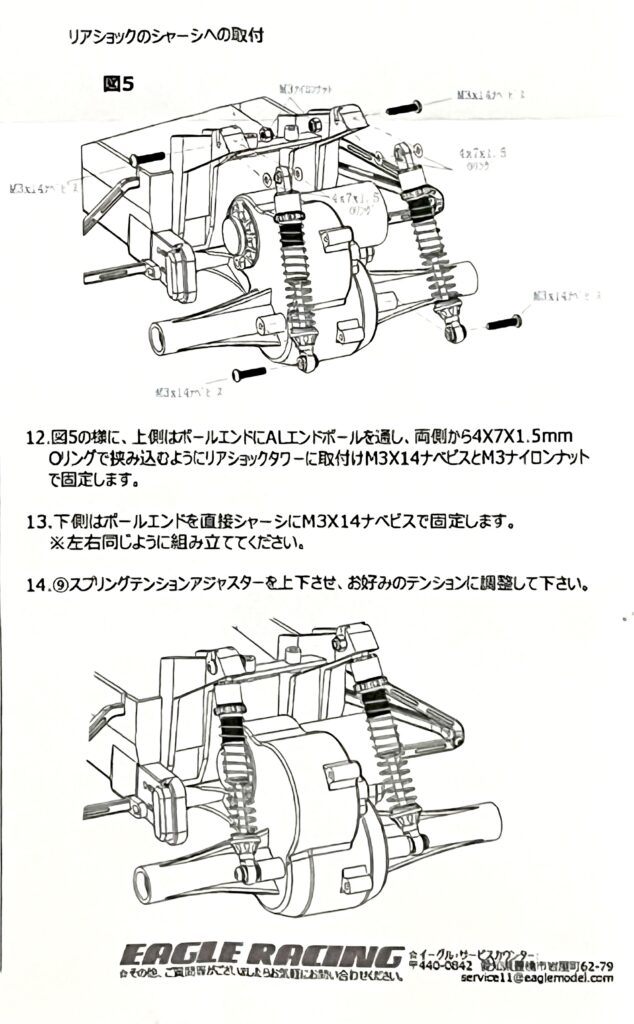
Here is the instruction manual for installing the rear oil dampers.
We’ll be using the same damper set from the front-end build. Let’s get familiar with the mounting process.
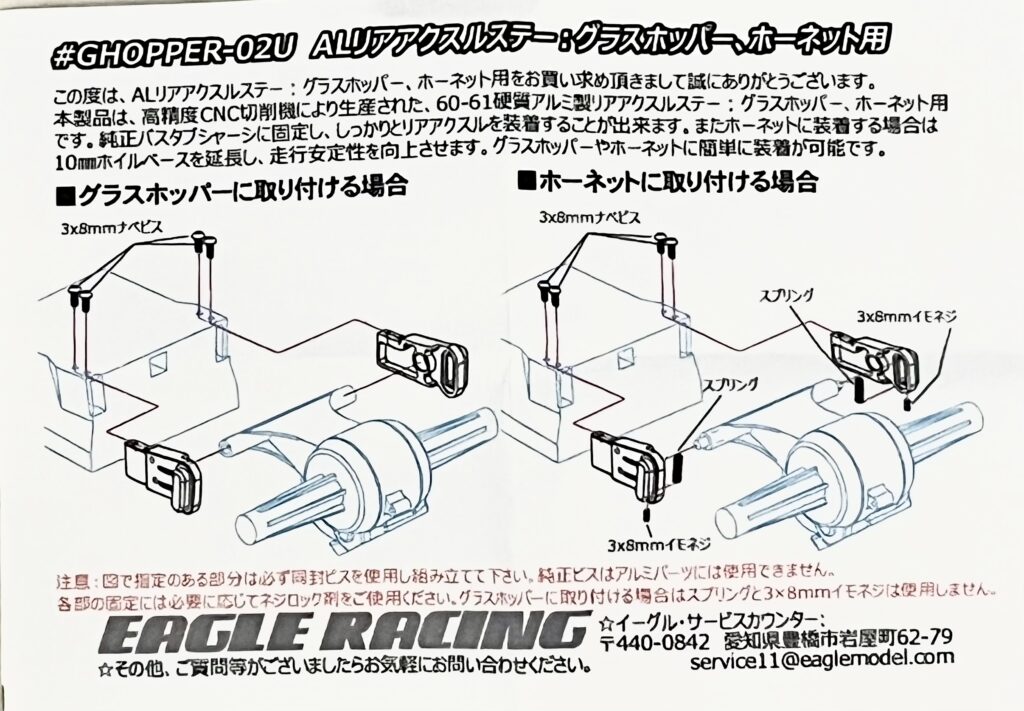
And here is the manual for the rear axle stay.
The installation method differs for the Grasshopper and the Hornet. We will be following the Hornet instructions to achieve the conversion.
Rear Damper Installation Process
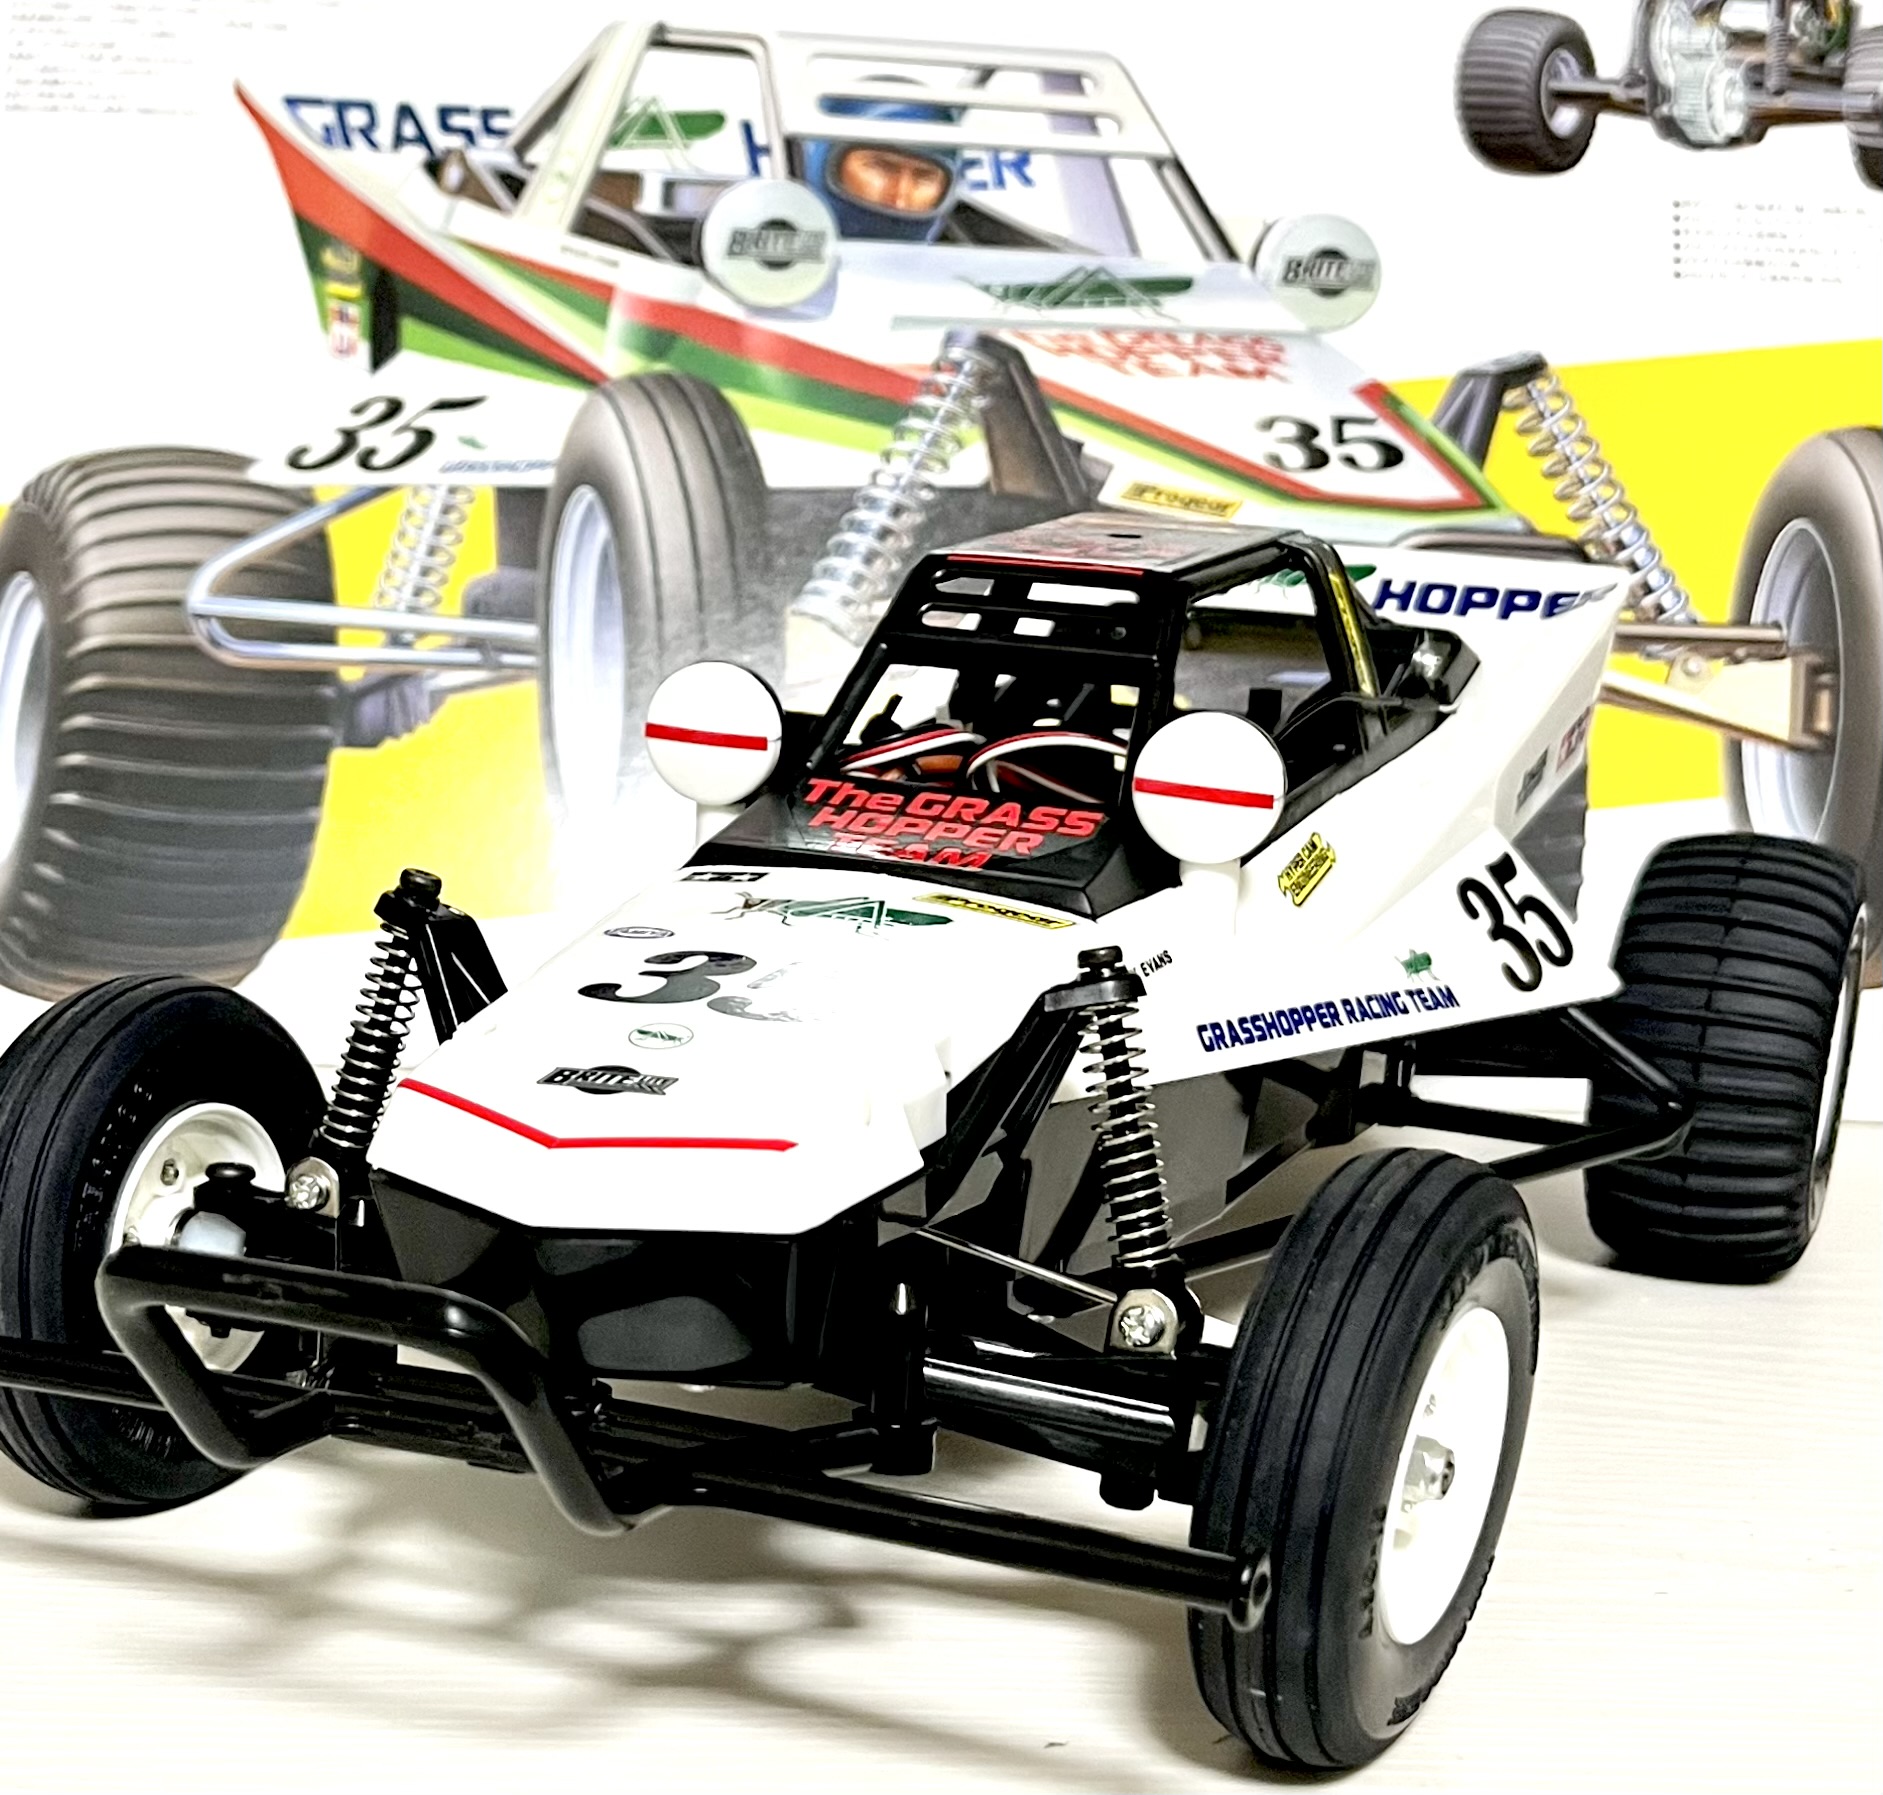
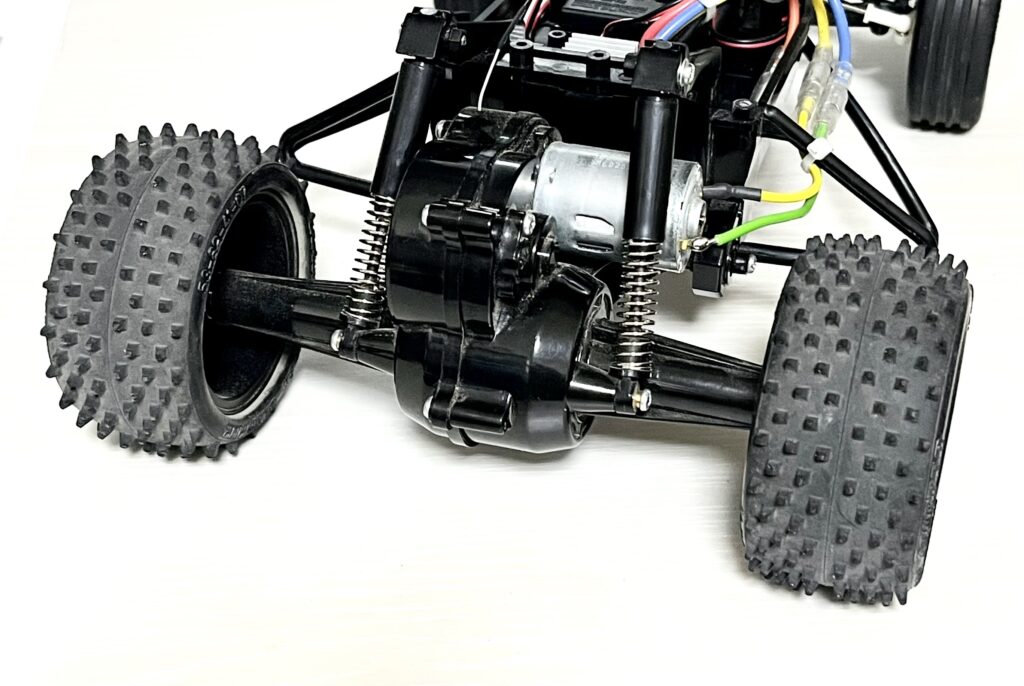
First, let’s look at the stock rear section. It features the standard dampers and suspension setup.
There’s a certain charm to its simplicity.
We’ll start by removing the wheels and the stock dampers, just like we did for the front.
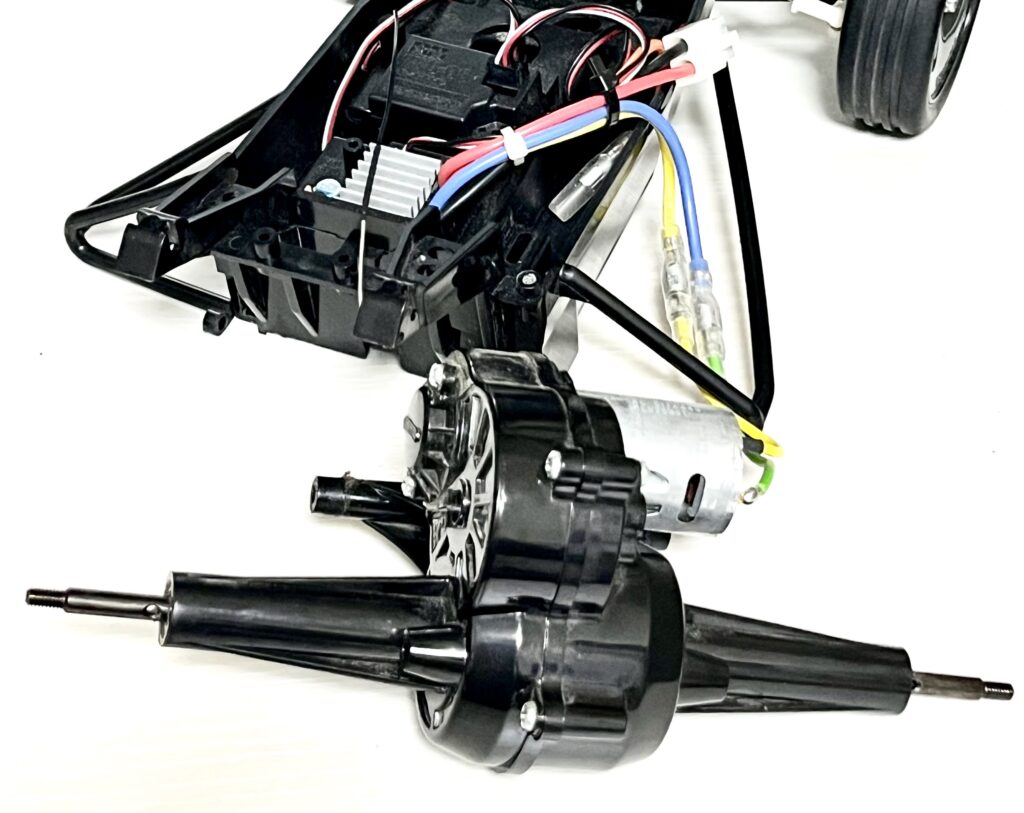
This exposes the gearbox area.
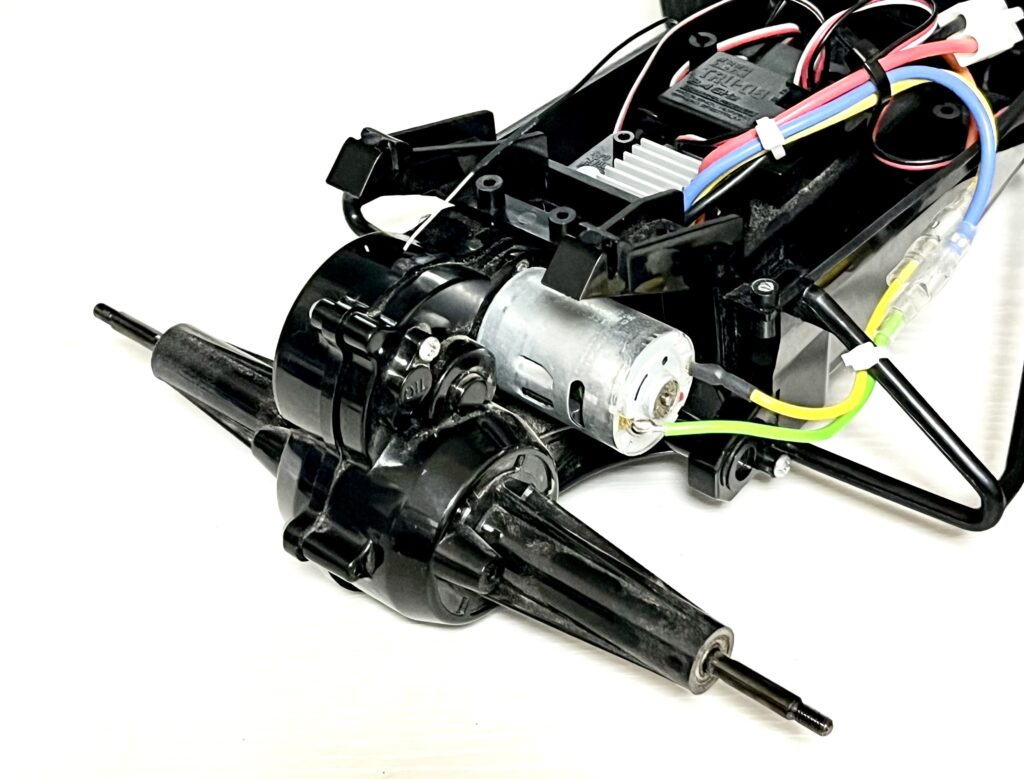
Next, to replace the rear stay, the entire gearbox assembly must be detached from the chassis.
This gives us clear access to swap out the stock parts.
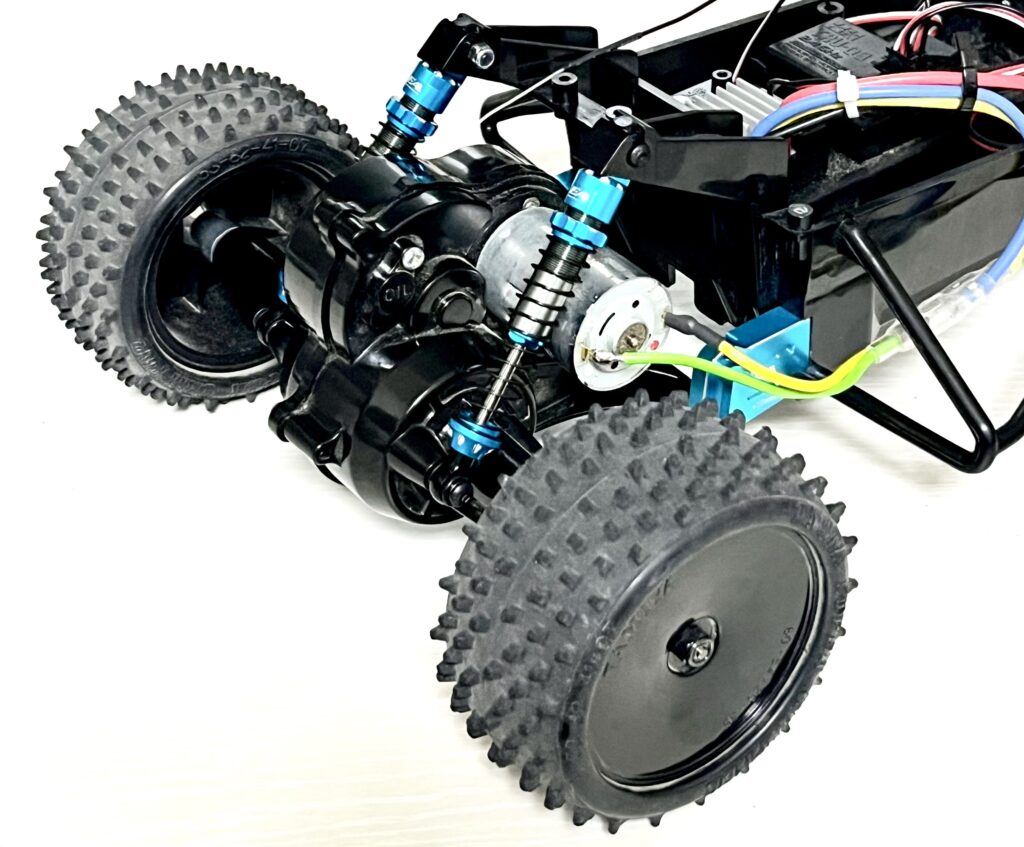
And now, we install the new rear axle stay and the oil dampers.
The blue aluminum parts look fantastic! The Hornet conversion pushes the gearbox further back, extending the wheelbase for what should be a major increase in stability.
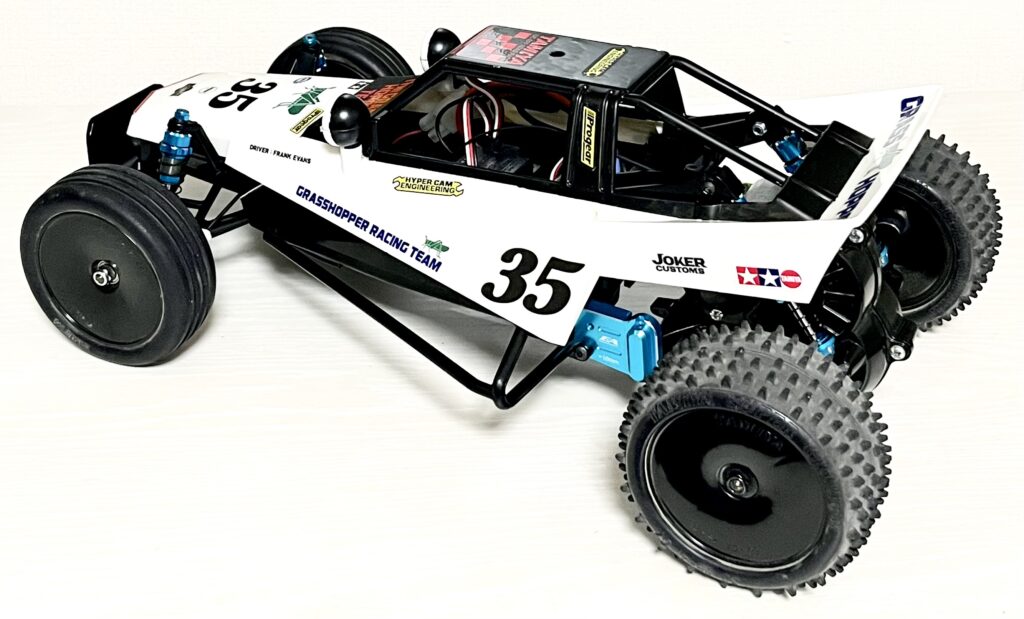
The Customization is Complete!
All the new parts have been installed!
The blue dampers on the front and rear create a stunning, cohesive look. Combined with the wide tires, the buggy has an aggressive and purposeful stance.
It truly looks and feels like a modern racing machine.
That wraps up this phase of our customization. We’ve upgraded the classic buggy to achieve a more modern level of performance while retaining its core identity. We can’t wait to see how it handles on the track.
Stay tuned for the next upgrade!
Custom Parts Used
The parts used for this customization are listed below.
Want this awesome RC gear for yourself? Here’s how you can easily get it shipped from Japan!
Get Your Favorite Japanese RC Gear Shipped to You!
コメント