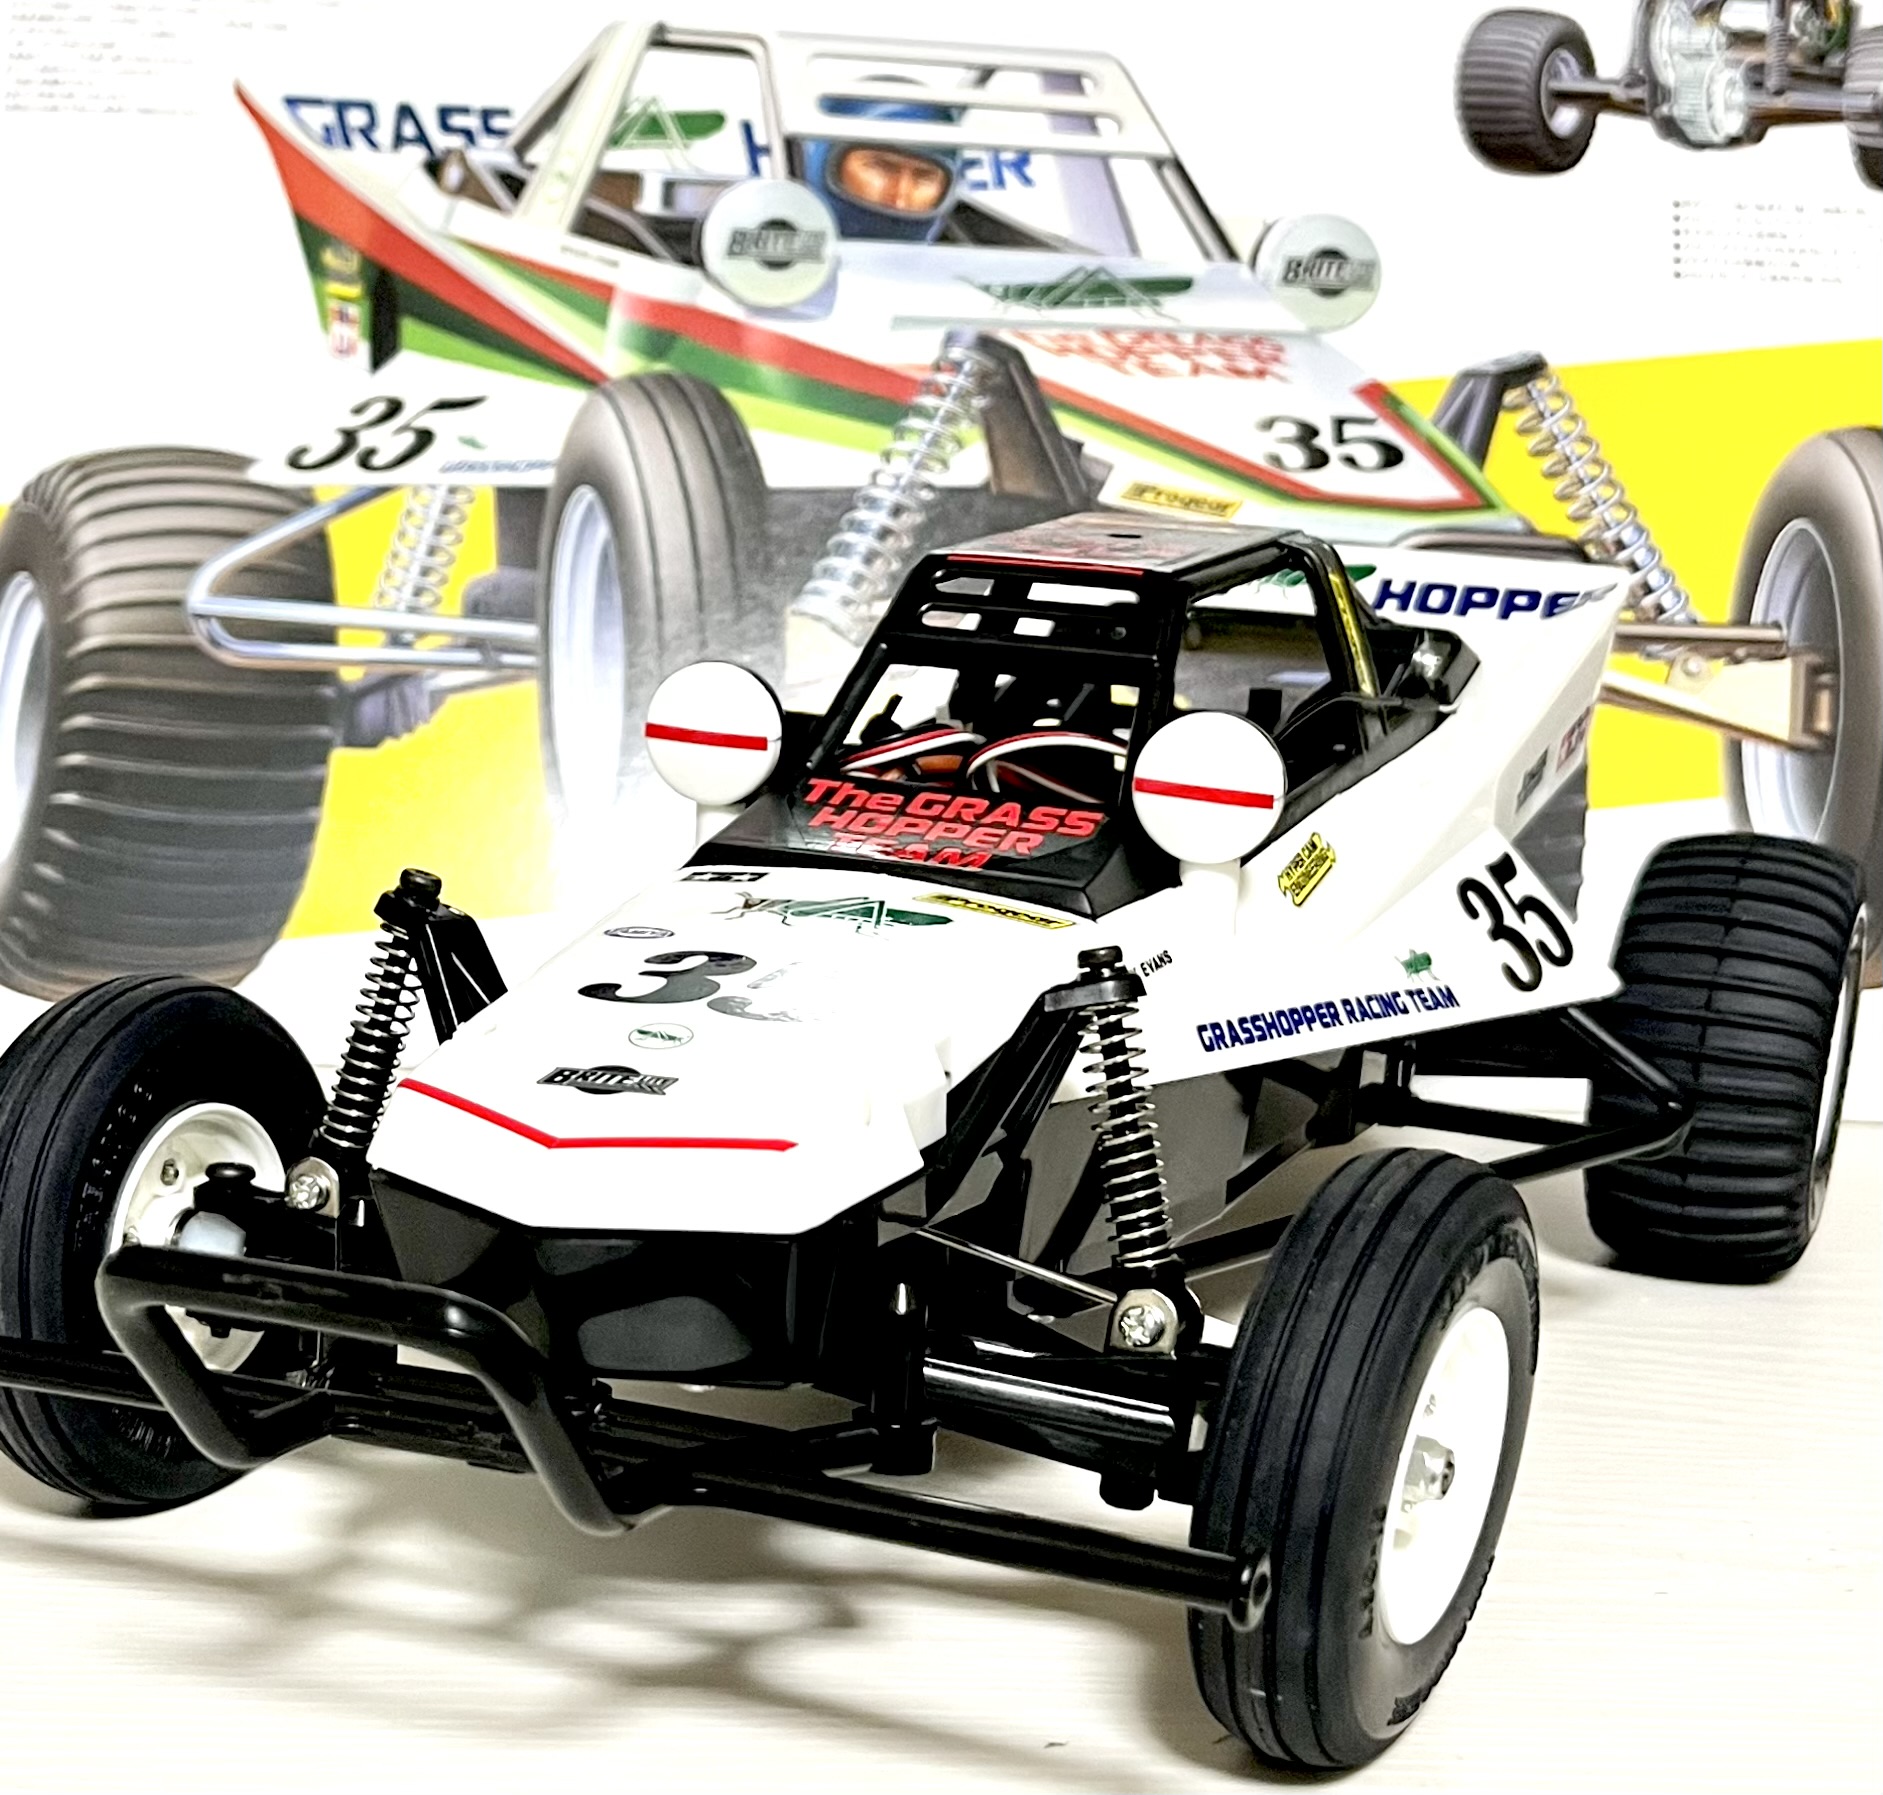
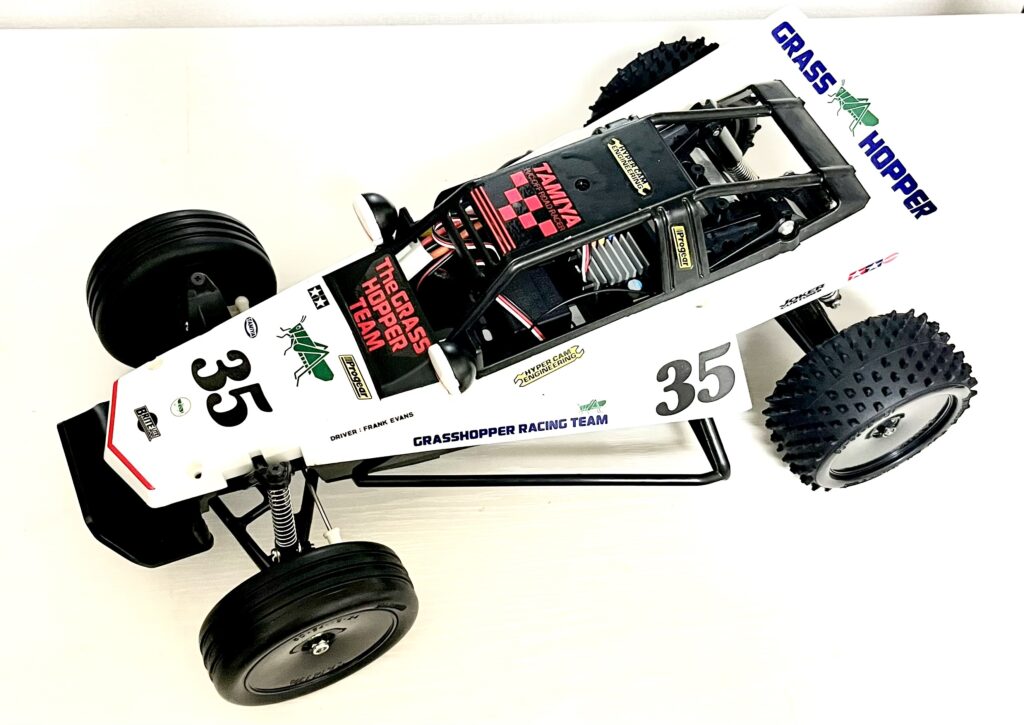
The Tamiya Grasshopper, a timeless classic loved by generations. We’re starting a project to bring its performance into the modern era with some cool customizations. For our first volume, we’ll focus on upgrading the wheels, tires, and front bumper. Our goal is to enhance both its look and handling.
Front Bumper Upgrade
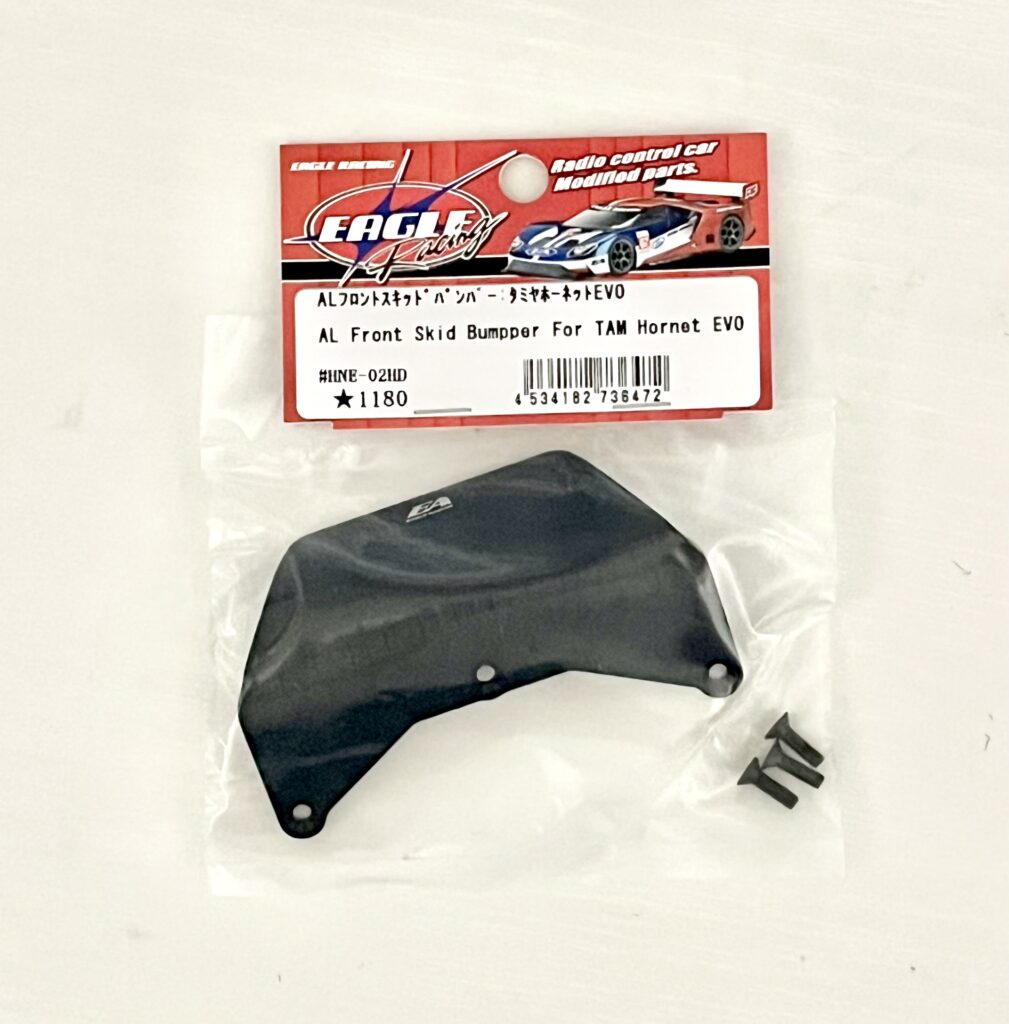
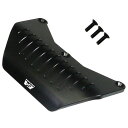
First, let’s swap out the stock front bumper. We chose an aluminum skid bumper from Eagle Racing. We’re using the one for the Hornet EVO because we love the black finish.
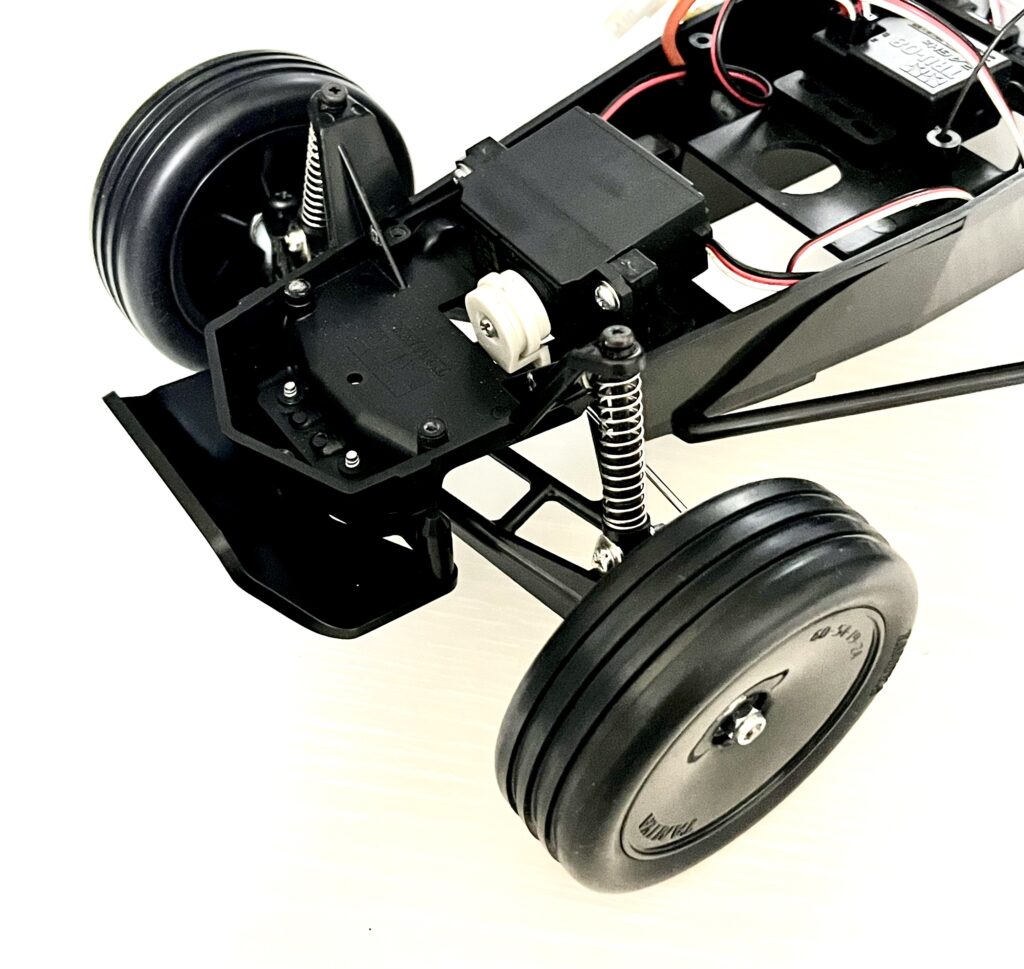
Here is the stock front bumper before the change. It’s a bit thin and could use more protection.
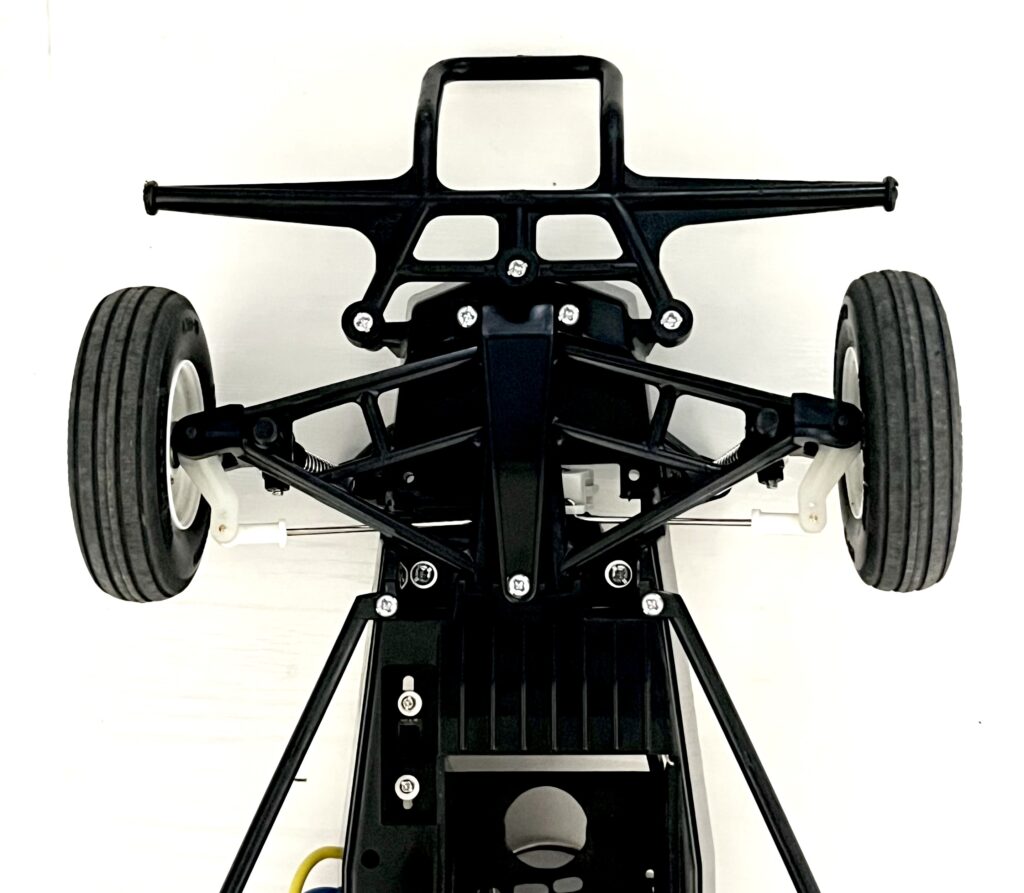
The stock bumper comes off easily. You can see the simple and effective chassis design.
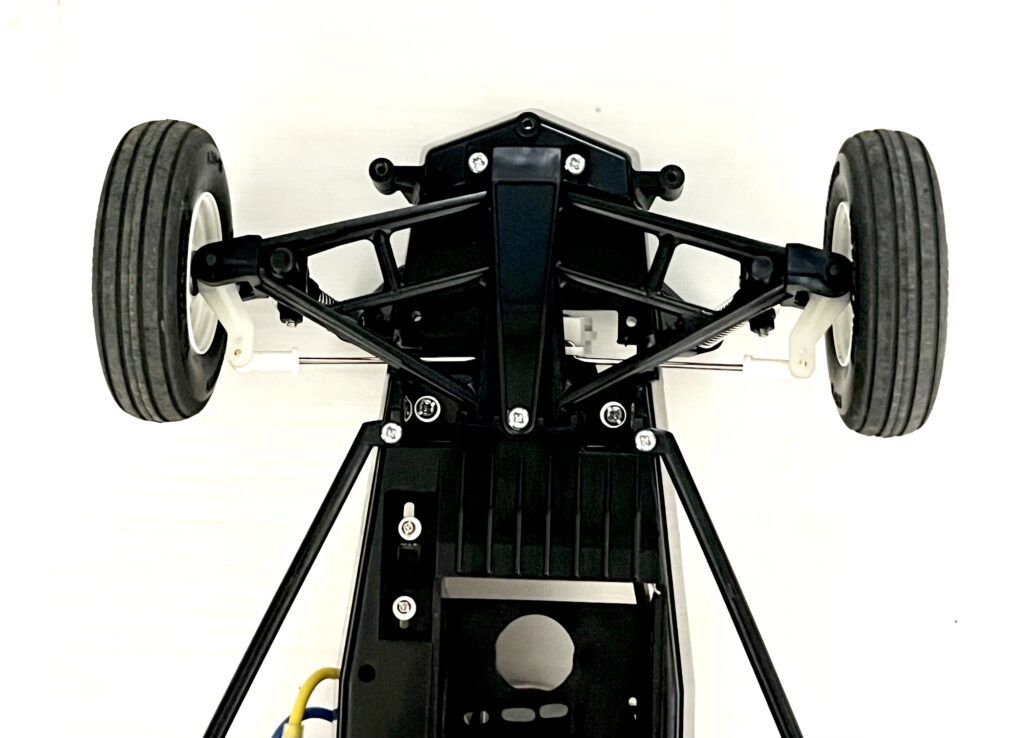
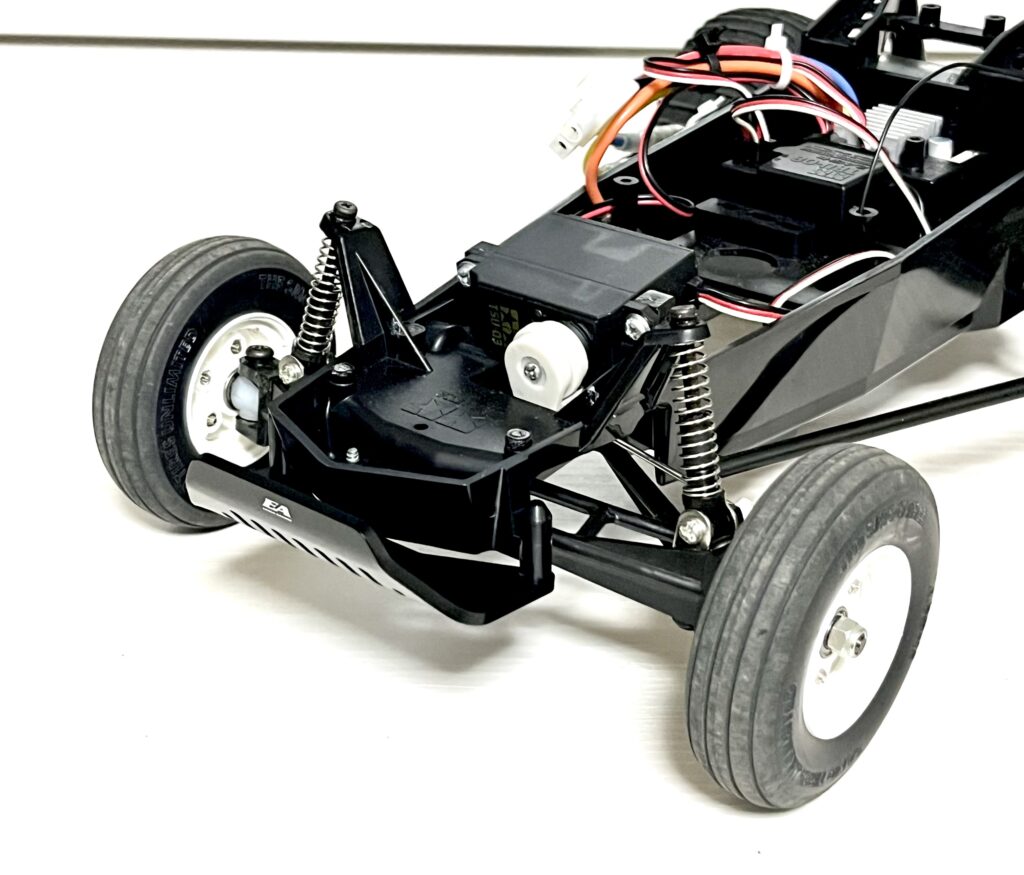
Now, we’ll install the new bumper using the included screws. The wider, black bumper gives the front end a much more aggressive look and should provide better protection.
Tire and Wheel Swap
Next up is a full tire and wheel replacement. We’re fitting modern, high-grip tires to see how it changes the ride. Here are the parts we’ll be using.
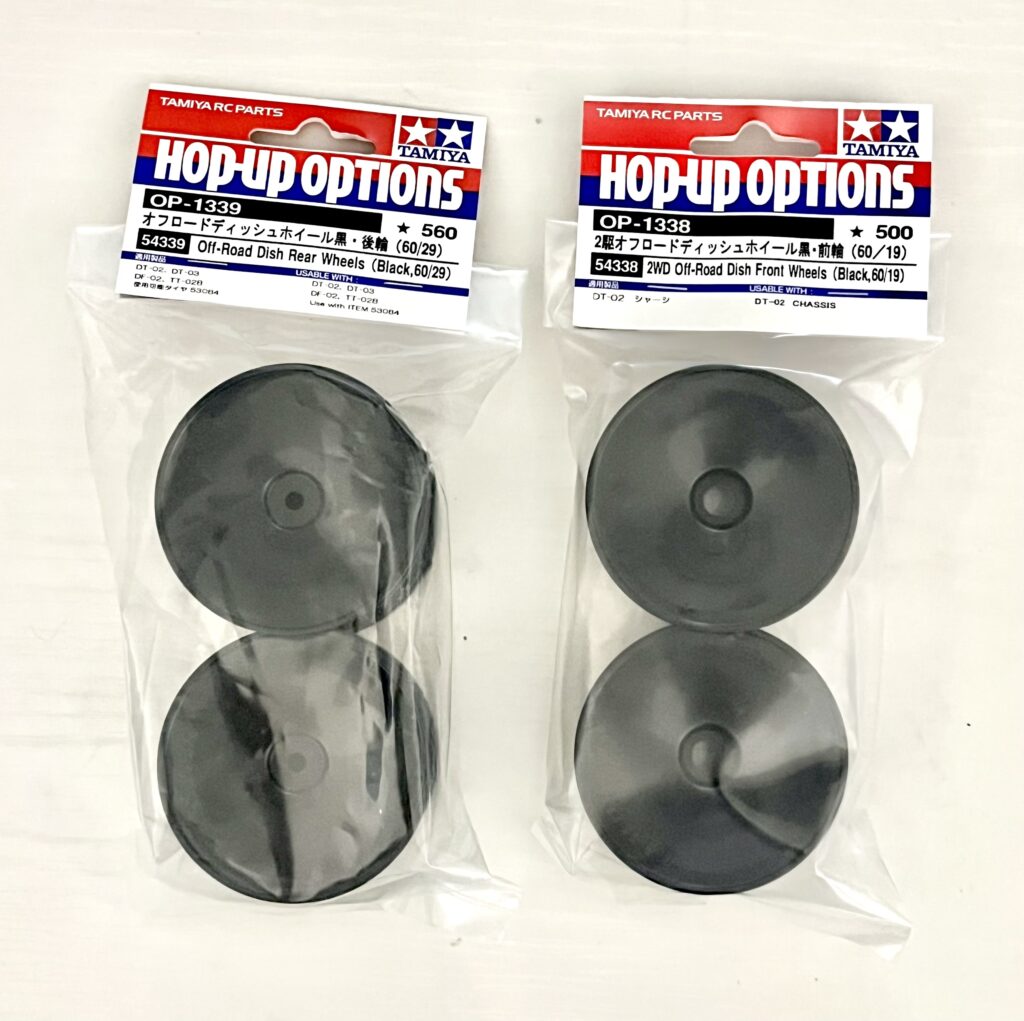
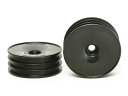
Wheels
- OP-1338 2WD Off-Road Dish Front Wheels (Black)
- OP-1339 Off-Road Dish Rear Wheels (Black)
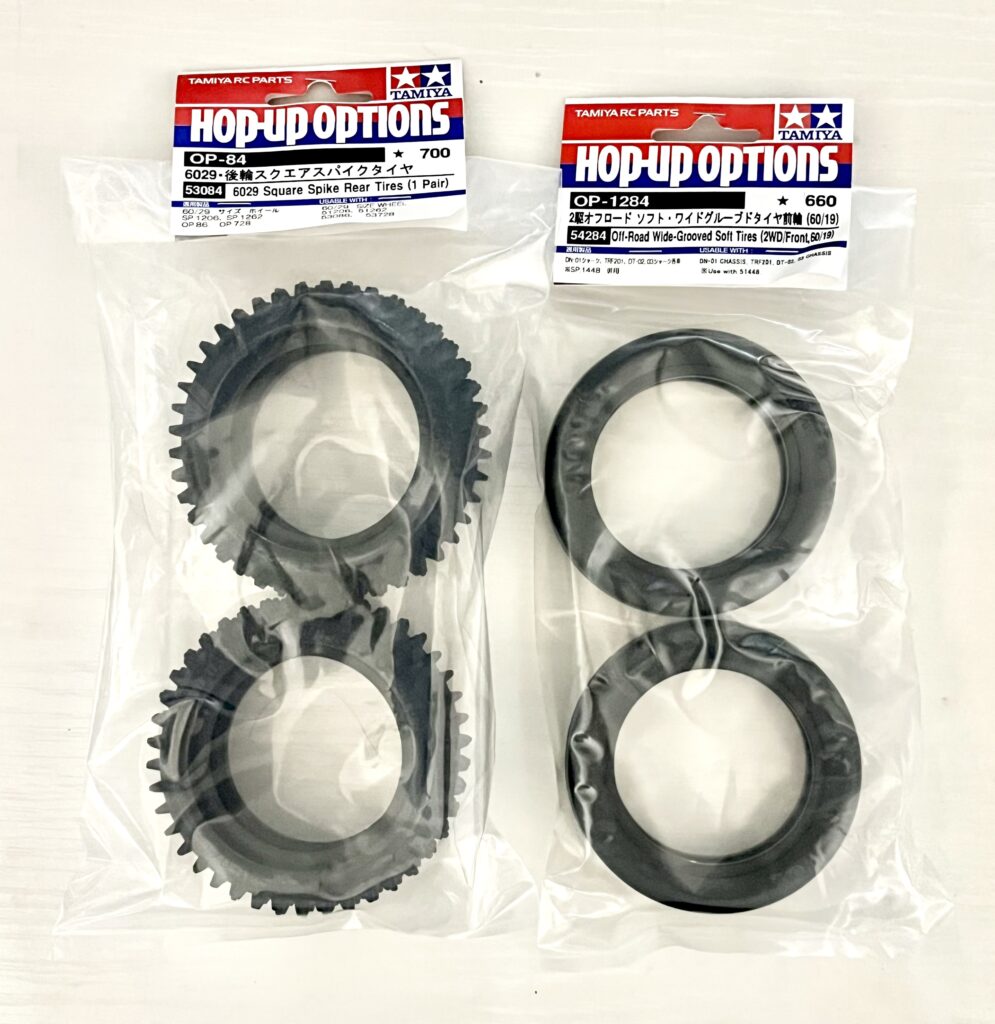
Tires
- OP-84 6029 Square Spike Rear Tires
- OP-1284 Off-Road Wide-Grooved Soft Front Tires
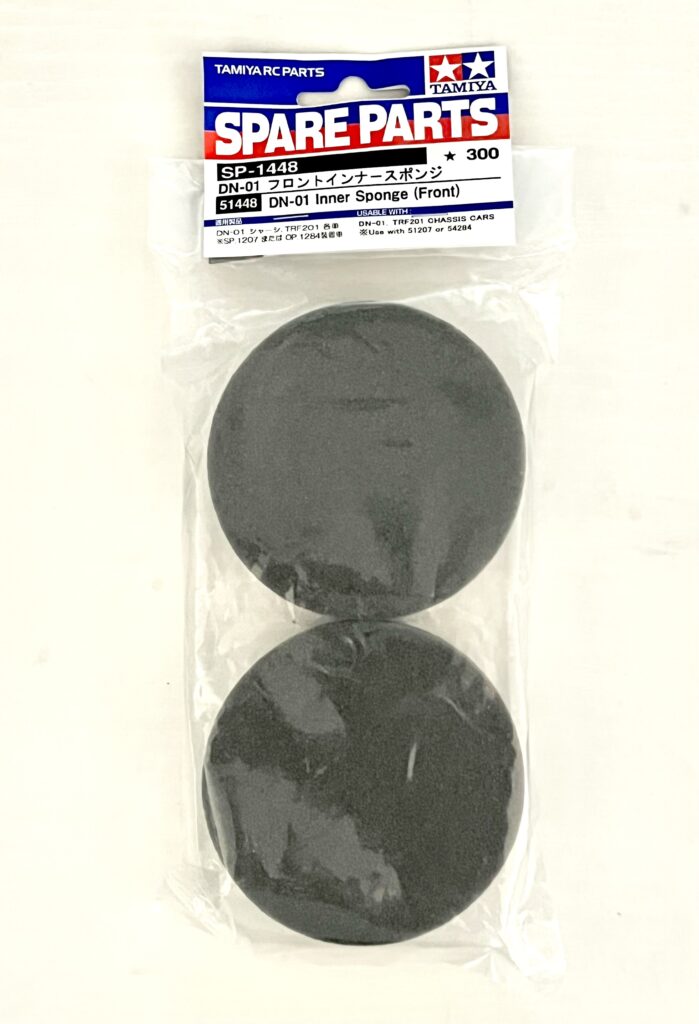
Inner Sponge (for Front Tires)
For the front tires, we’ll use inner sponges to improve their shape and firmness.
- SP-1448 DN-01 Inner Sponge (Front)
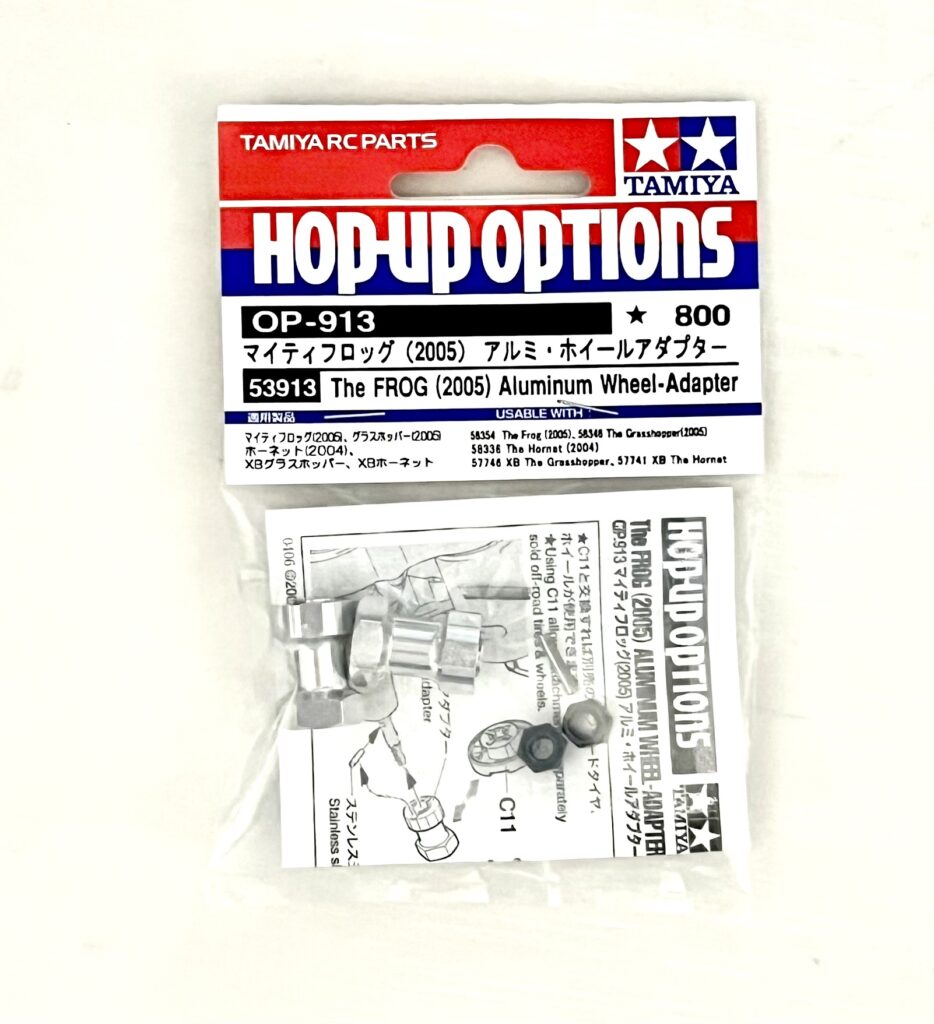
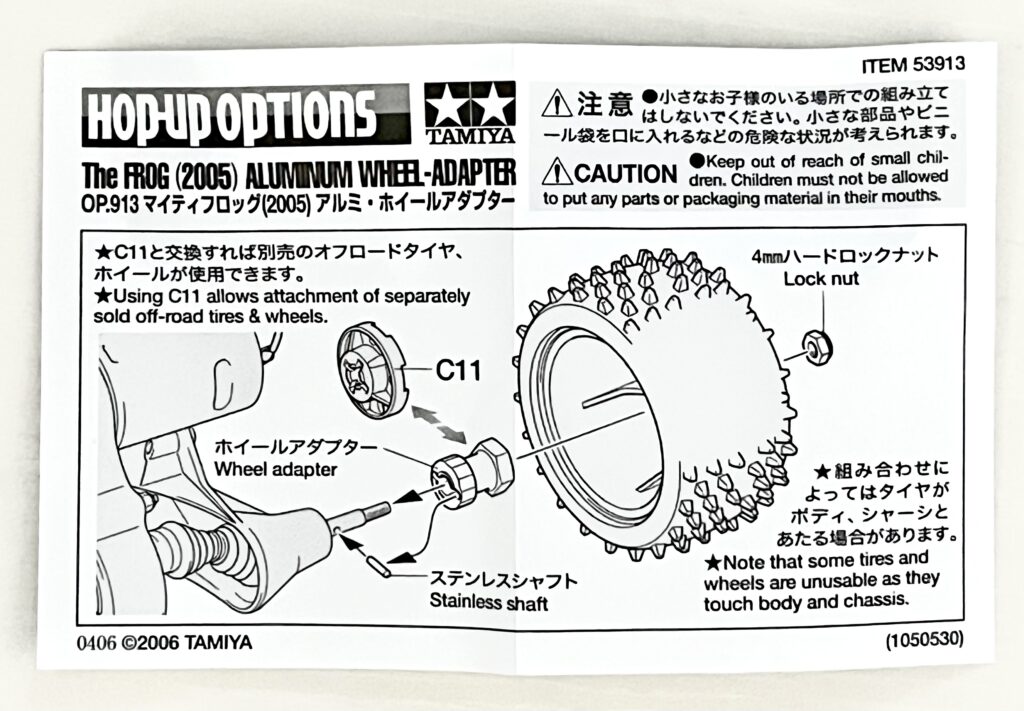
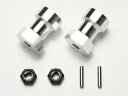
Rear Hub Adapter
To mount the new rear wheels, we need to convert to a hex hub system. We’ll use this part from the Mighty Frog kit.
- OP-913 The FROG (2005) Aluminum Wheel Adapter
Assembly and Installation
With all the parts ready, it’s time for assembly.
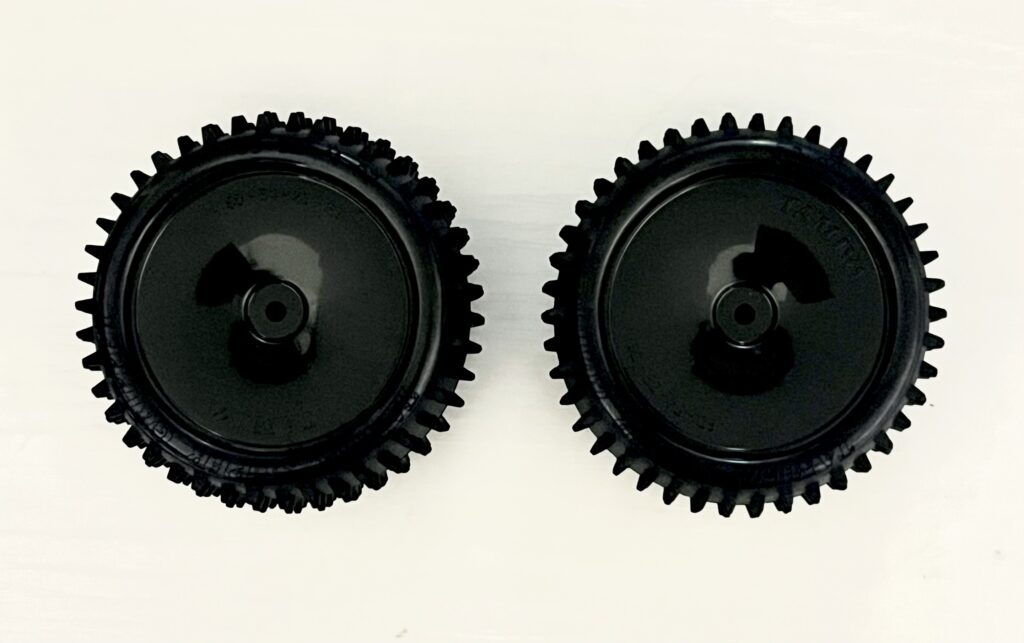
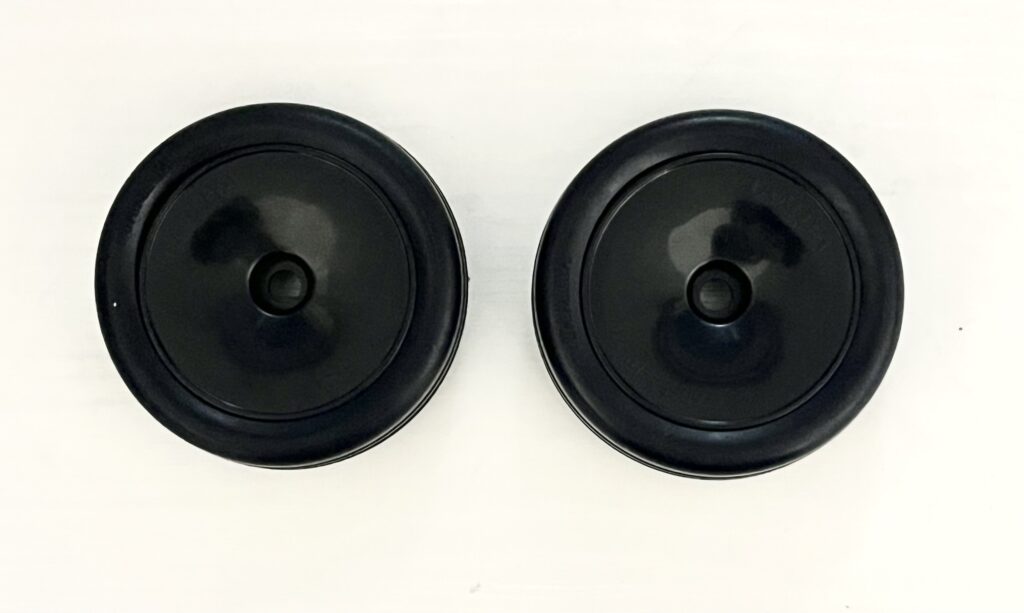
Assembled Tires
The new rear spike tires look aggressive and ready for business.
The front dish wheels give the buggy a sleek, modern appearance.
Front Tire Installation
Here are the original front tires. The narrow, ribbed tires are a true sign of their time.
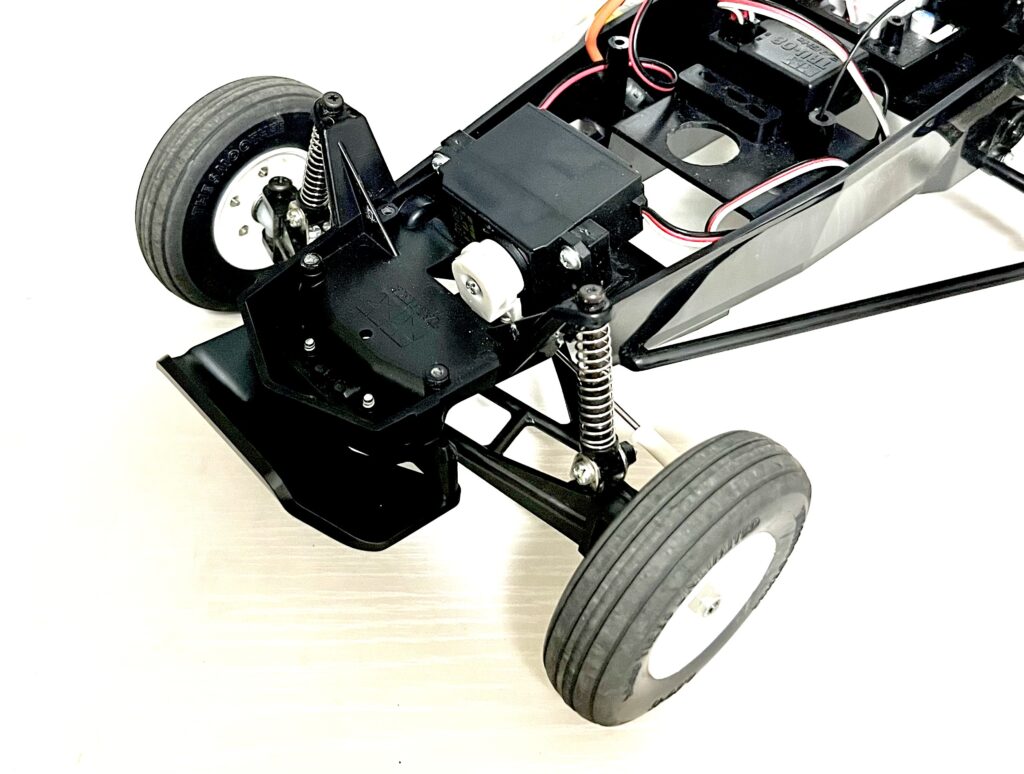
And here is the after shot. The black wheels create a sharp, defined look. The wider grooved tires should offer much better grip.
Rear Tire Installation
Now for the rear. Here’s a look at the instructions for the OP-913 adapter. This little part is key to fitting modern wheels.
This is the stock rear tire setup. The classic paddle tires definitely have their own charm.
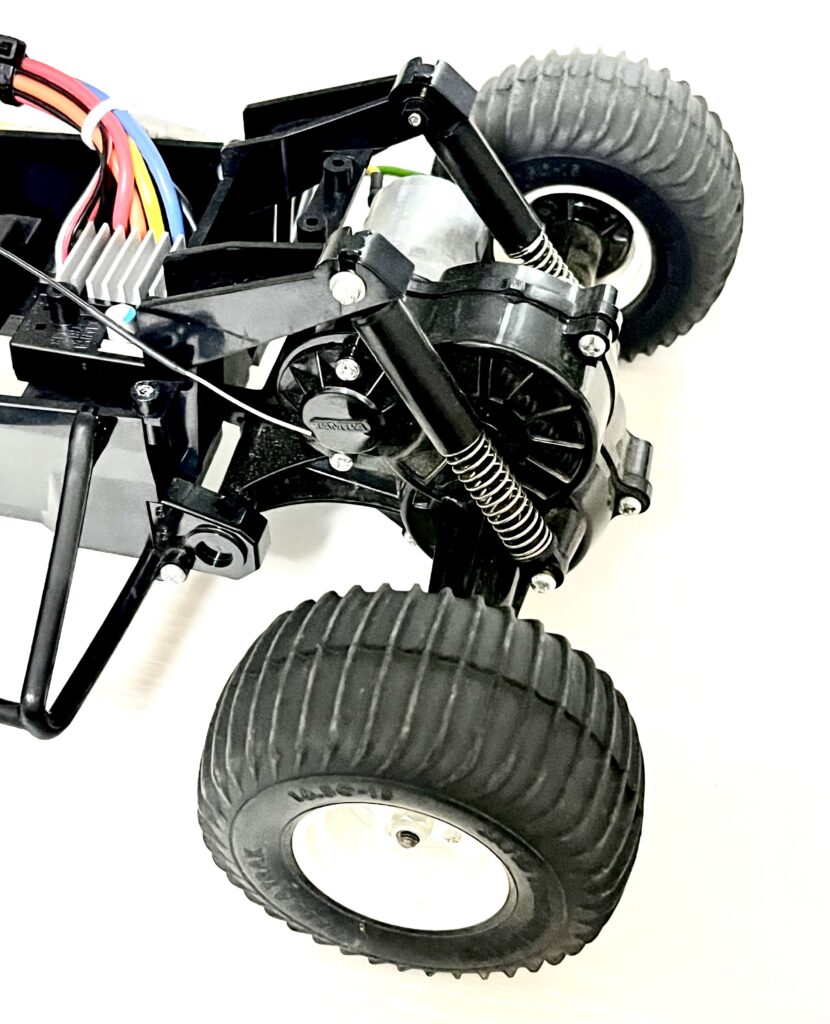
Off come the wheels and the stock adapters.

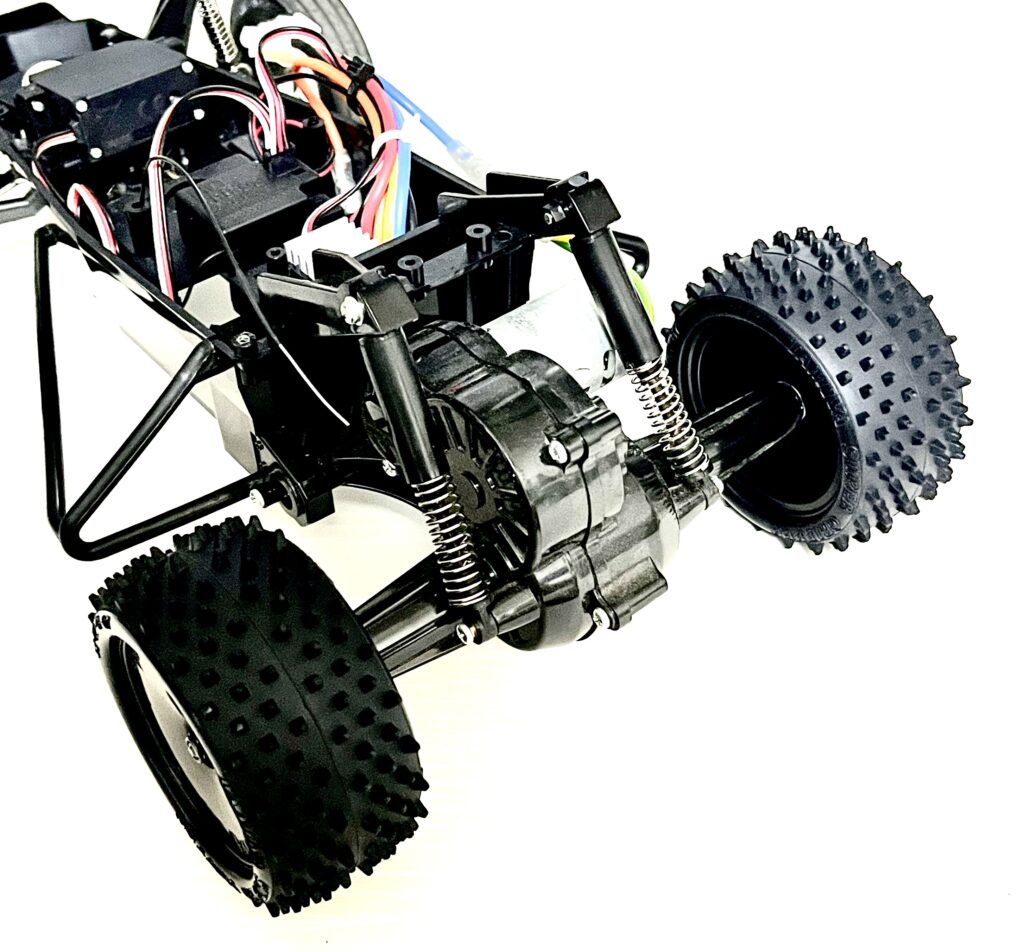
We’ll install the new aluminum hex hub adapters. This opens up a huge range of wheel choices.
And with the new tires mounted, the transformation is stunning. The spike tires give it a race-ready look.
The Final Look!
All the upgrades are complete! The Grasshopper now has a modern, race-inspired stance. We can’t wait to see how these changes affect its performance on the track.
That’s all for this round of customizations.
Next time, we plan to tackle an “Oil Damper Conversion.” We’ll be aiming for a smoother ride and more stable handling. Stay tuned!
Custom Parts Used
The parts used for this customization are listed below.
 |
 |
 |
 |
 |
 |
 |
Want this awesome RC gear for yourself? Here’s how you can easily get it shipped from Japan!
Get Your Favorite Japanese RC Gear Shipped to You!


コメント