This is the 6th part of our Tamiya Grasshopper build series. In the last article, we assembled the front-end components.
Tamiya The Grasshopper Build Diary Vol.7 : Attaching the Front Arms and Dampers
This time, we will assemble and attach the tires.
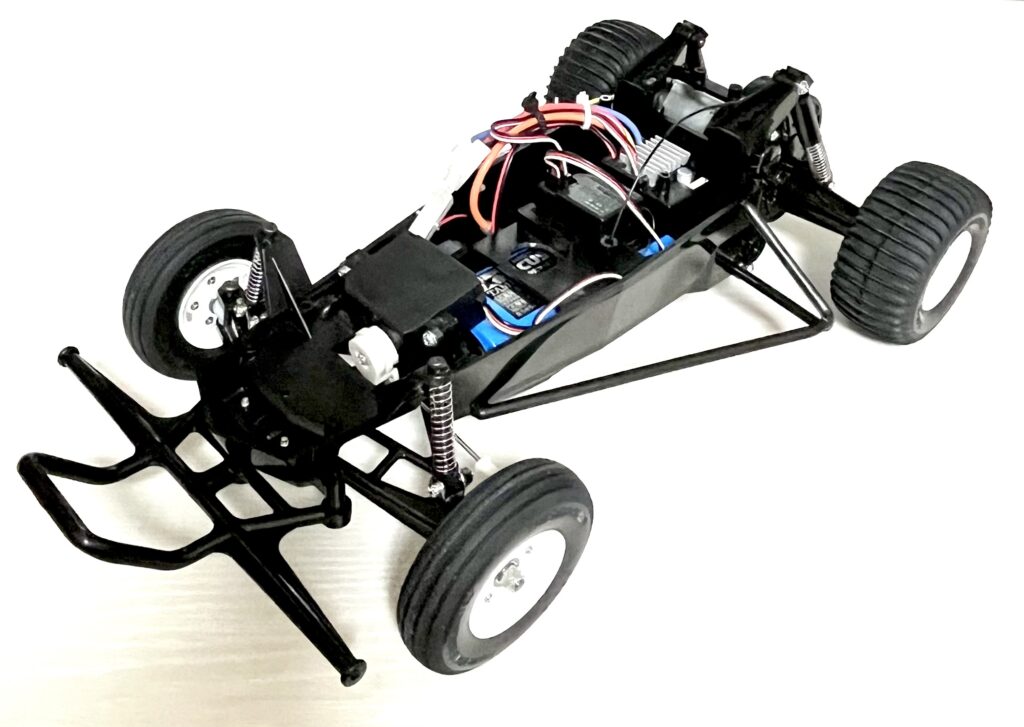
With this, the chassis will be almost complete. It’s starting to look more and more like a proper buggy. Next time, we’ll finally attach the body to complete the build!
Assembling the Front Tires
First, let’s assemble the front tires. This corresponds to step “15” in the manual.
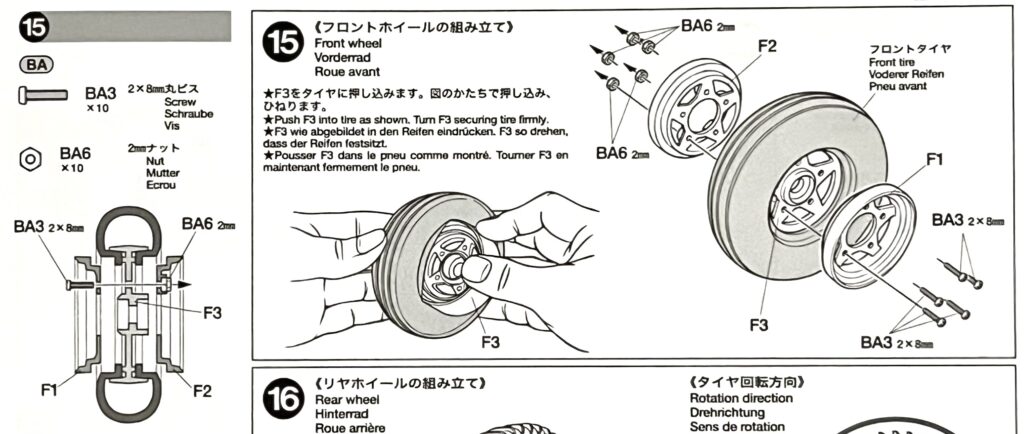
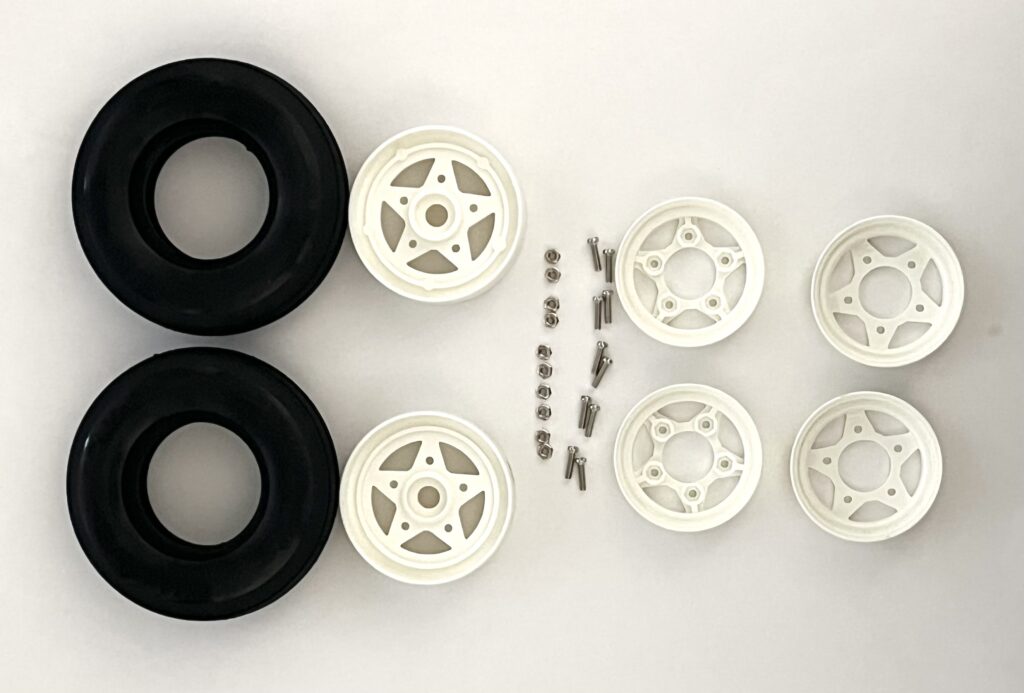
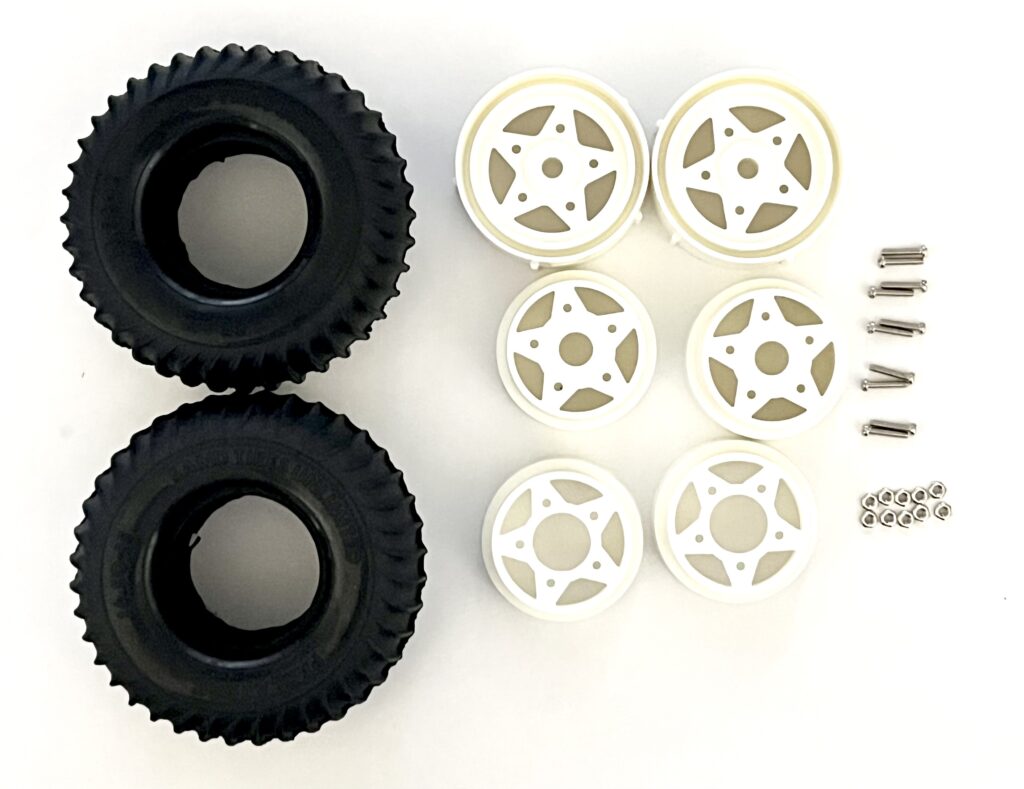
The tires feature a narrow rib pattern, and the wheels have a simple star-shaped design.
| Part Number | Part Name |
|---|---|
| F1,F2,F3 | Front Wheel x 2 each |
| BA3 | 2x8mm Screw x 10 |
| BA6 | 2mm Nut x 10 |
| – | Front Tire x 2 |
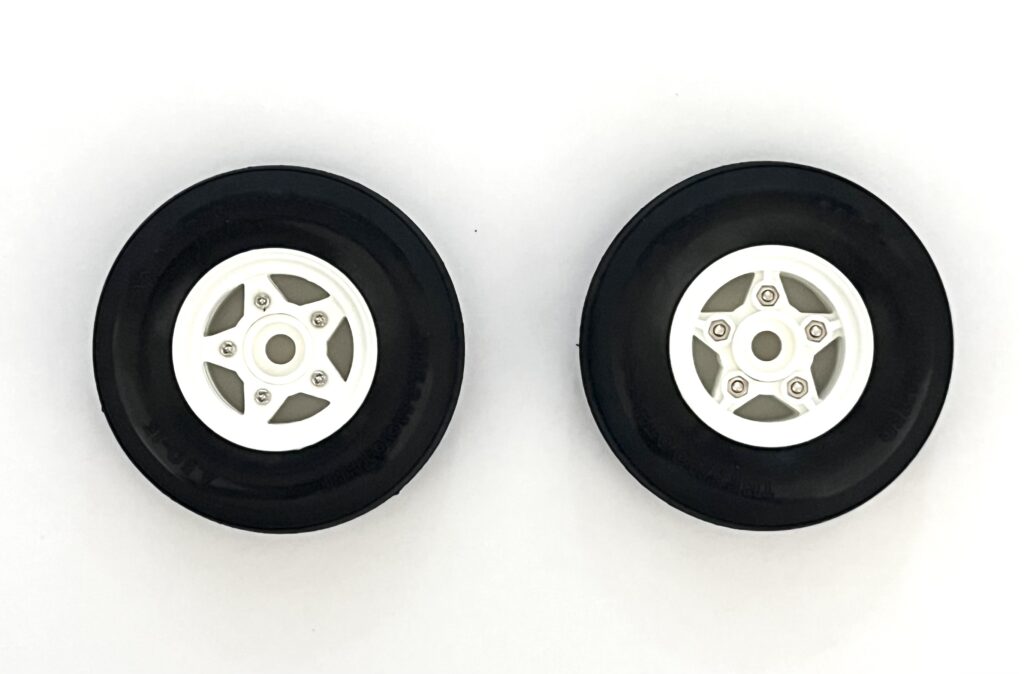
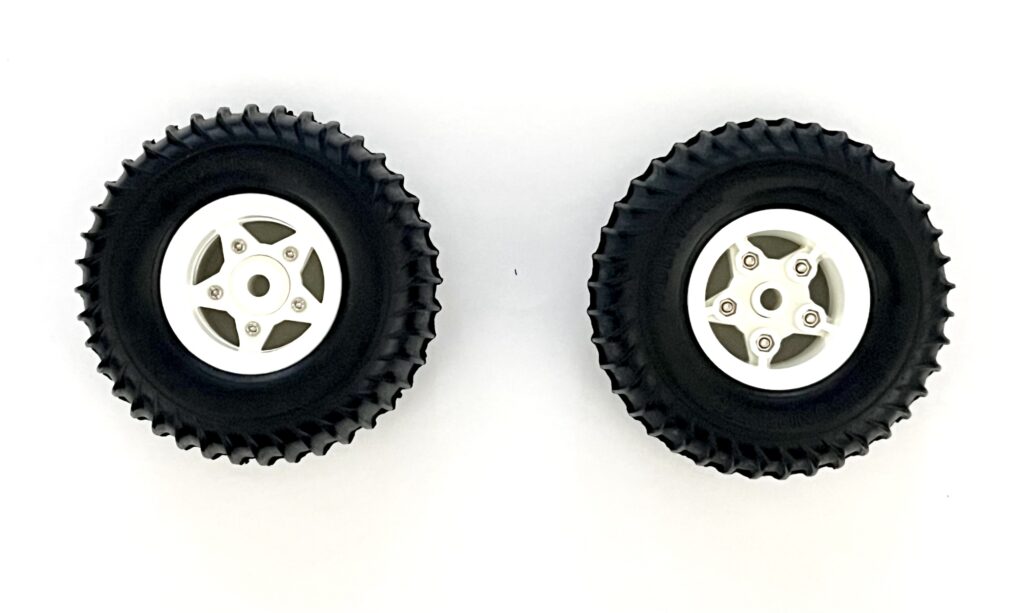
The wheel consists of three parts. We’ll secure these with screws and nuts. Then, we fit the wheel assembly into the tire, and the front tires are complete.
Assembling the Rear Tires
Next, we will assemble the rear tires. This corresponds to step “16” in the manual.
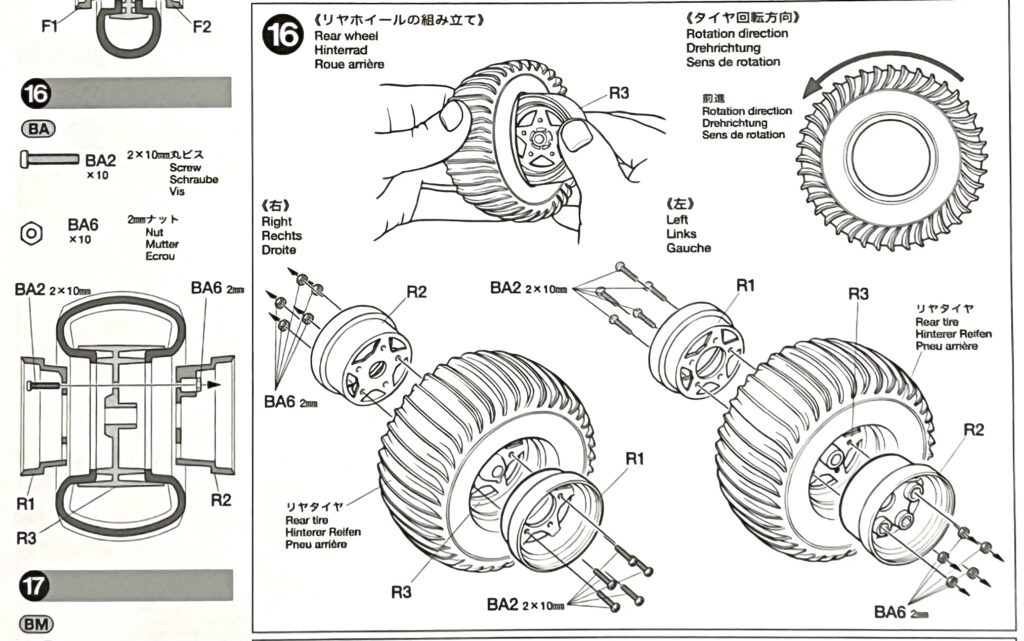
The wide paddle tires at the rear look powerful.
| Part Number | Part Name |
|---|---|
| R1,R2,R3 | Rear Wheel x 2 each |
| BA2 | 2x10mm Screw x 10 |
| BA6 | 2mm Nut x 10 |
| – | Rear Tire x 2 |
The rear wheel also consists of three parts. Be careful, as the shapes differ for the left and right sides. Secure them with screws as shown in the manual and check the tire’s rotation direction.
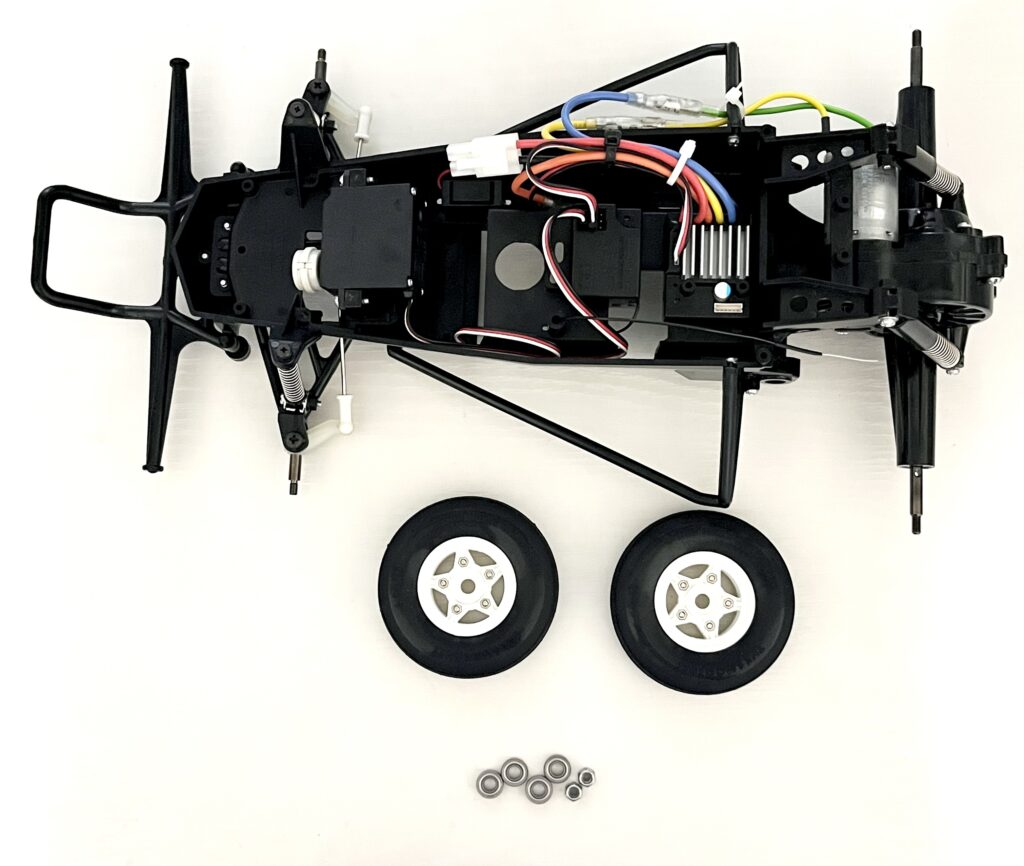
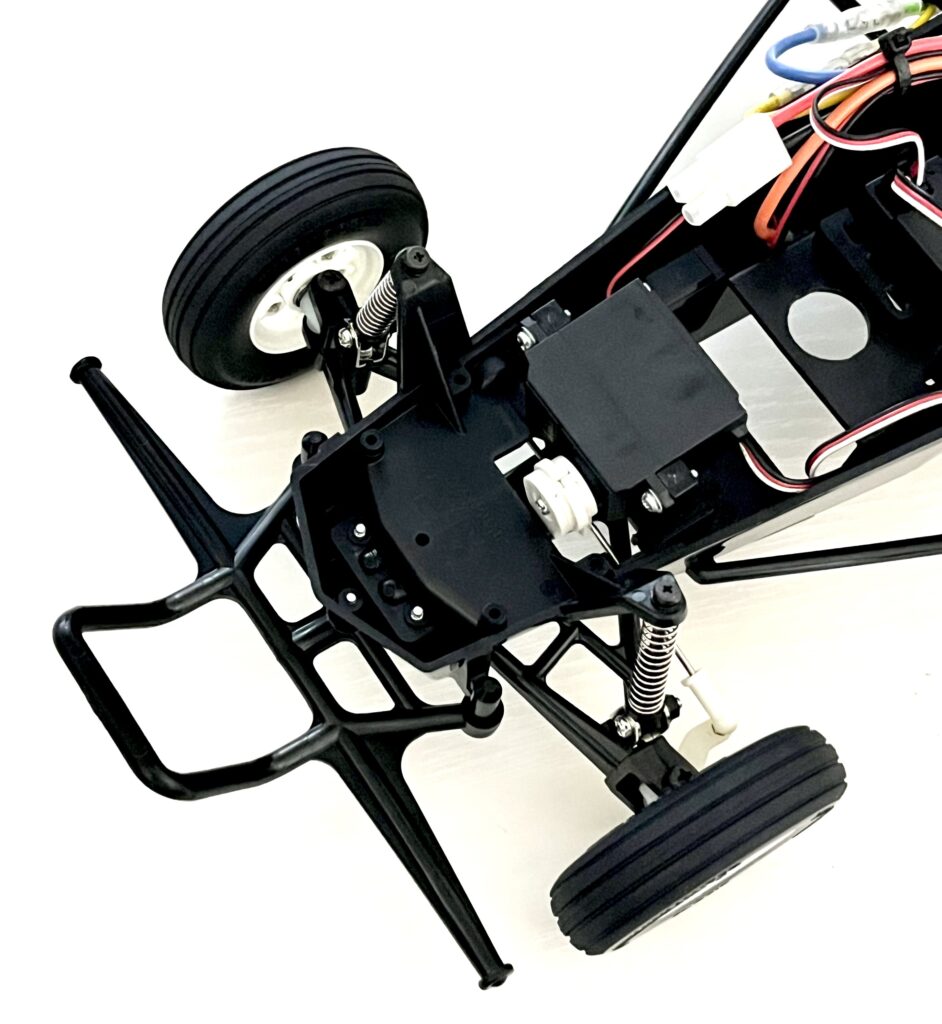
Attaching the Front Tires
Now it’s time to mount the tires onto the chassis. This will make it look much more like an RC car.This corresponds to step “17” in the manual.
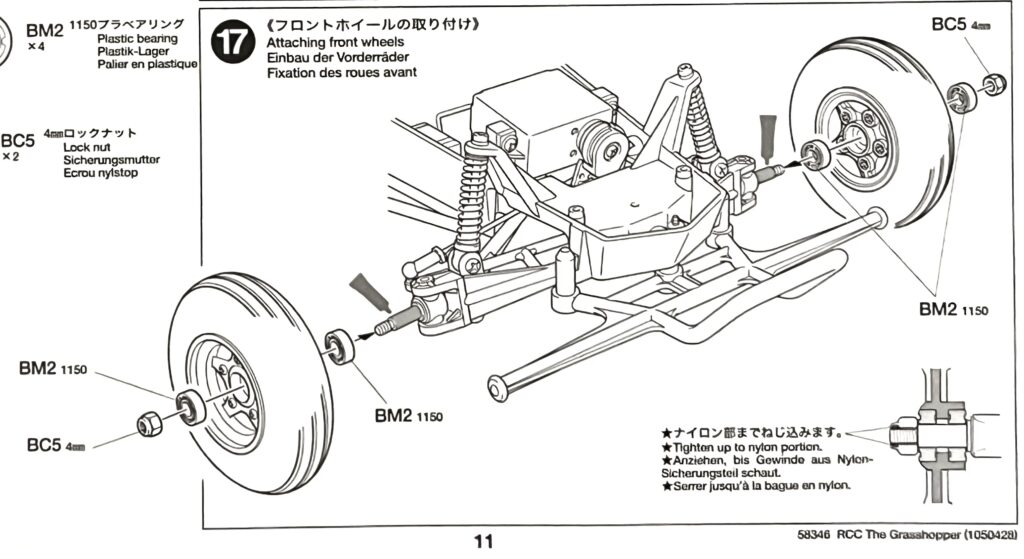
Here comes our optional part. We will replace the standard plastic bearings with 1150 ball bearings for smoother rotation and better performance.
| Part Number | Part Name |
|---|---|
| – | Front Tire (Assembled) x 2 |
| BC5 | 4mm Lock Nut x 2 |
| – | 1150 Ball Bearing (Optional Part) x 4 |
Fit two bearings into the wheel, then attach it with a lock nut.
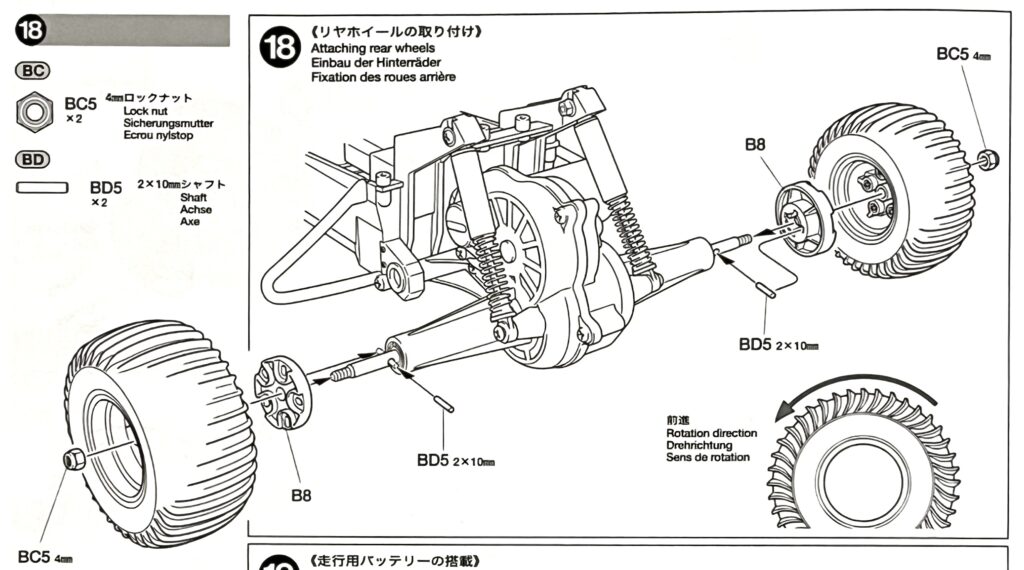
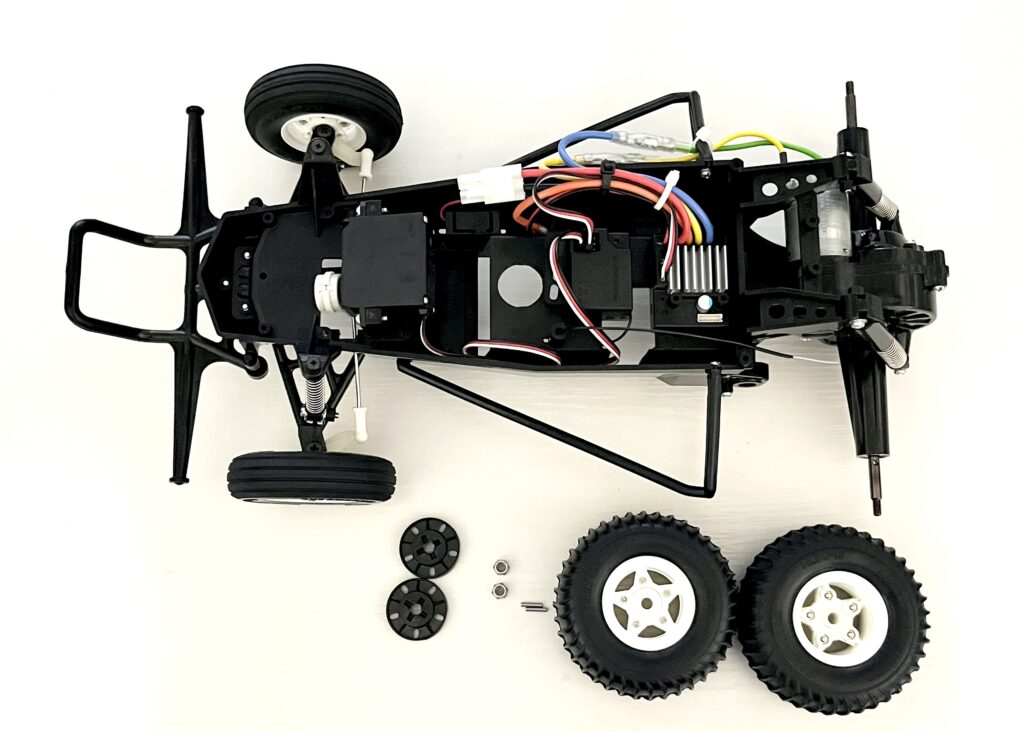
Attaching the Rear Tires
Finally, let’s attach the rear tires. This corresponds to step “18” in the manual.
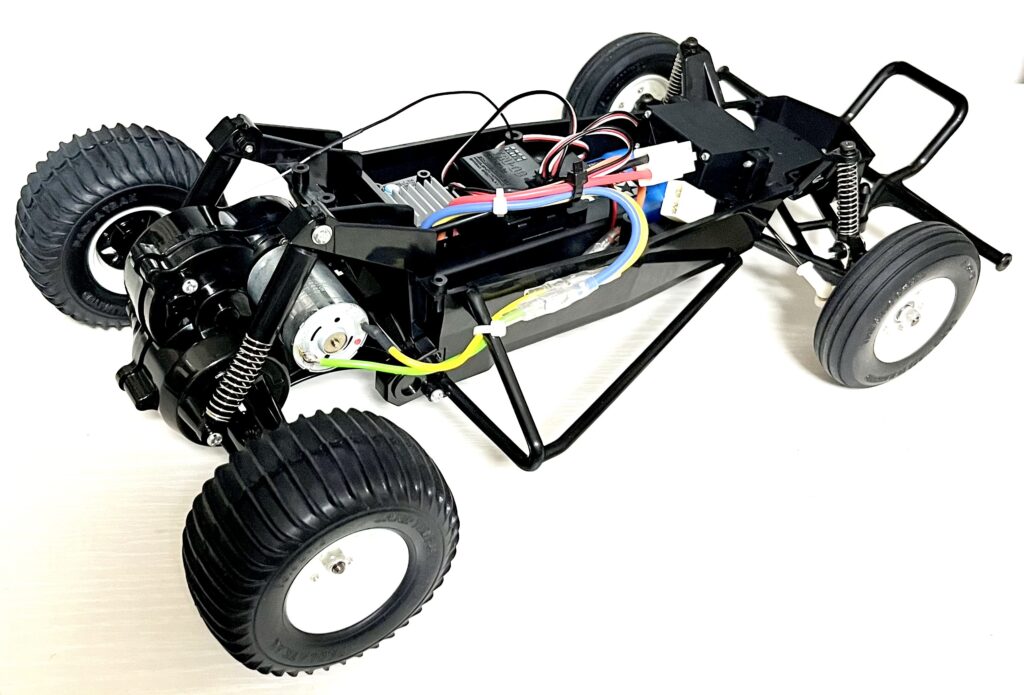
With all four tires on, the chassis now stands on its own wheels. It’s an exciting moment!
| Part Number | Part Name |
|---|---|
| – | Rear Tire (Assembled) x 2 |
| B8 | Wheel Hub x 2 |
| BC5 | 4mm Lock Nut x 2 |
| BD5 | 2x10mm Shaft x 2 |
First, attach the wheel hub to the gearbox with the shaft. Then, fit the rear tire over it and tighten it securely with a lock nut. The chassis assembly is now complete!
Conclusion
This time, we assembled and attached the tires. The chassis is now fully on its wheels, and I’m looking forward to seeing the effect of the ball bearings.
Next time is the final installment: attaching the body. Stay tuned for the grand finale!


コメント