
The quest to build the ultimate Grasshopper continues. This time, we’re focusing on taming the beast by installing a steering gyro to aid with handling its immense power. We’re also swapping the rear tires to the classic Hornet style to fine-tune the buggy’s driving characteristics.
Gyro Installation
Here is the gyro we’ll be installing: the GWS PG-03, which we purchased from Amazon. This device automatically applies counter-steer to help maintain stability. For easy access to the GAIN adjustment knob, we’ve temporarily mounted it on the side of the chassis tub.
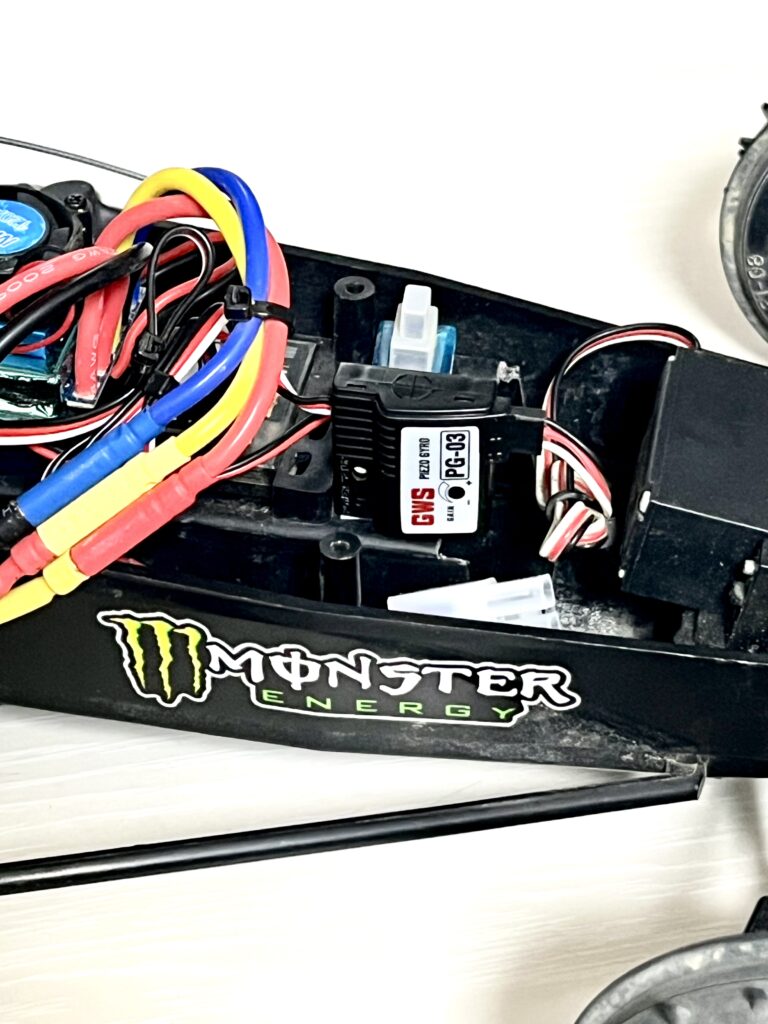
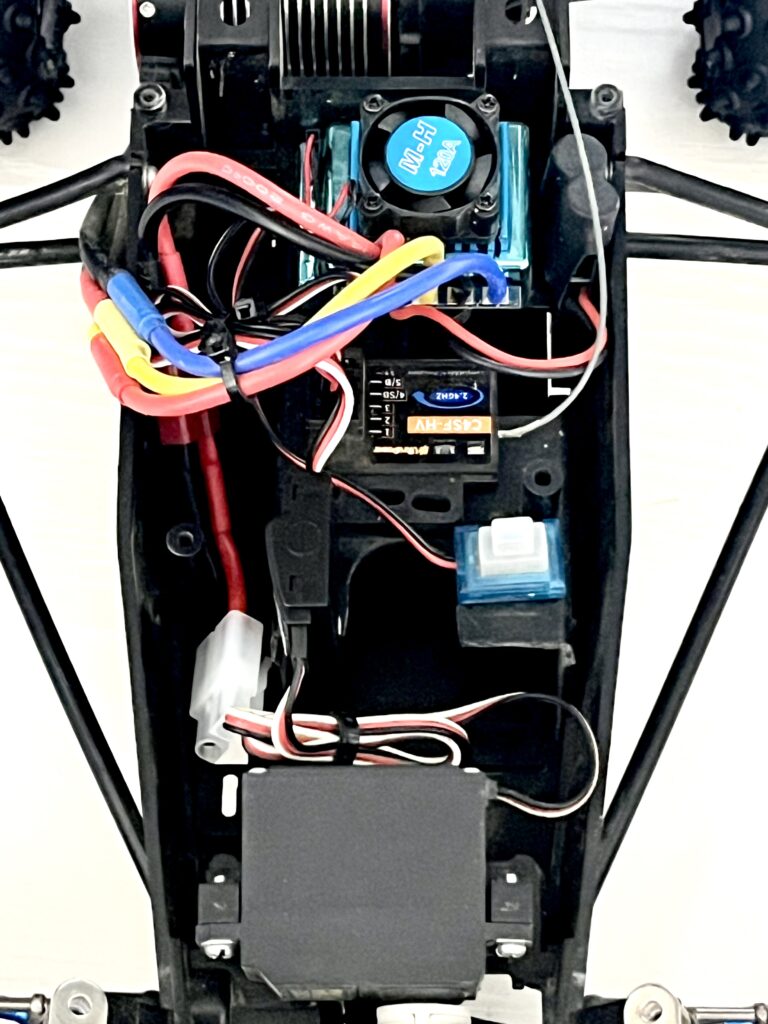
Here’s a look at the electronics layout after the gyro installation. The wiring is a bit more crowded, but everything fits nicely. This should provide much more confidence on slippery surfaces.
Hornet-Style Rear Tires
We’ve changed the rear tires to the stock Tamiya Hornet spikes. The wheels were also swapped to black to match the overall aesthetic. The classic spike pattern is iconic.
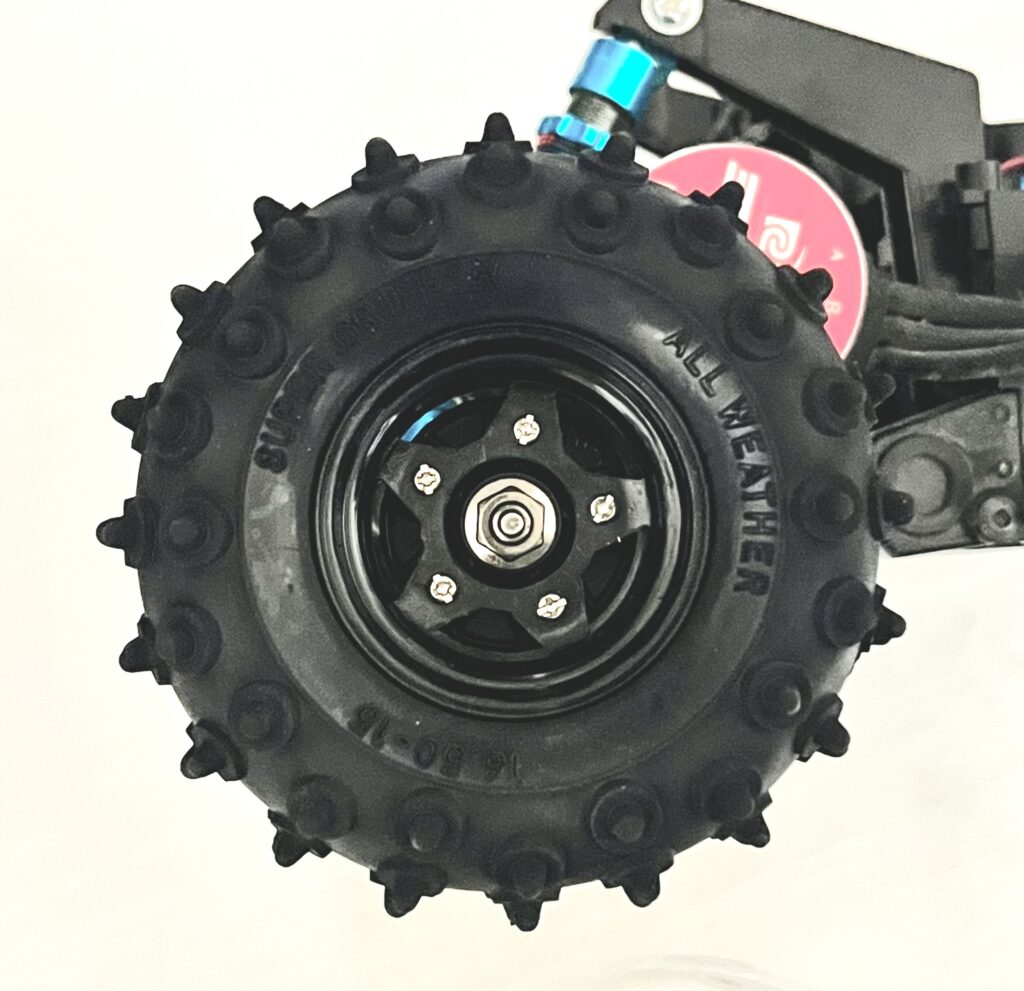
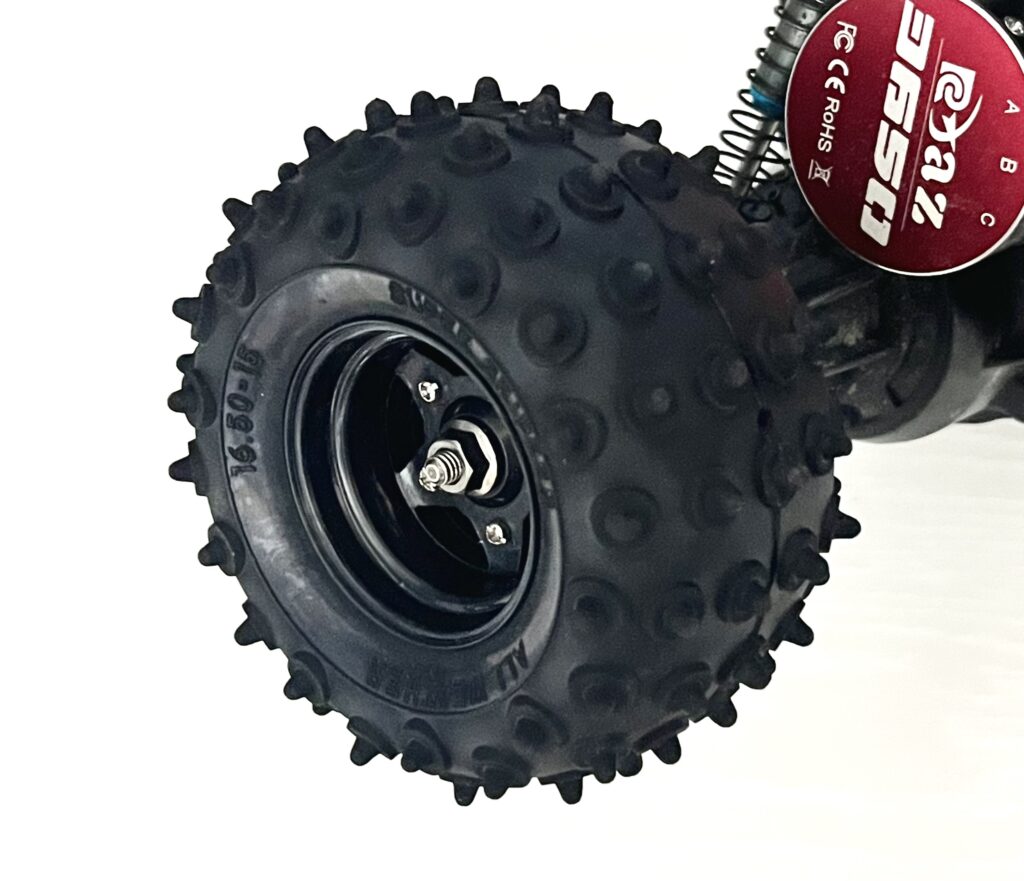
Here’s an angled shot of the new rear tire. The narrower profile enhances the buggy’s vintage feel. We’re very interested to see how this changes the handling.
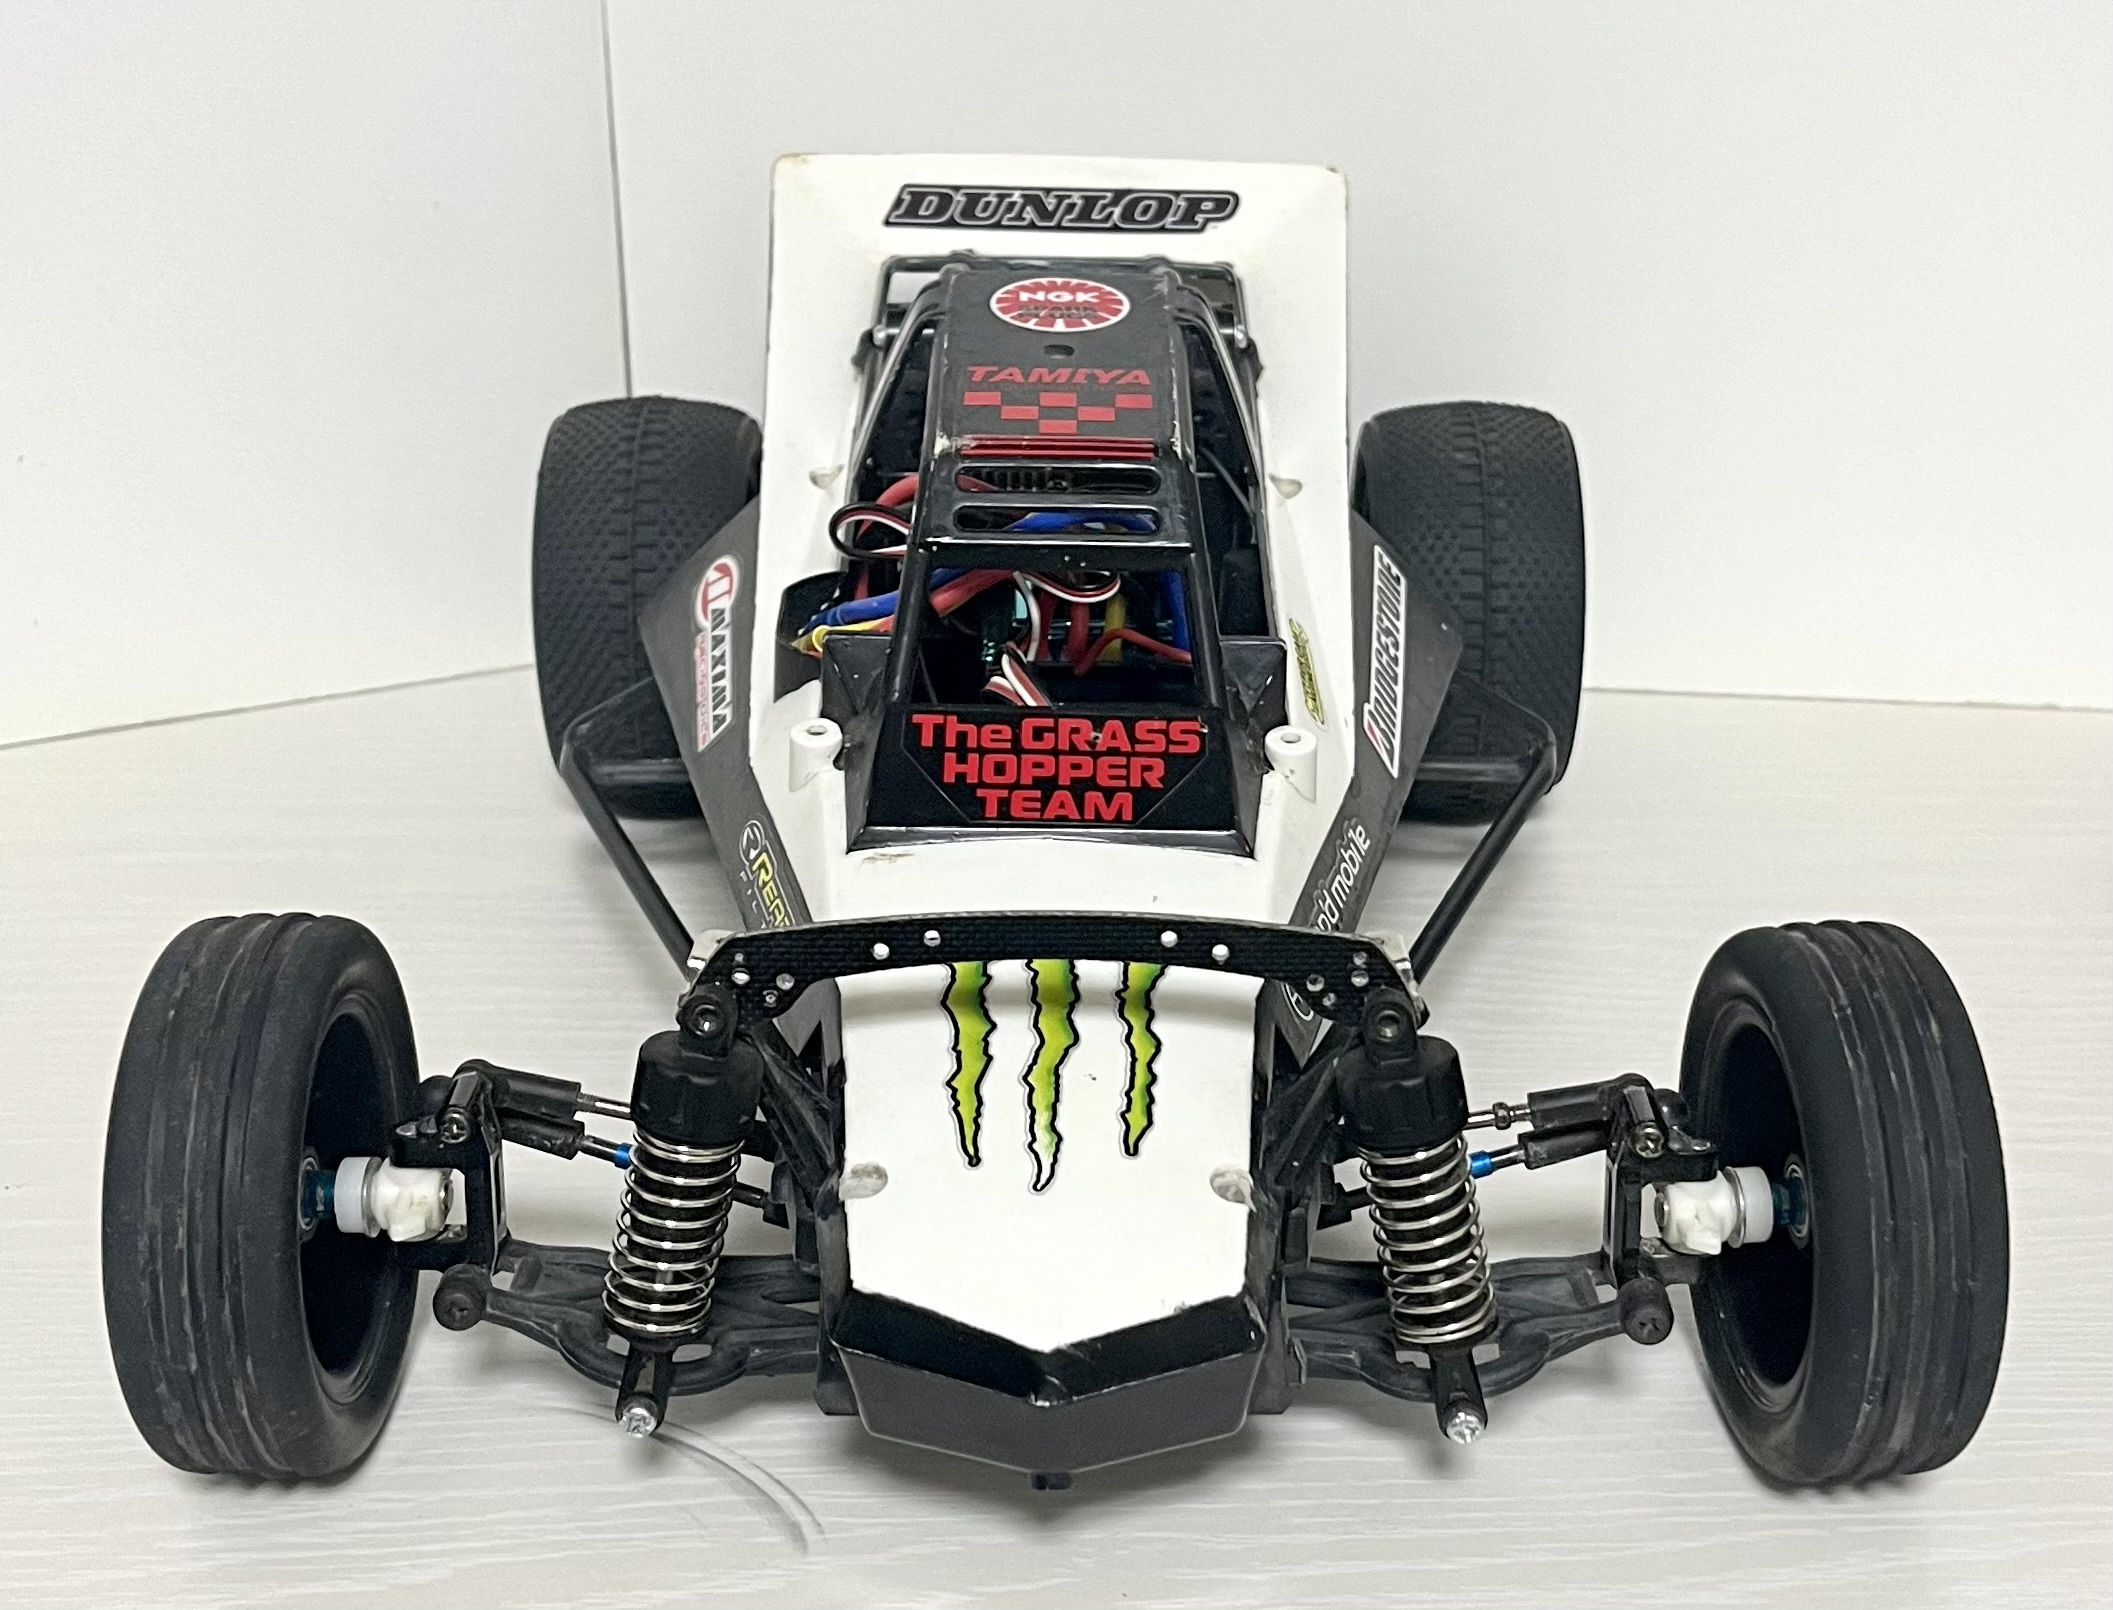
The Upgrade is Complete!
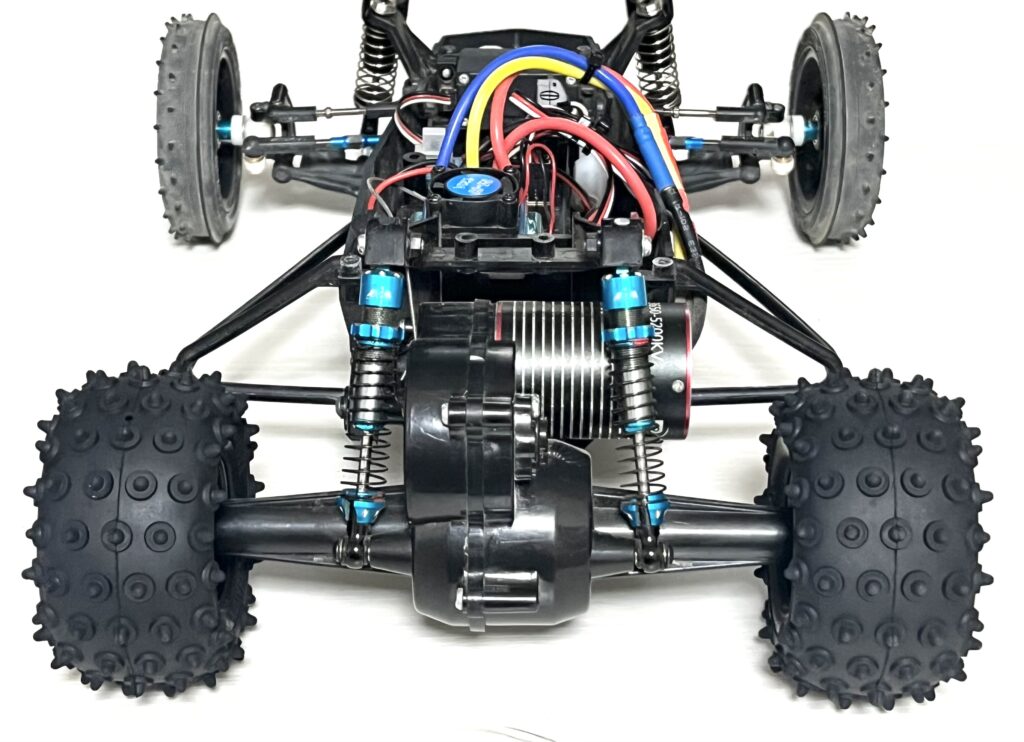
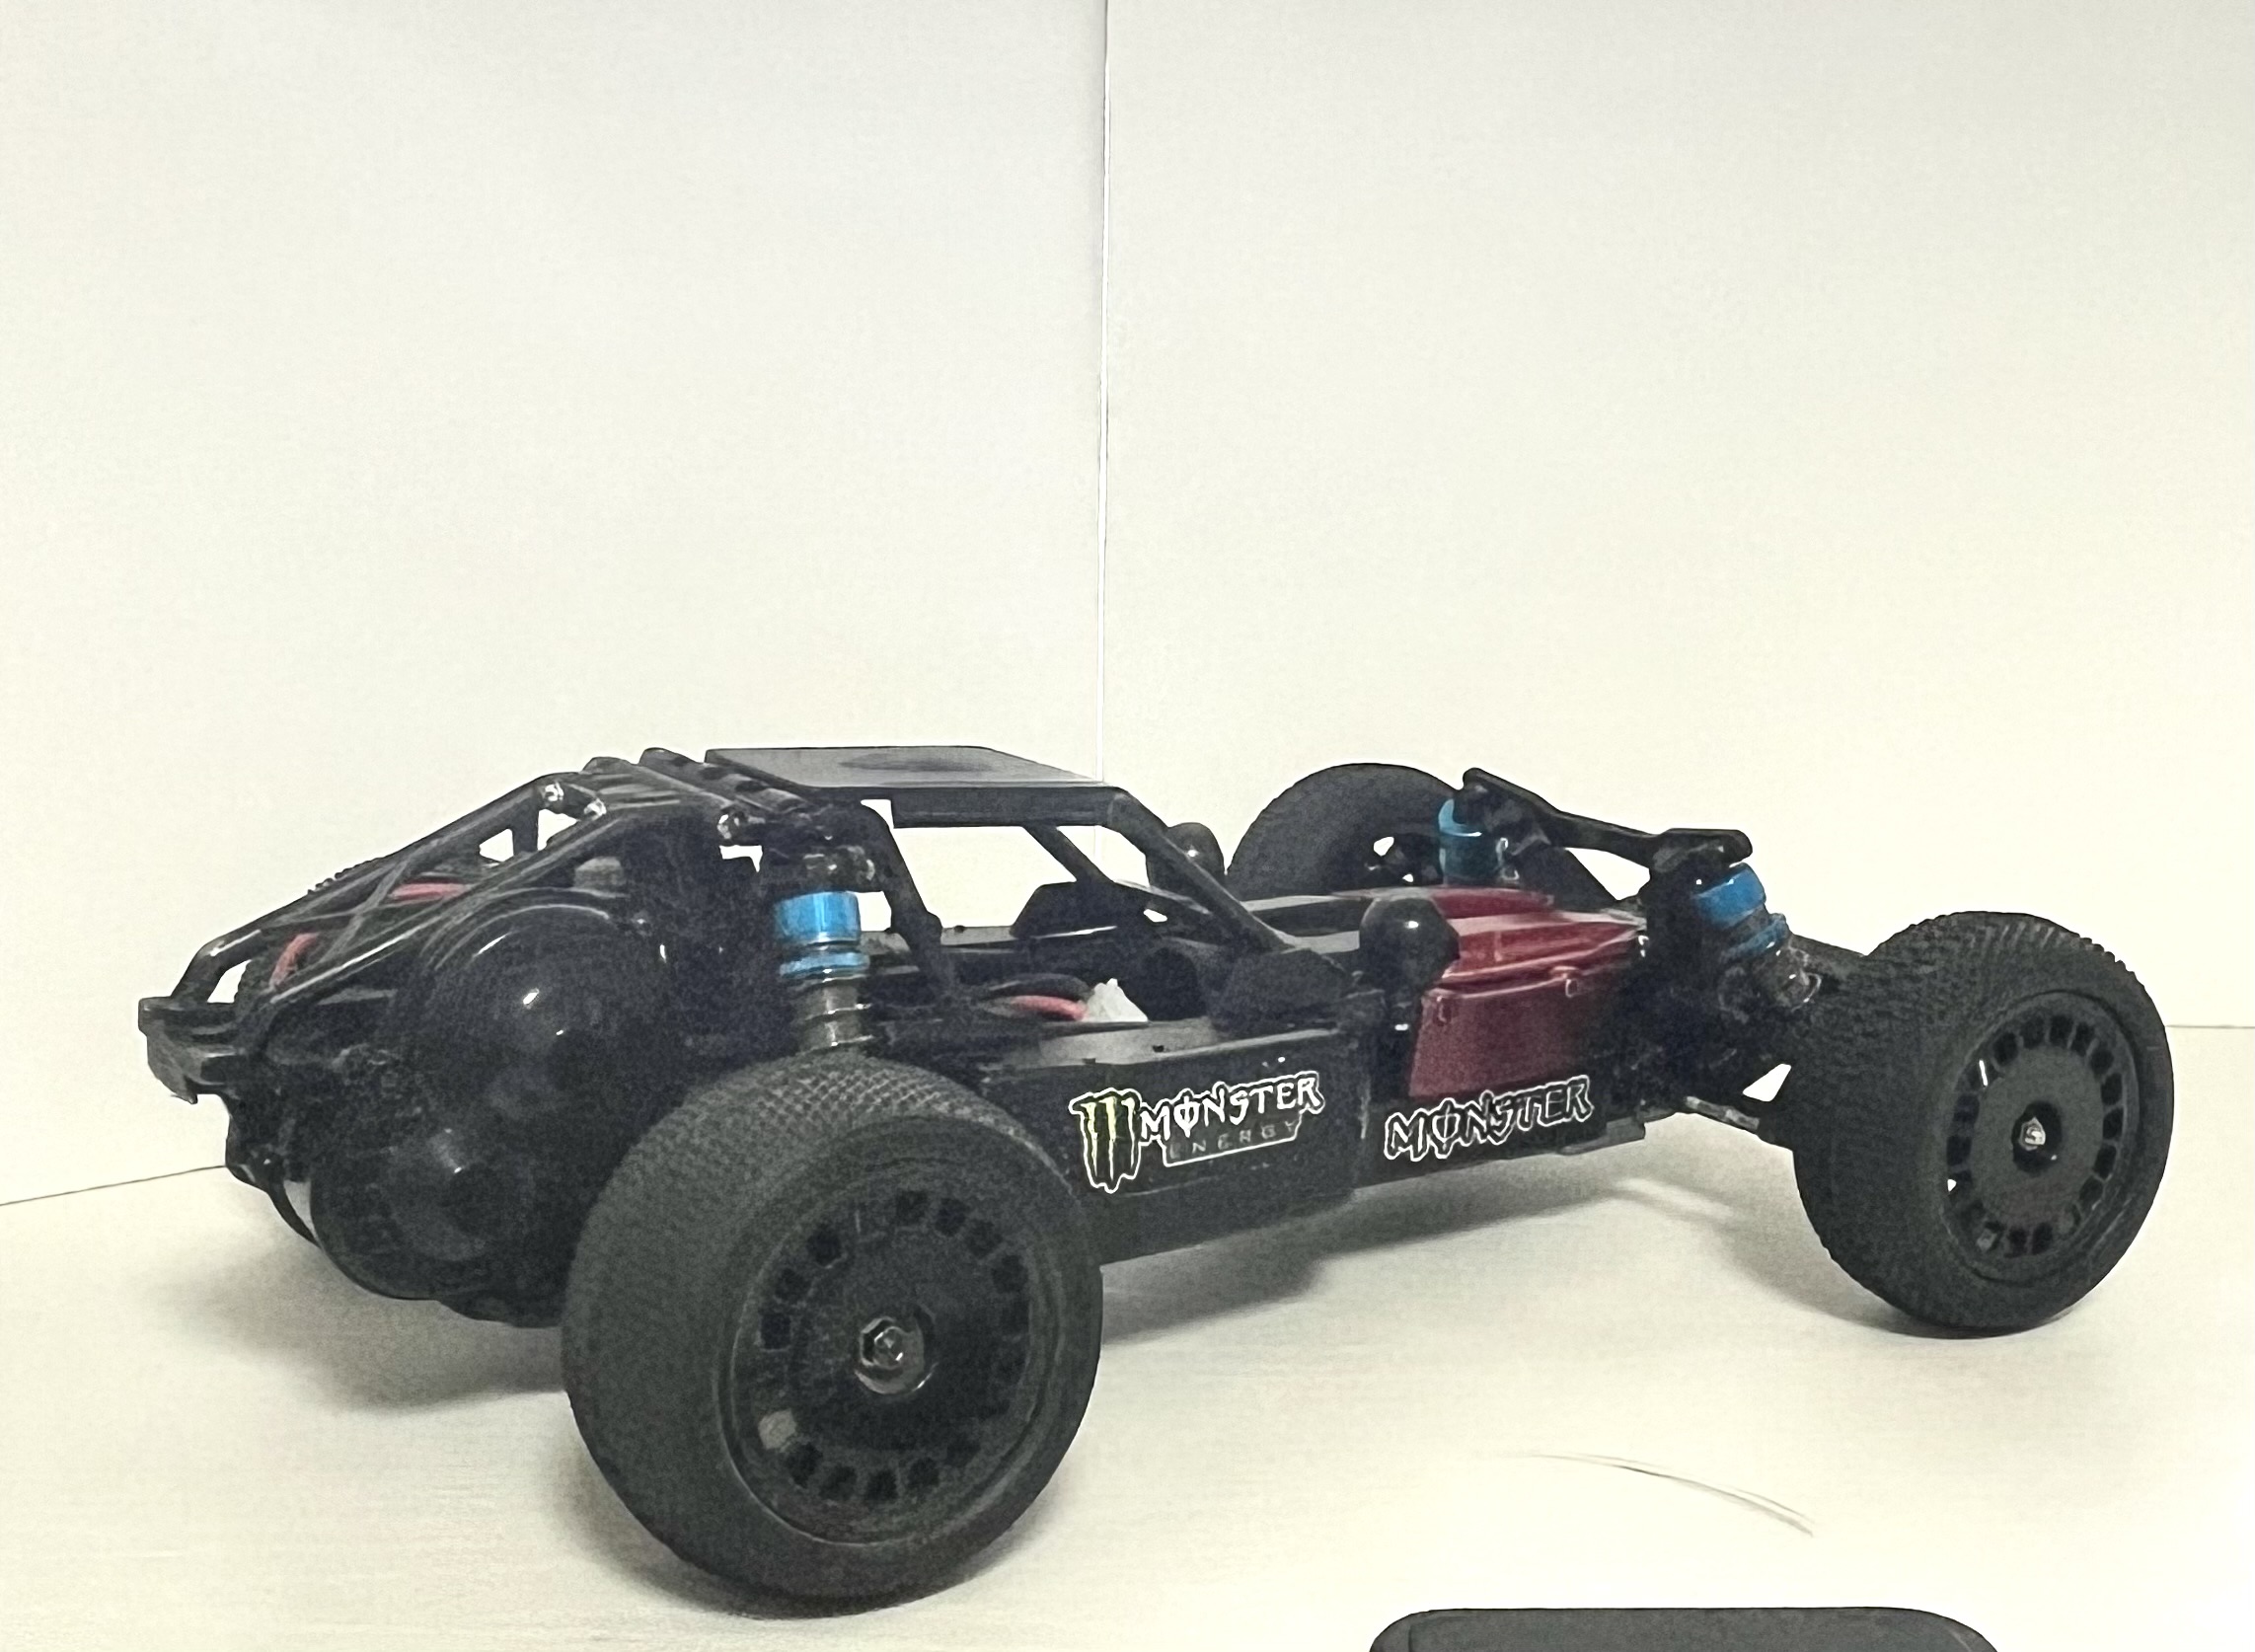
Here’s a view from the rear after the tire swap. The new tires have given the buggy yet another new personality.
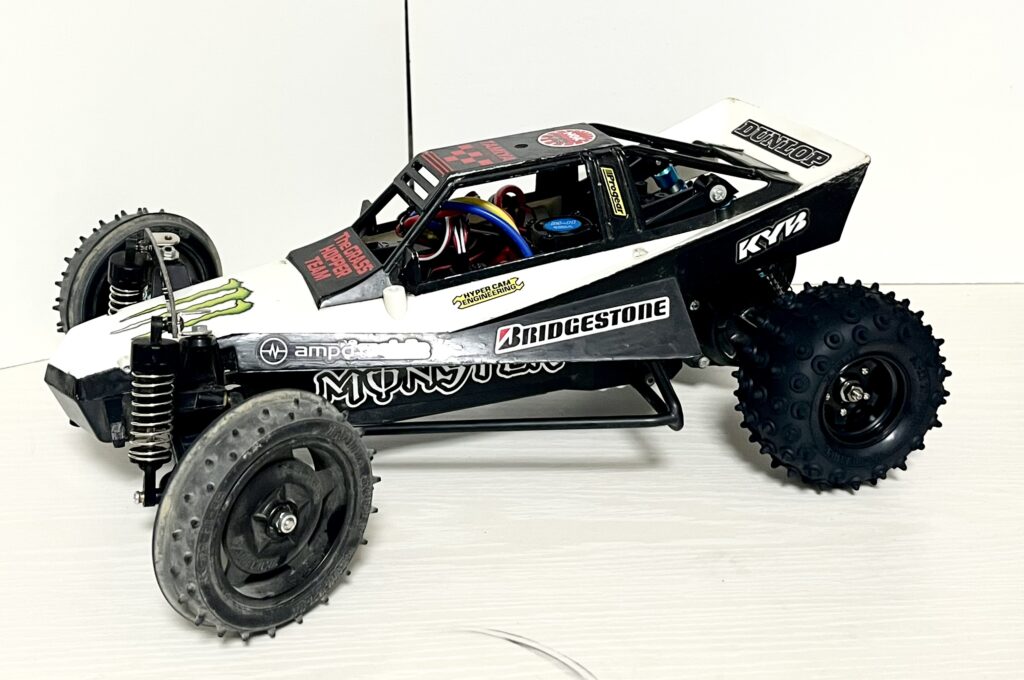
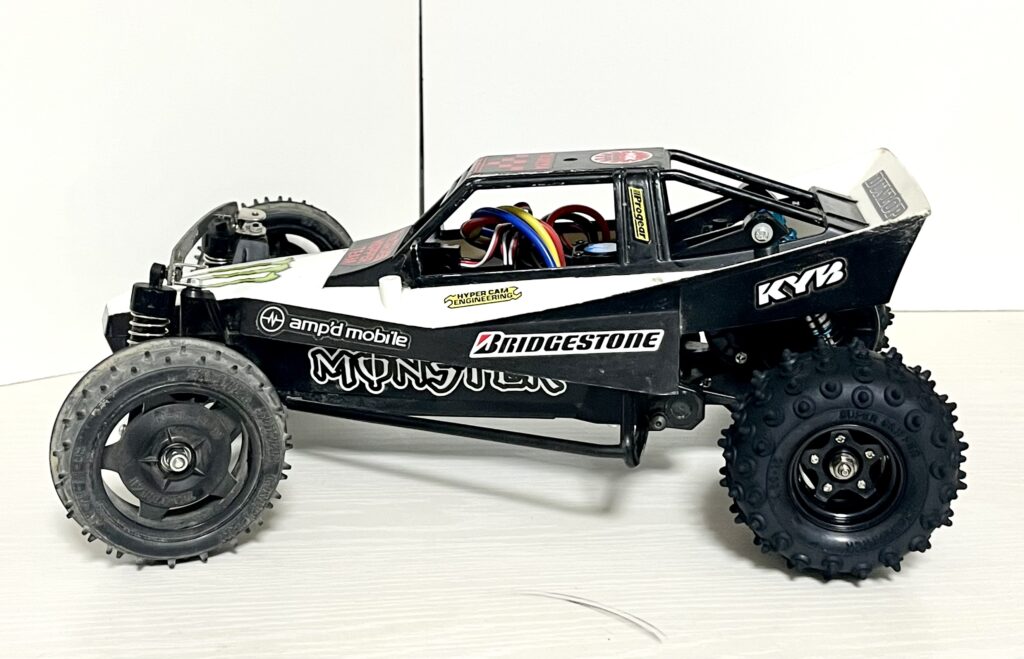
A side profile shot of the completed buggy. The new rear tires balance well with the front ribbed tires, promising a more agile driving experience.
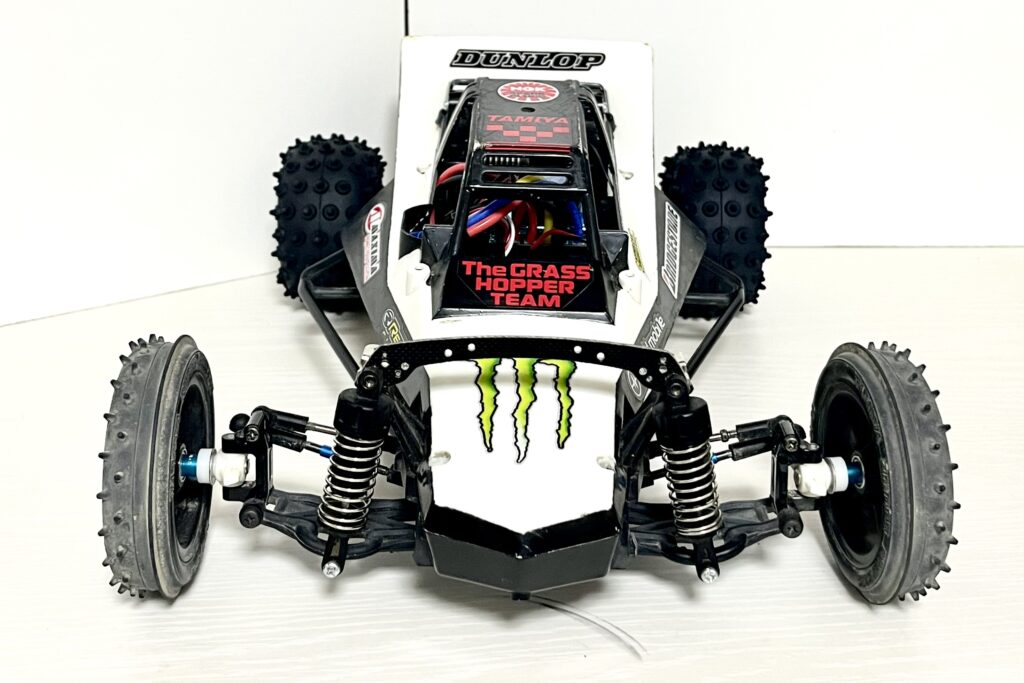
And finally, a view from the front. The Grasshopper is now armed with a gyro and Hornet tires, ready for action. It’s another step forward in both looks and performance. Next time, we’ll finally take this monster out for a proper shakedown run and report back!
Custom Parts Used
The parts used for this customization are listed below.
Want this awesome RC gear for yourself? Here’s how you can easily get it shipped from Japan!
Get Your Favorite Japanese RC Gear Shipped to You!
コメント