Following the previous chassis assembly post, it was time for the body shell.
I am thrilled to announce that my Tamiya Mighty Frog is finally complete!
In this post, I’ll share my custom color choices and the final reveal.
Custom Body Color Selection
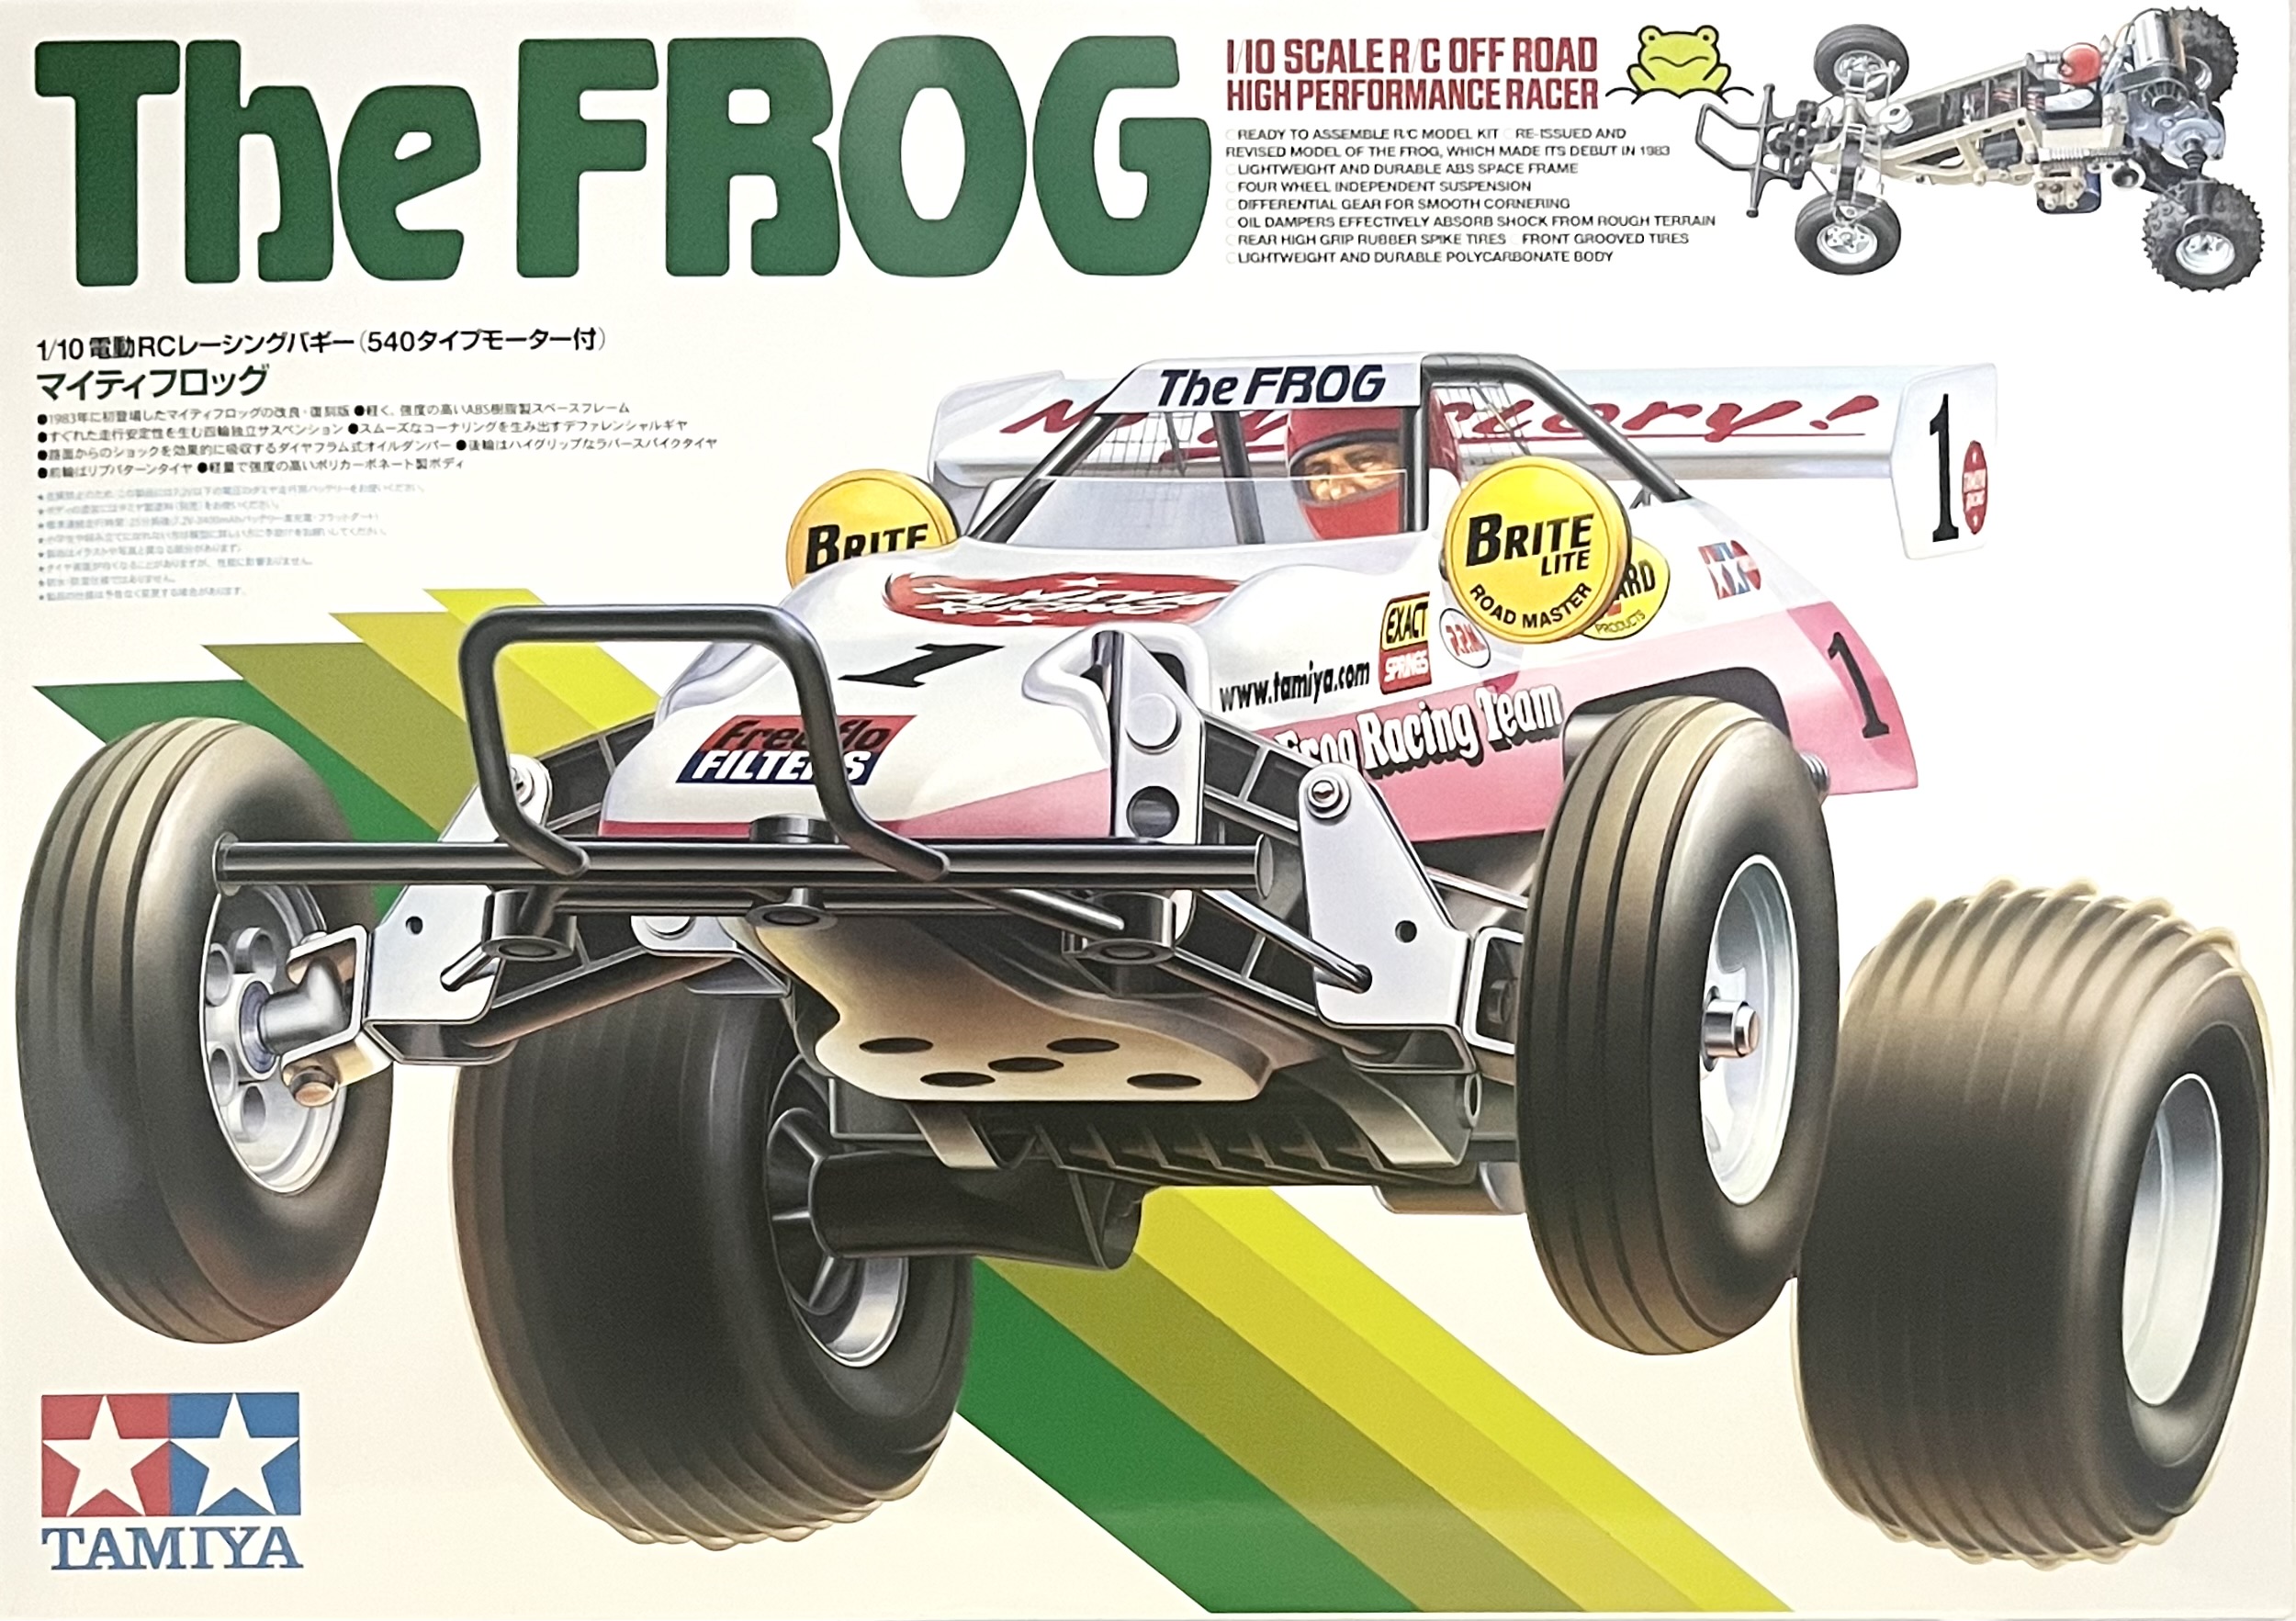
Instead of the classic pink, I went for a more rugged, military-inspired look.
I used the following Tamiya Spray Lacquers for this project:
- TS-46 Light Sand: Main body color
- TS-29 Semi-Gloss Black: Used for the roof and rear wing
The result is a sophisticated and unique appearance for this vintage buggy.
The Final Reveal: Full Gallery
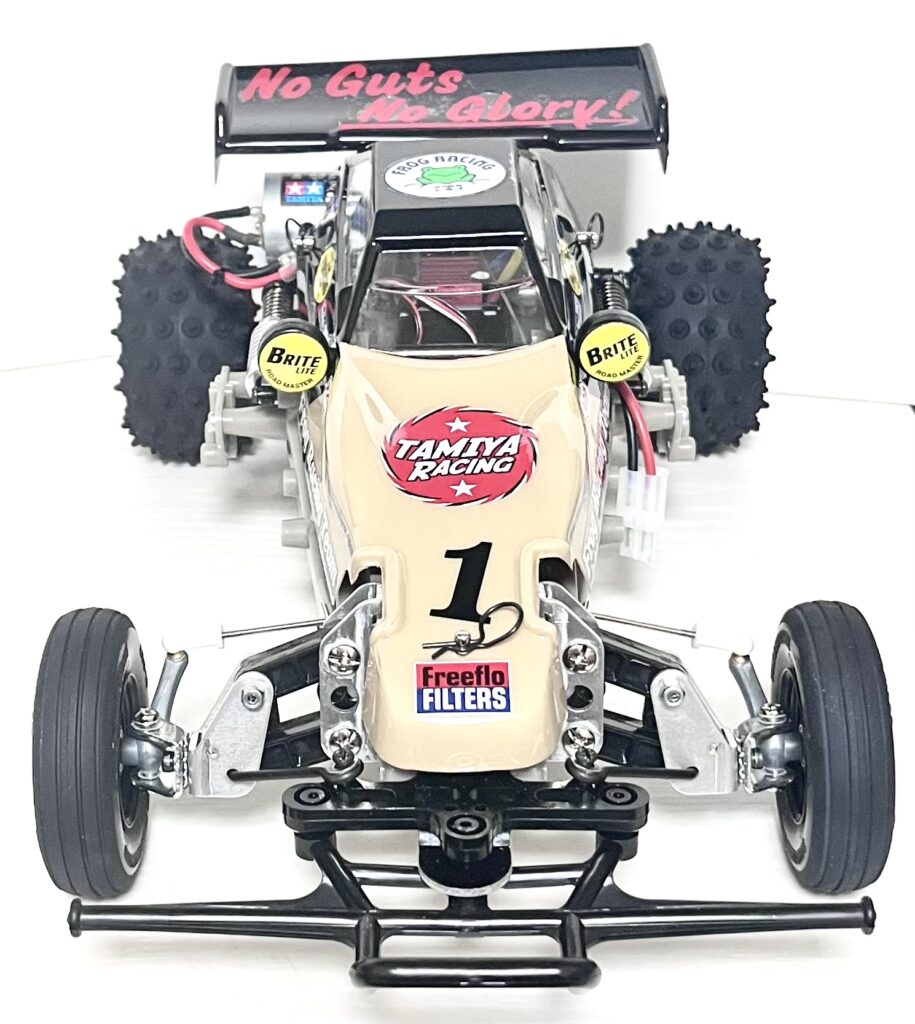
From the front, the black bumper complements the desert-style body color perfectly.
Applying the decals instantly added that classic racing vibe to the build.
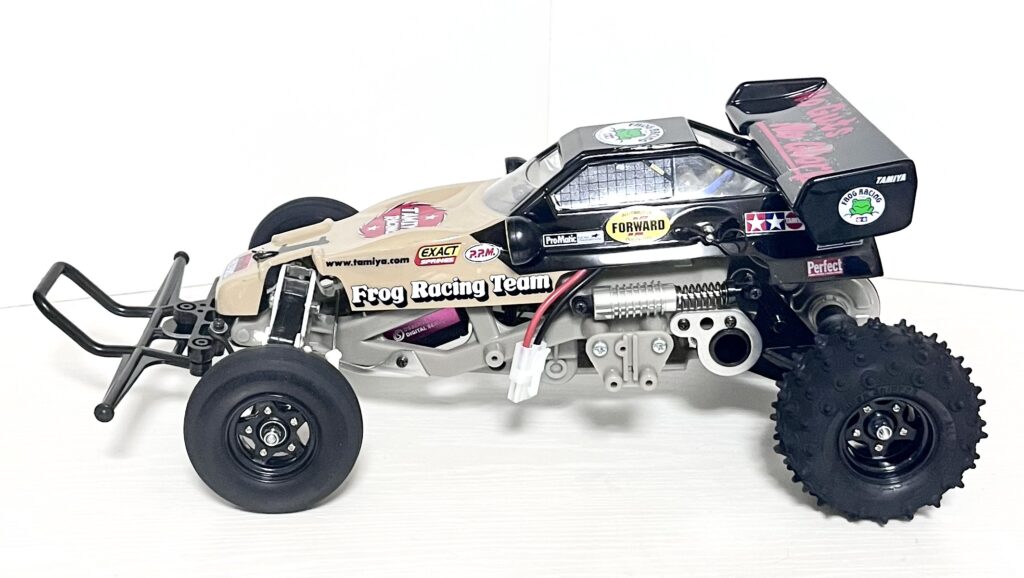
The side silhouette highlights the iconic lines of this legendary RC car.
The black rear wing helps balance the overall visual weight of the car.
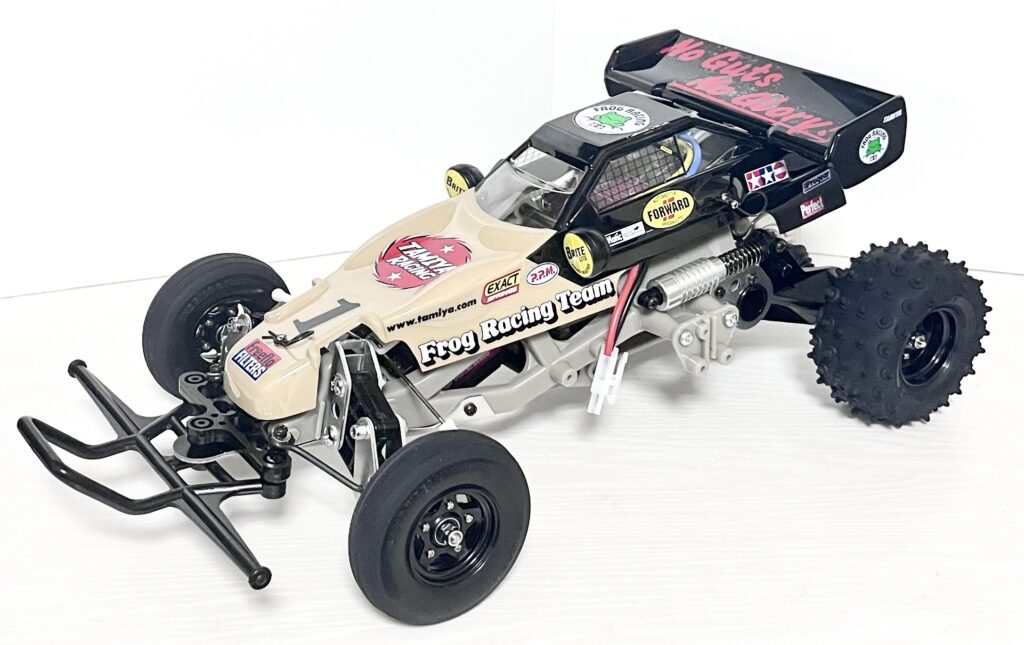
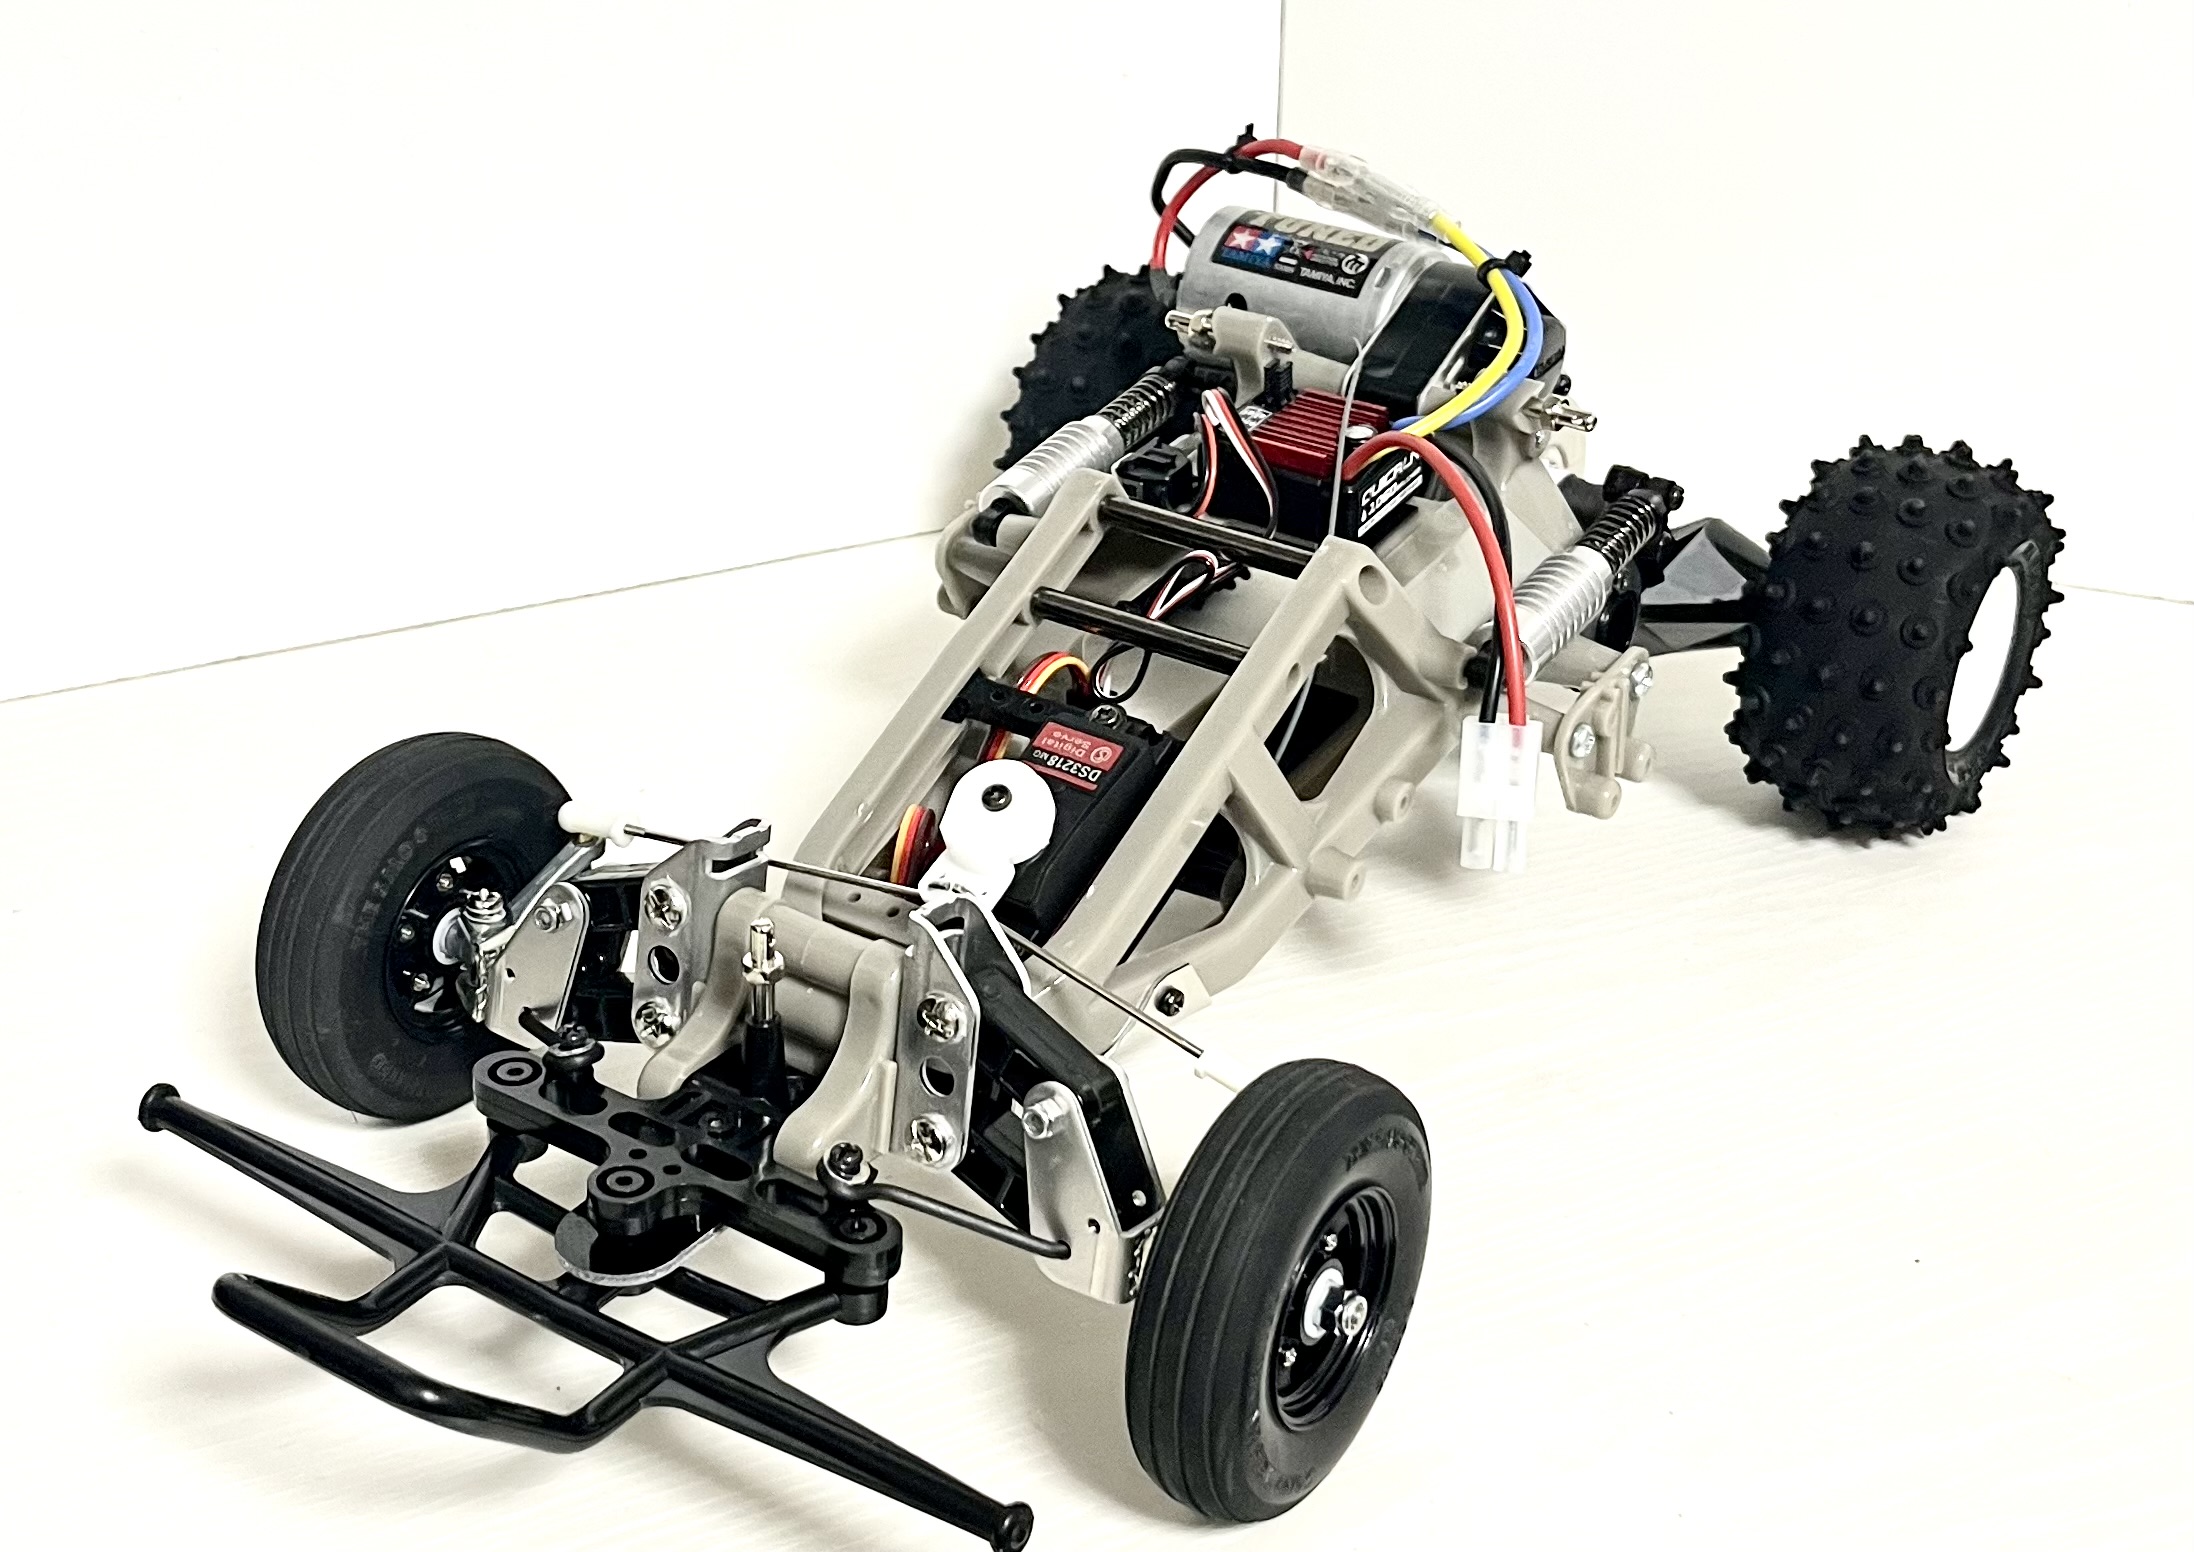
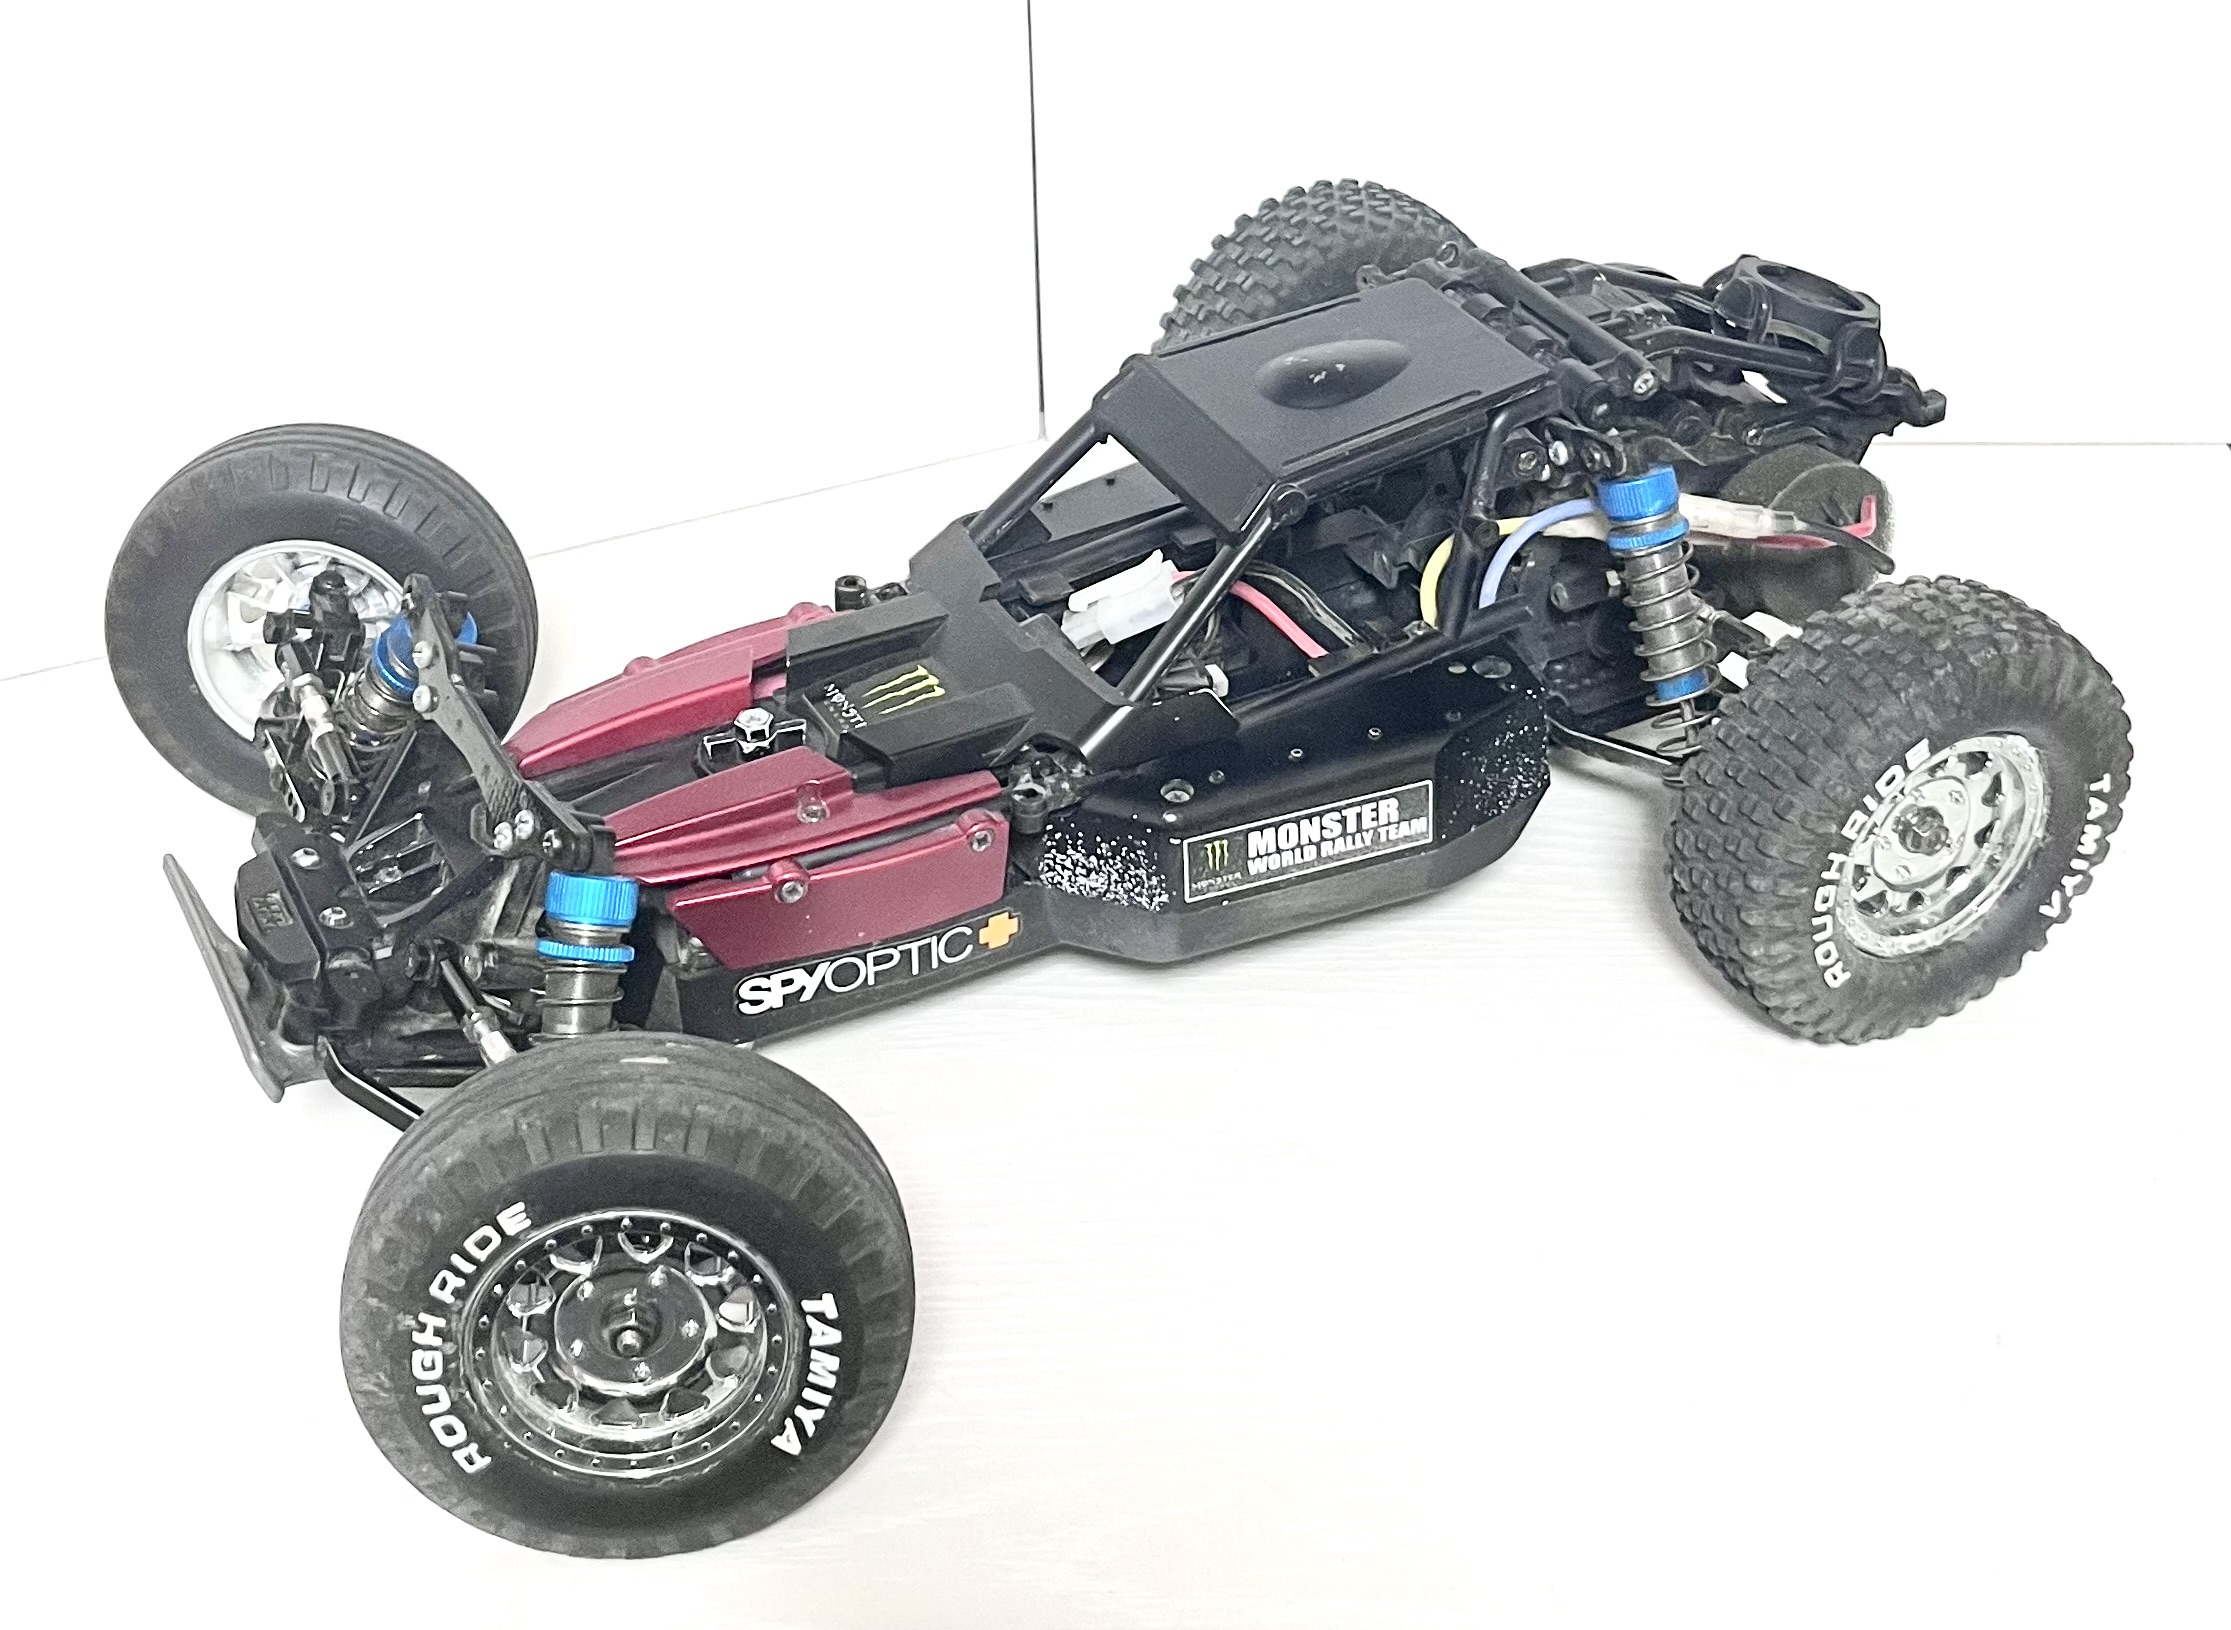
This angle shows off the unique space frame chassis peaking from beneath the body.
The contrast between the Light Sand and the black mechanical parts is fantastic.
Conclusion
All assembly and painting steps are officially finished!
I’m very happy with how this custom color scheme turned out.
The next step is the exciting shakedown run at the local track!
Stay tuned for more updates!
Want this awesome RC gear for yourself? Here’s how you can easily get it shipped from Japan!
Get Your Favorite Japanese RC Gear Shipped to You!
コメント