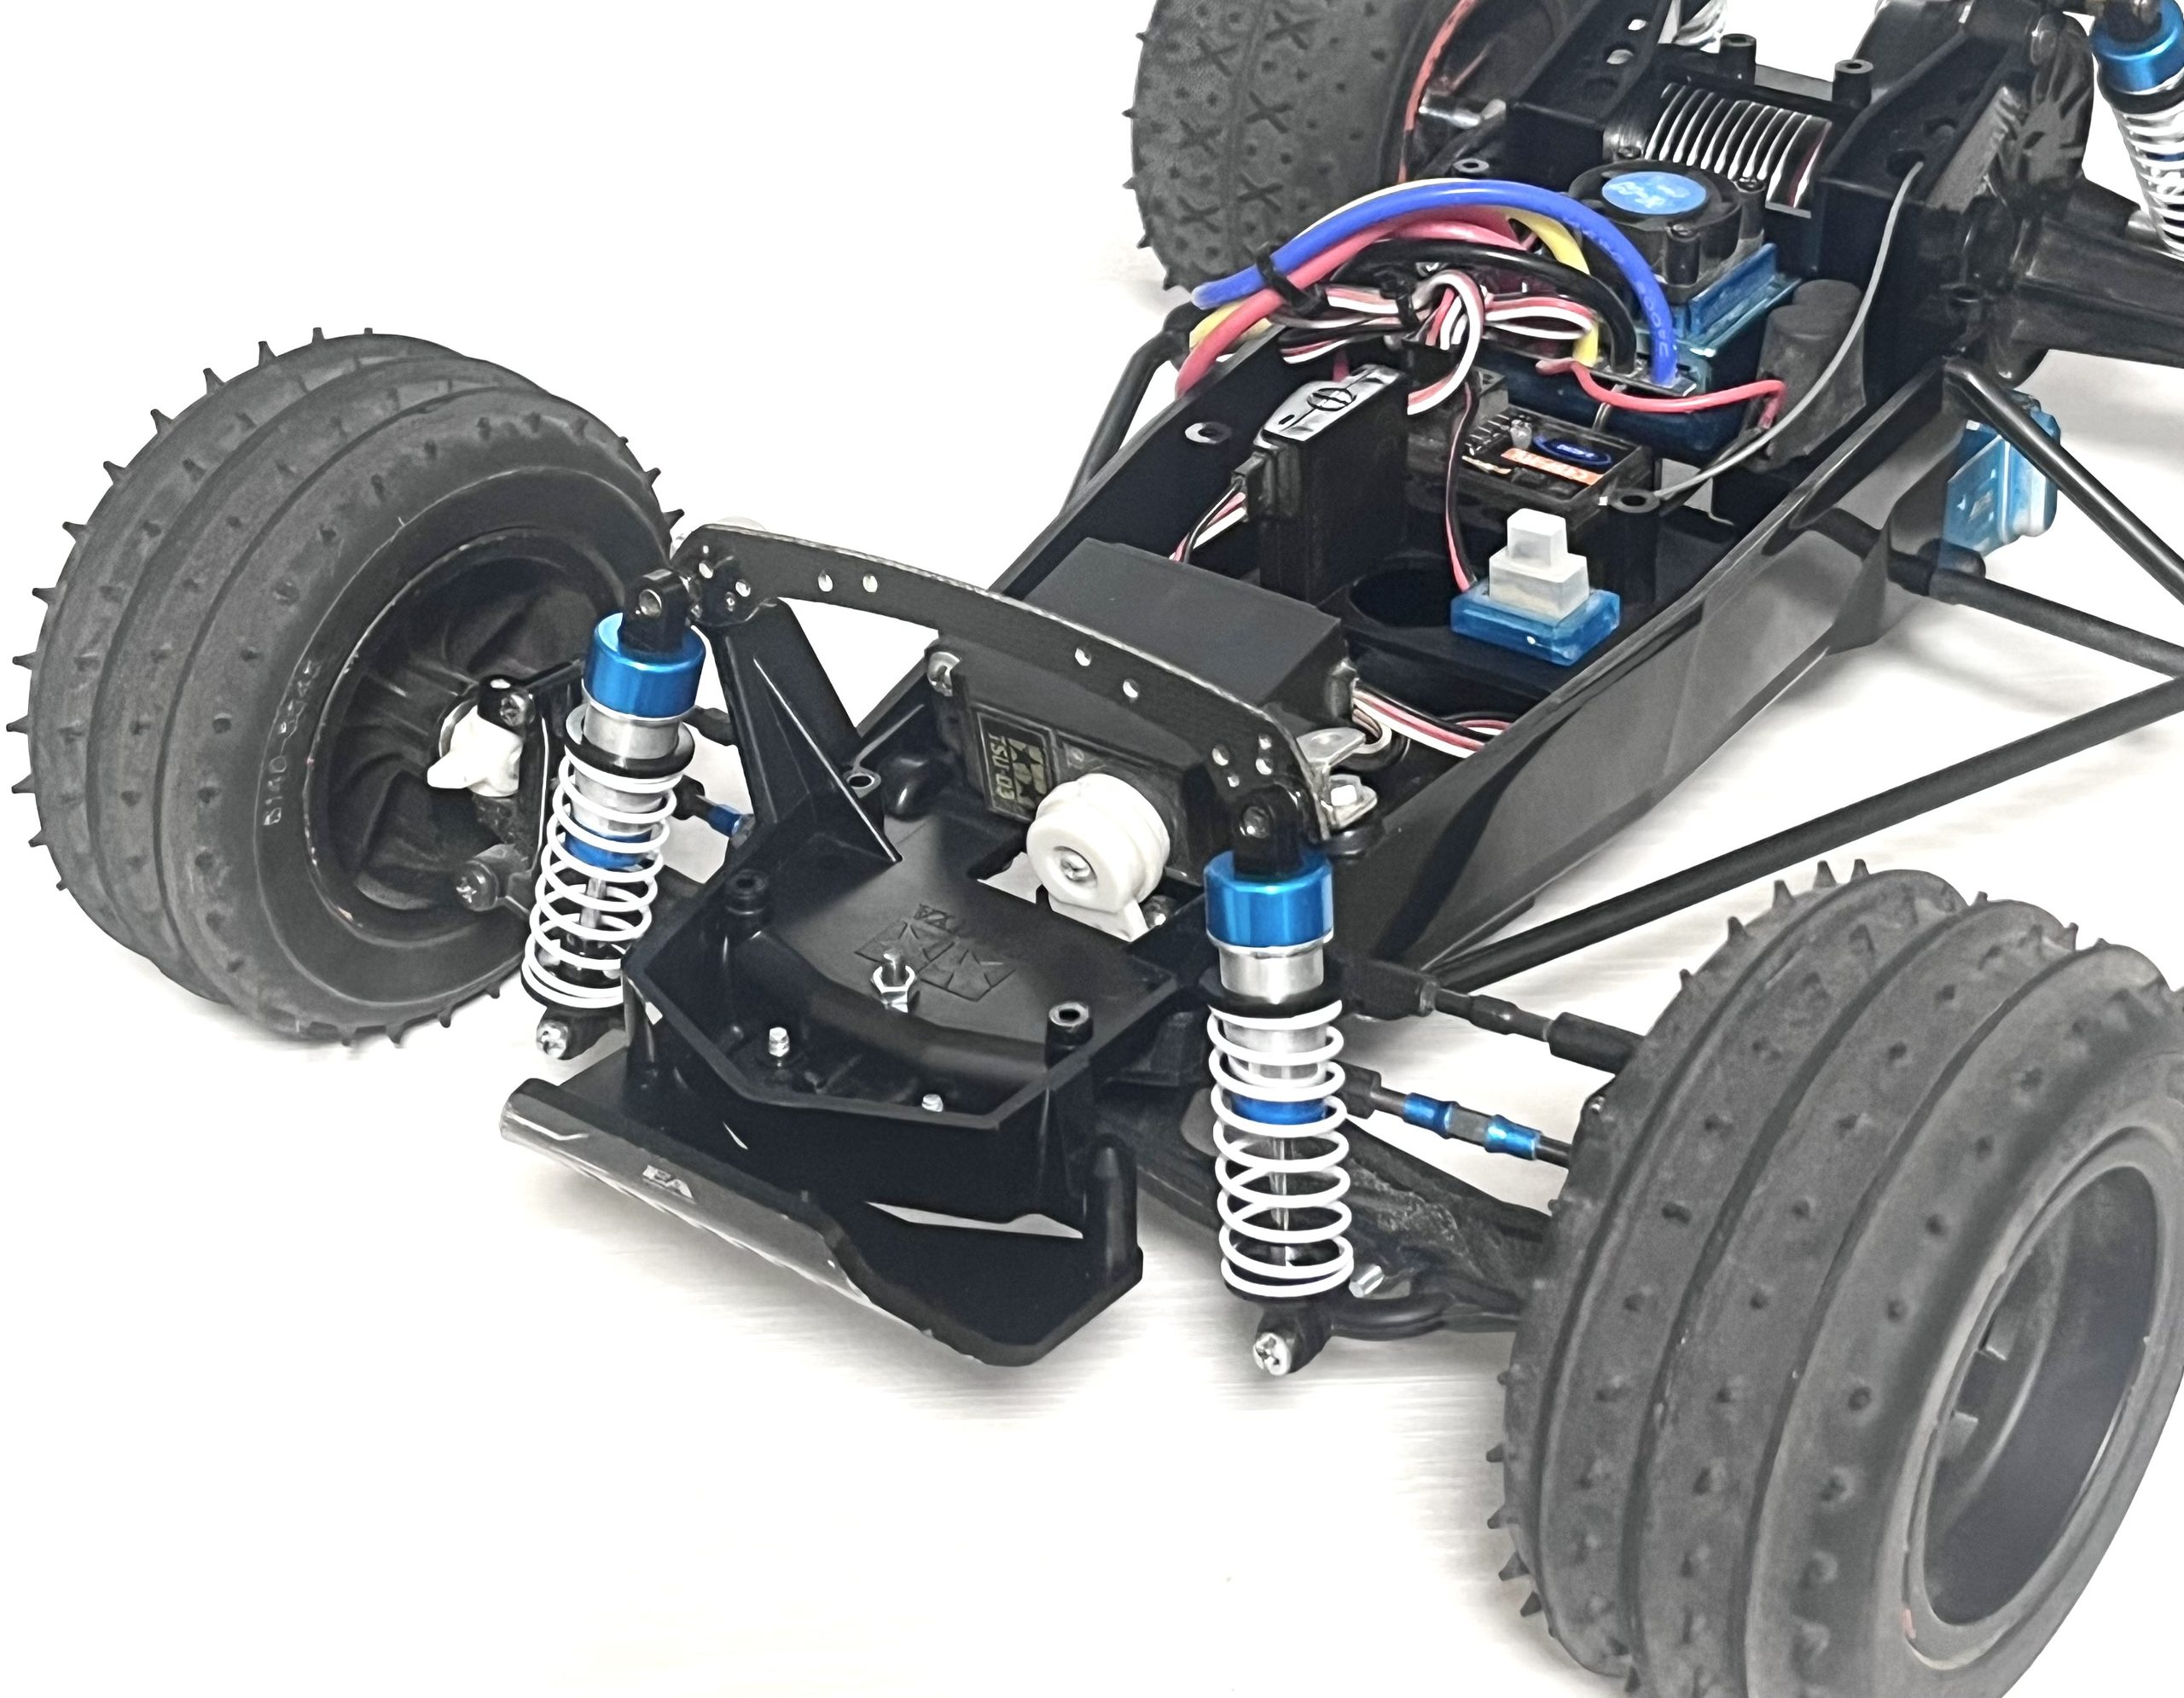
I’m upgrading the suspension of my Tamiya “Grasshopper.”
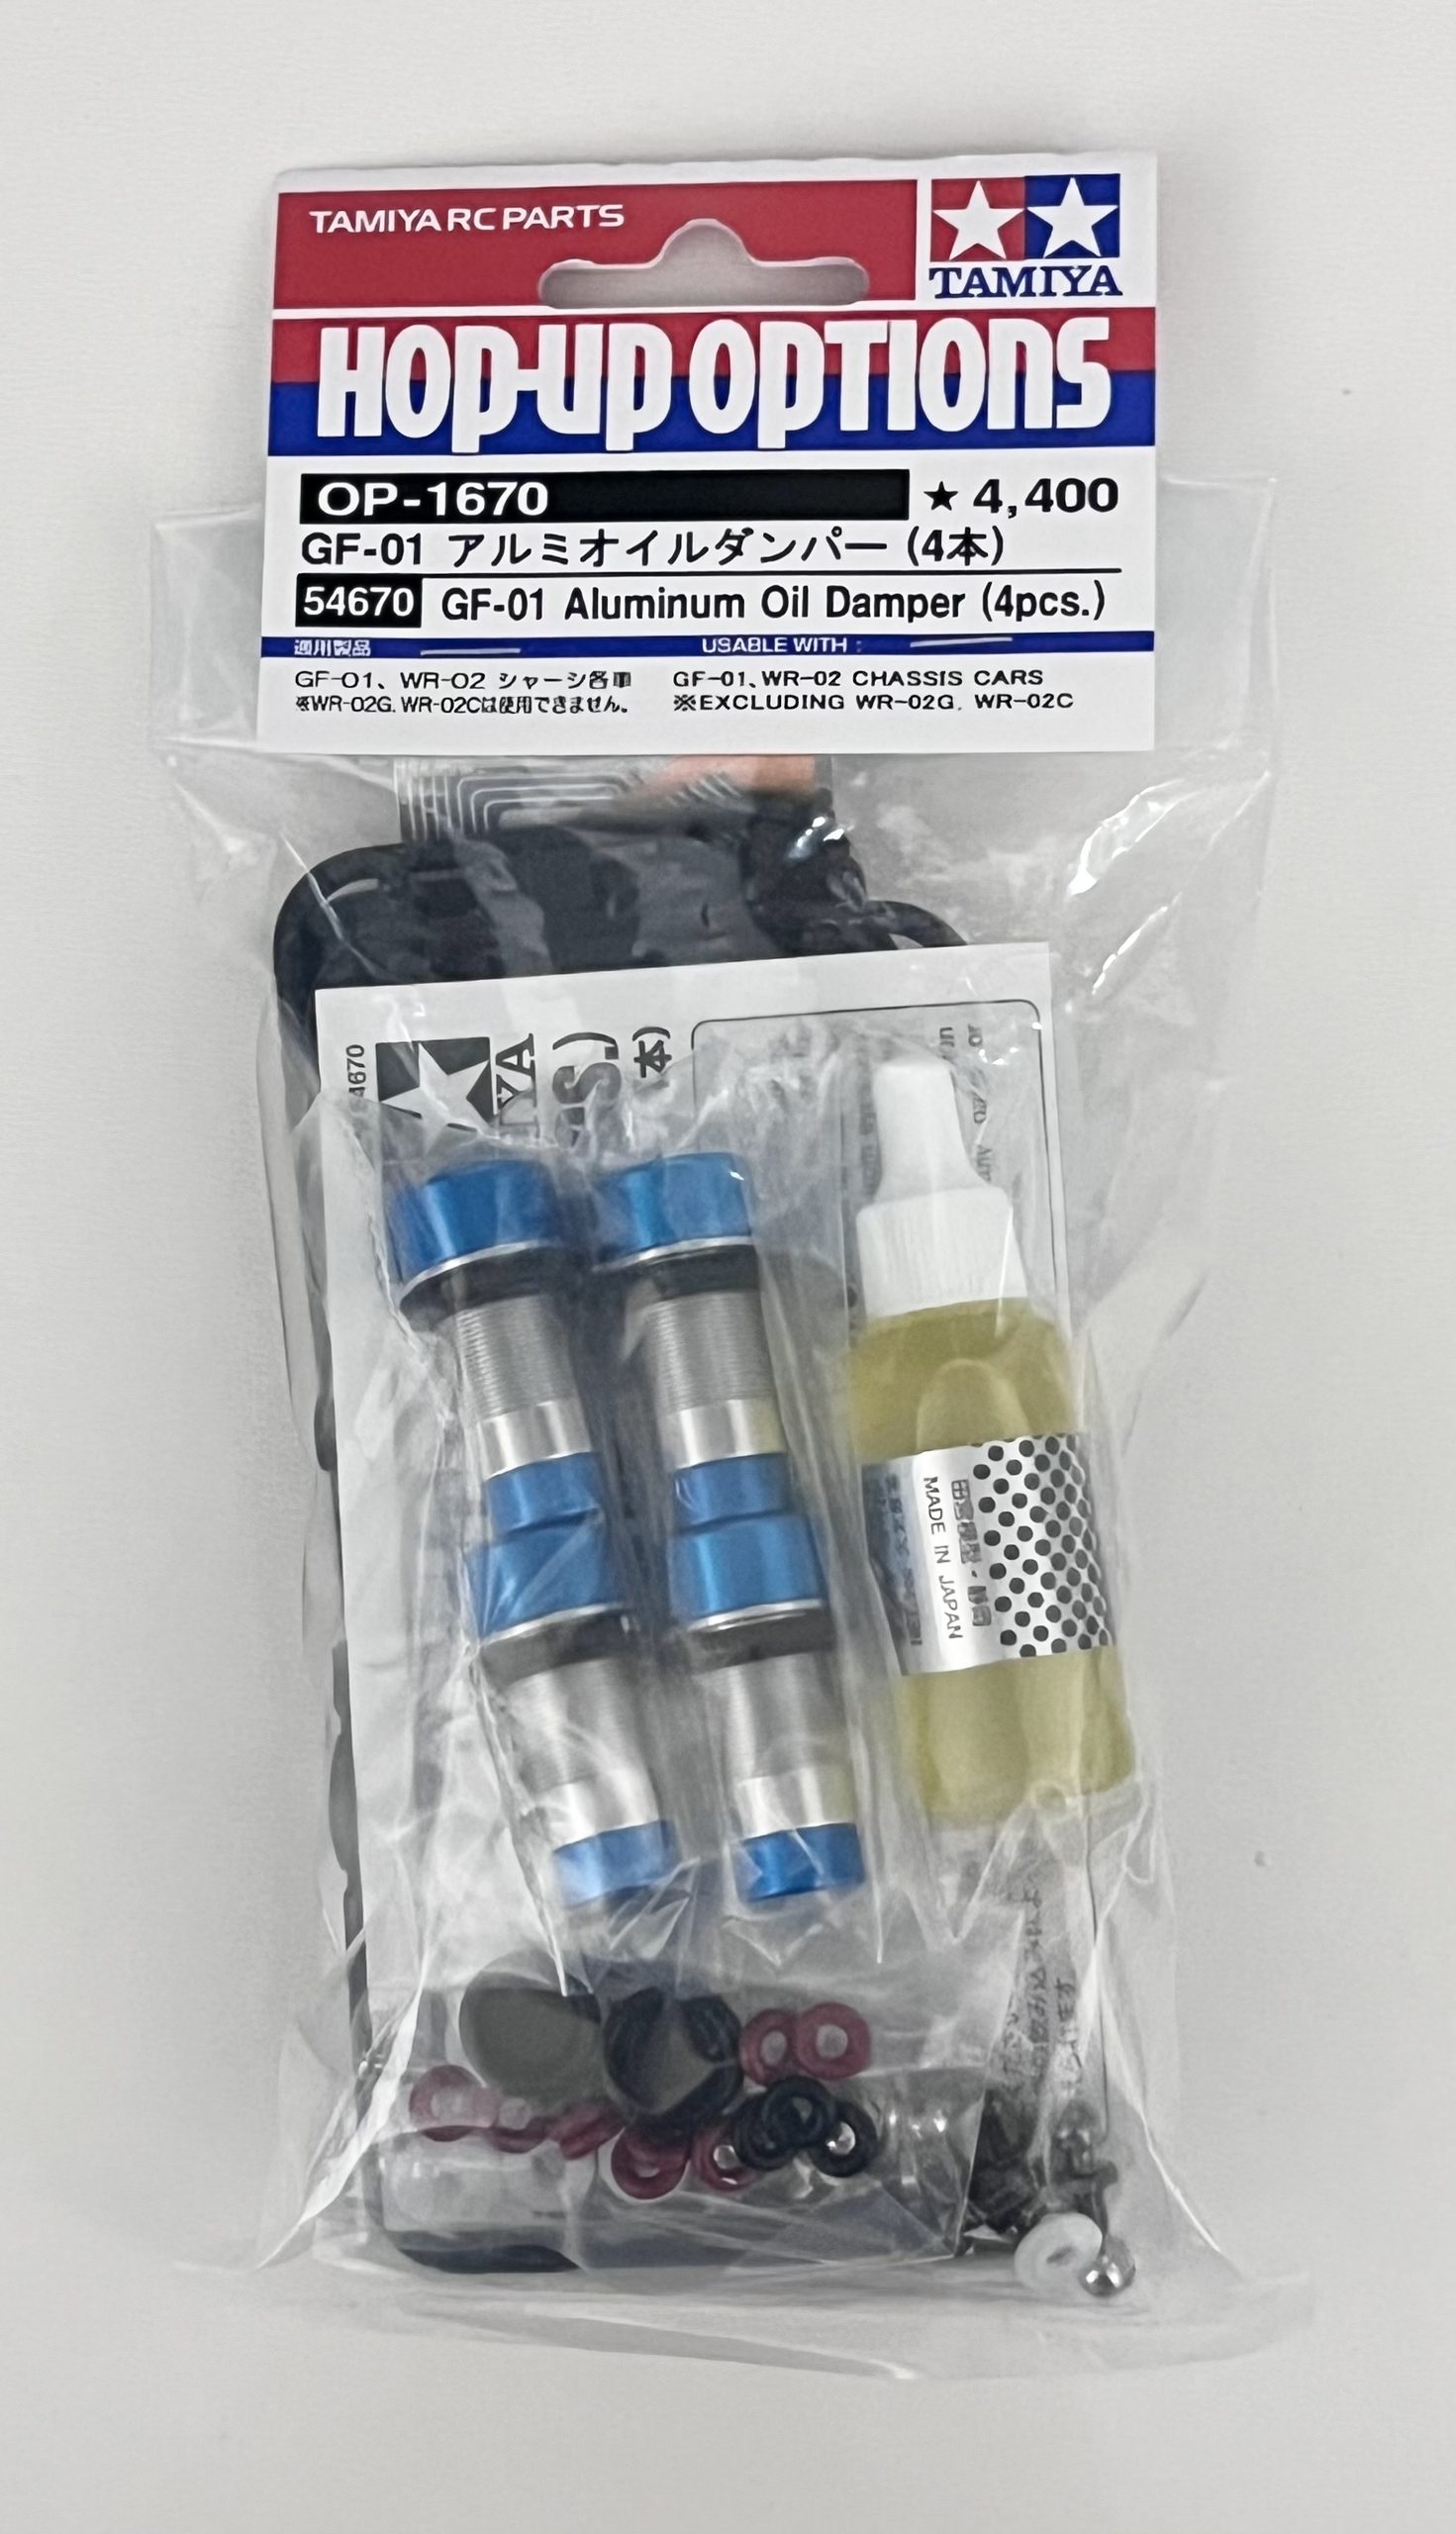
Today, I’m installing the Tamiya “OP.1670 Aluminum Oil Damper Set.”
This is a major upgrade to improve handling and overall performance.
Parts Selection: OP.1670 and Setting Springs
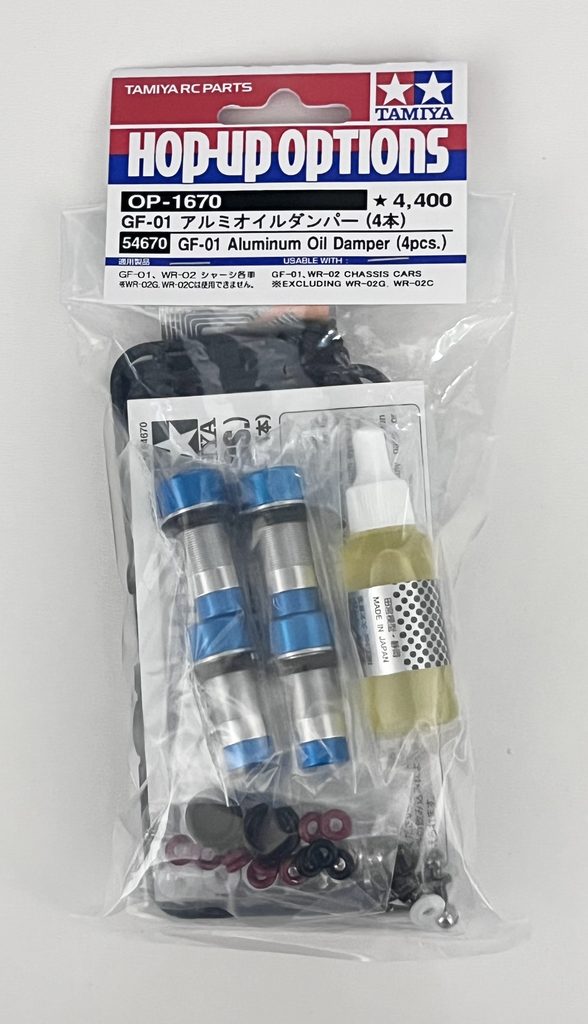
You can find the details of this damper set in my previous post.
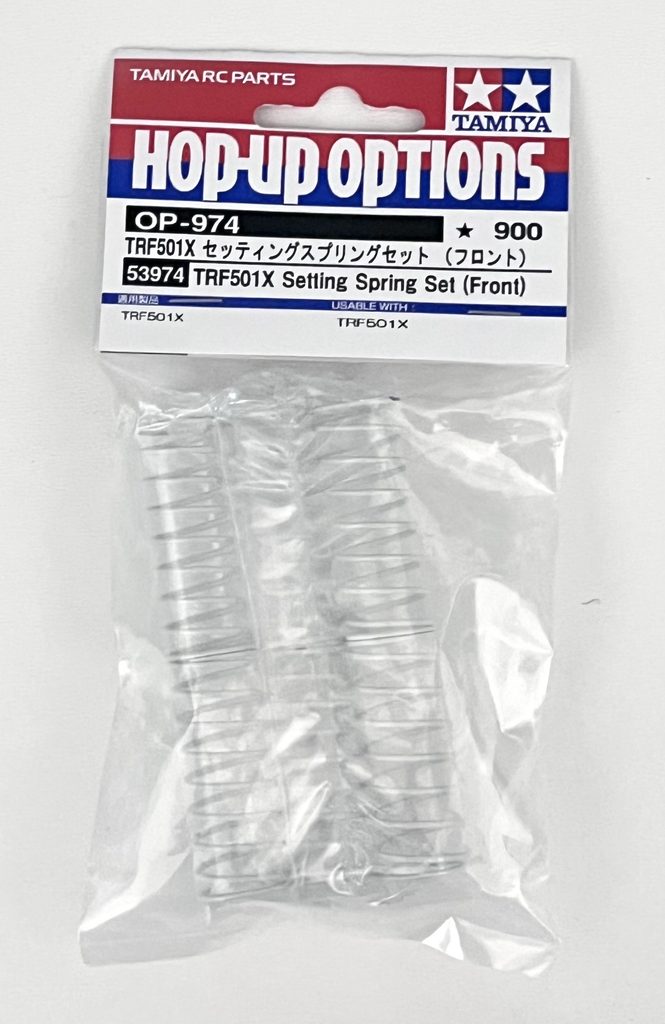
I paired these with the “OP.974 TRF501X Setting Spring Set (Front).”
Installation on the Grasshopper
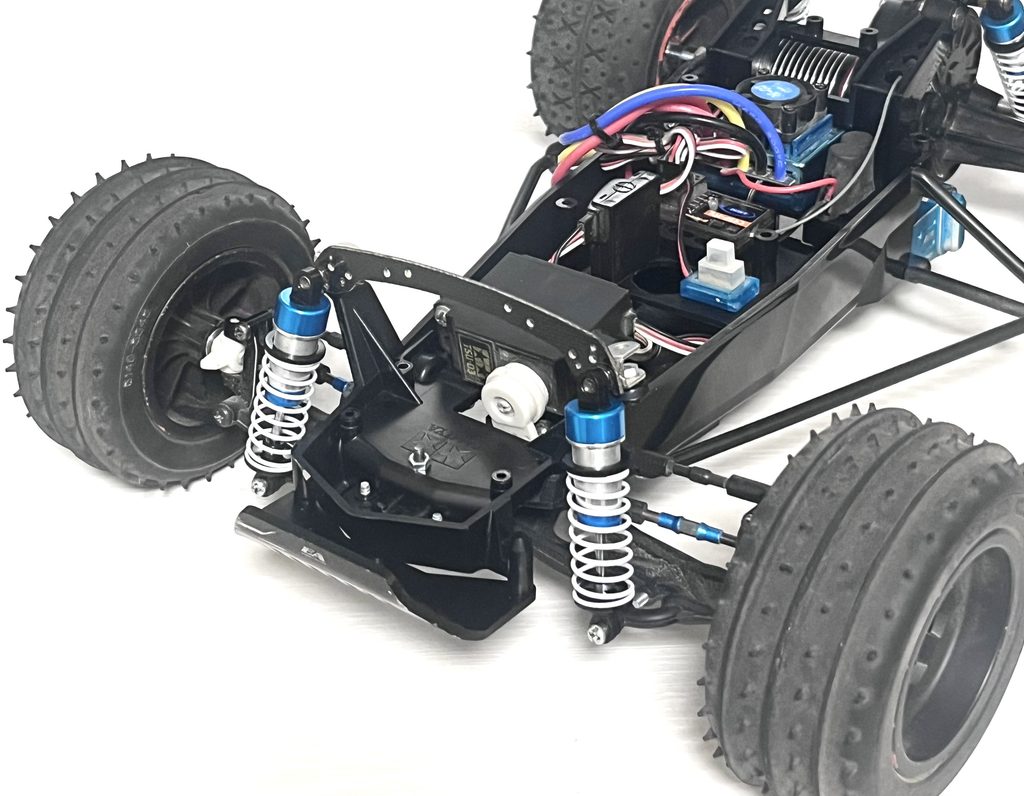
Installing these aluminum dampers significantly increases suspension rigidity.
The smoother operation ensures better tracking on off-road terrain.
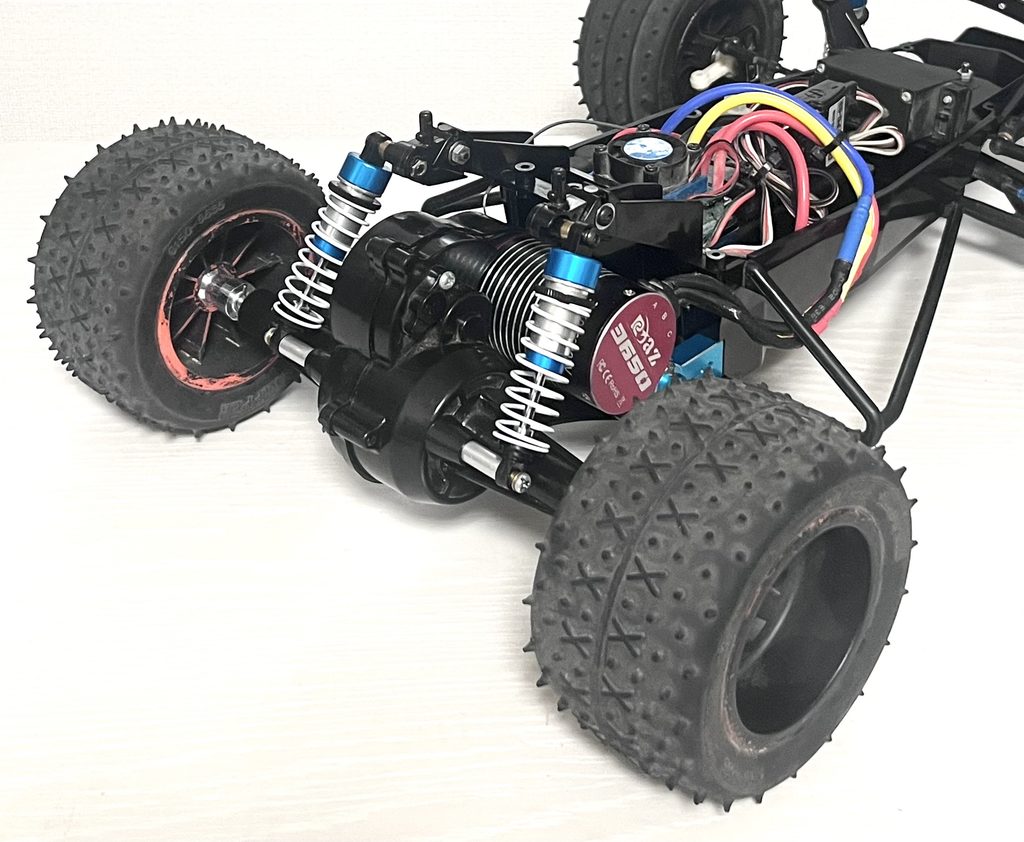
These dampers will allow for much more consistent handling.
Click here to check details and pricing.
Ride Height Adjustment with Spacers
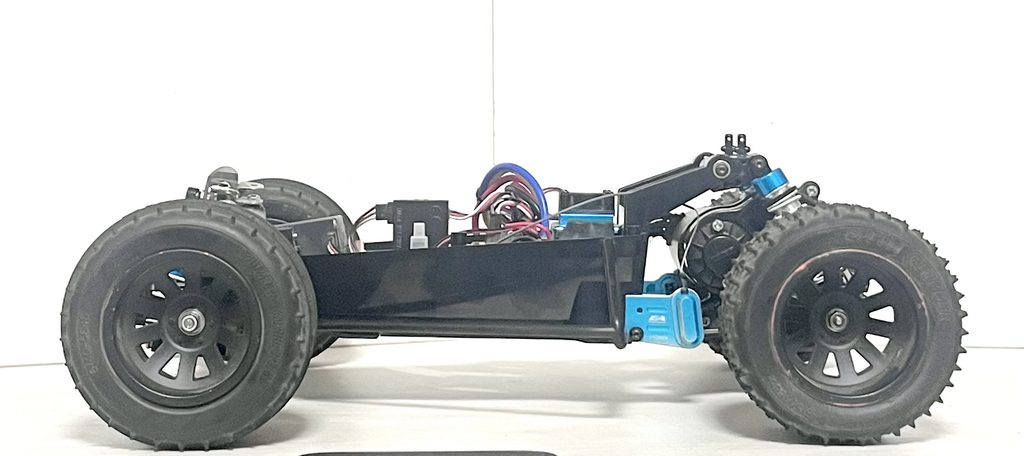
I’m using spacers to fine-tune the ride height of the chassis.
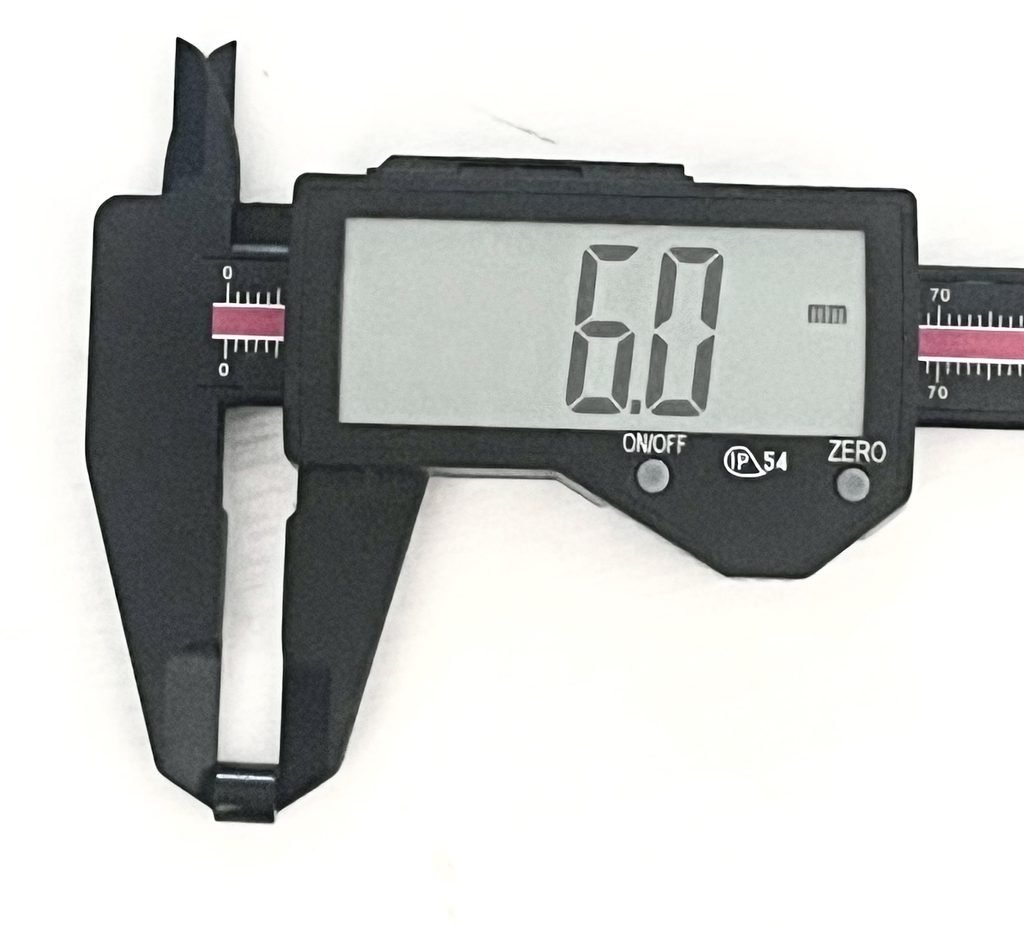
Inserting these 6mm spacers onto the piston rod changes the ride height.
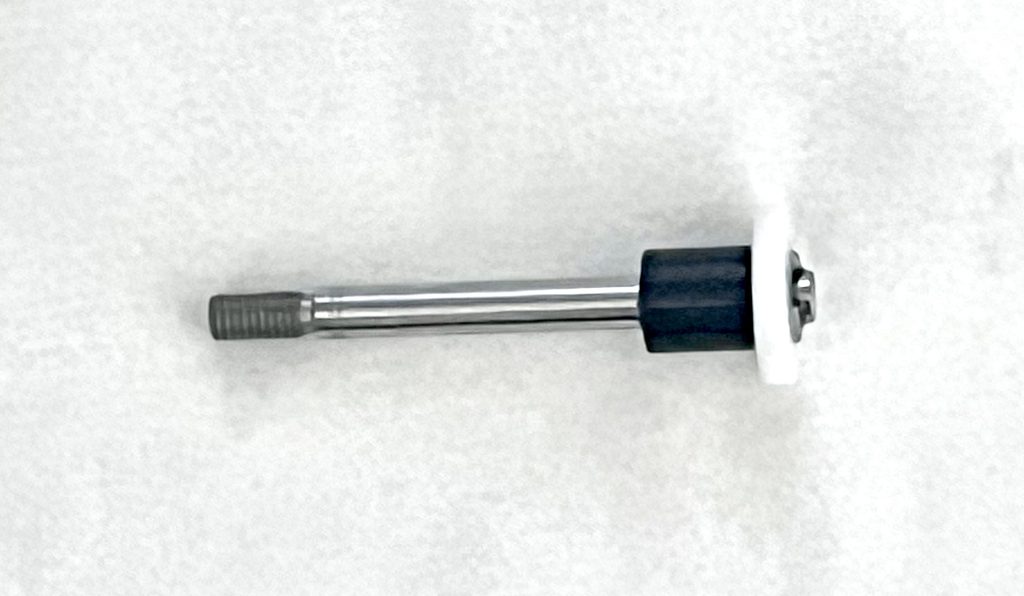
This restricts the down-travel and increases the ride height.
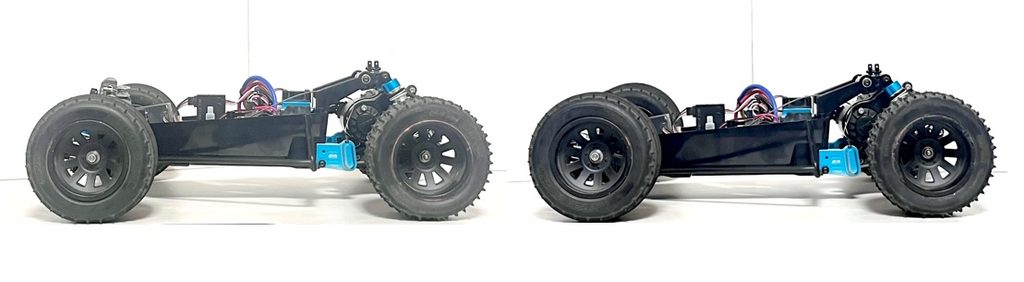
Adjusting the stance can significantly impact how your Grasshopper handles.
Finding the right balance is a key part of the RC hobby!
Want this awesome RC gear for yourself? Here’s how you can easily get it shipped from Japan!
Get Your Favorite Japanese RC Gear Shipped to You!
コメント